Waffle Flower— Retro Christmas Tree
Hello, Friends, and happy Christmas in July! Isn’t it wild that we’re already more than halfway through the year?! I can’t believe it.
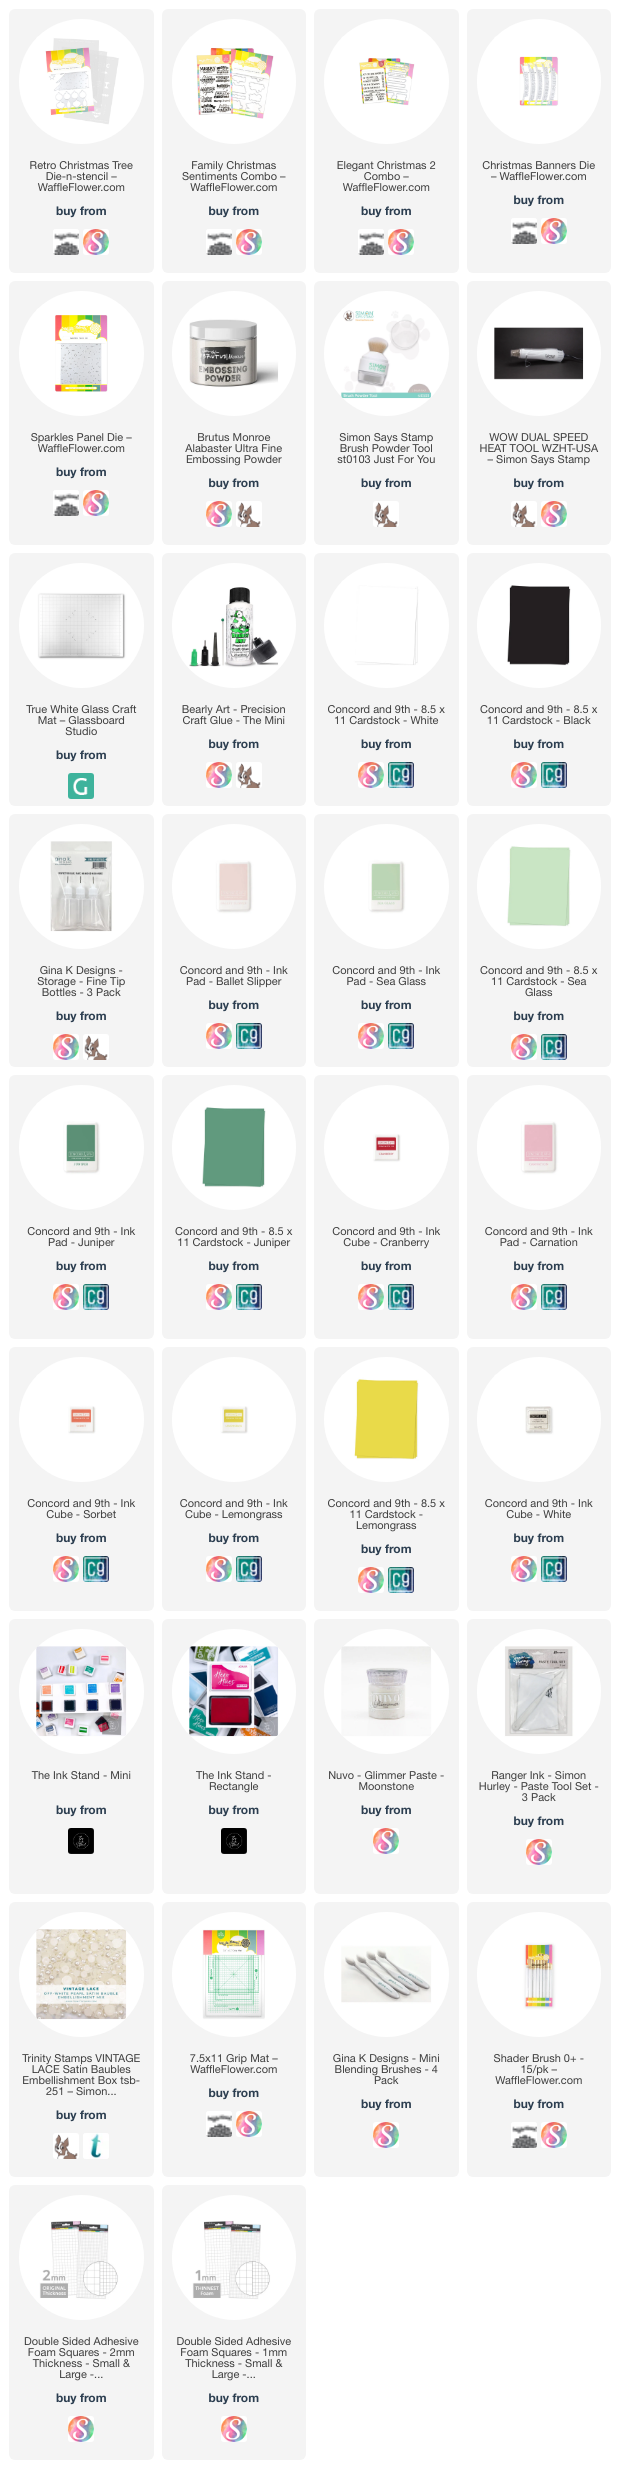
Today I’m sharing two cards I made with the new Retro Christmas Tree Die-n-stencil from Waffle Flower 😍. I went two different directions for these cards, the first using only the stencil and some pearls for embellishments, and the second using all the parts of this bundle plus some. I hope you love these!
Retro Elegance

For this card I was heavily inspired by ceramic pink Christmas tree figurines. To me, they are the epitome of a retro Christmas, so recreating one was a must! To start things off, I pulled out a panel of C9 white cardstock that I cut down to A2 size and stuck it on my grip mat. I lined up the first stencil and pulled out the perfect pink for this—Ballet Slipper ink from Concord & 9th. I blended on the parts of the tree with both stencils, really focusing on getting a saturated looking tree since Ballet Slipper is such a light color, and once that was dry, I pulled out white pigment ink. I decided to focus the pigment ink onto the ends of the branches to give the tree the frosted/snowy look like the figurines, and I looove how this turned out!
For the sparkly details in the background as well as the star on the top of the tree, I thought glitter paste was a must! I pulled out Nuvo glimmer paste in the color Moonstone and slathered it on. I think this color is perfect for this card because it doesn’t stand out too much and take away from the tree, it feels like it stands out just enough!
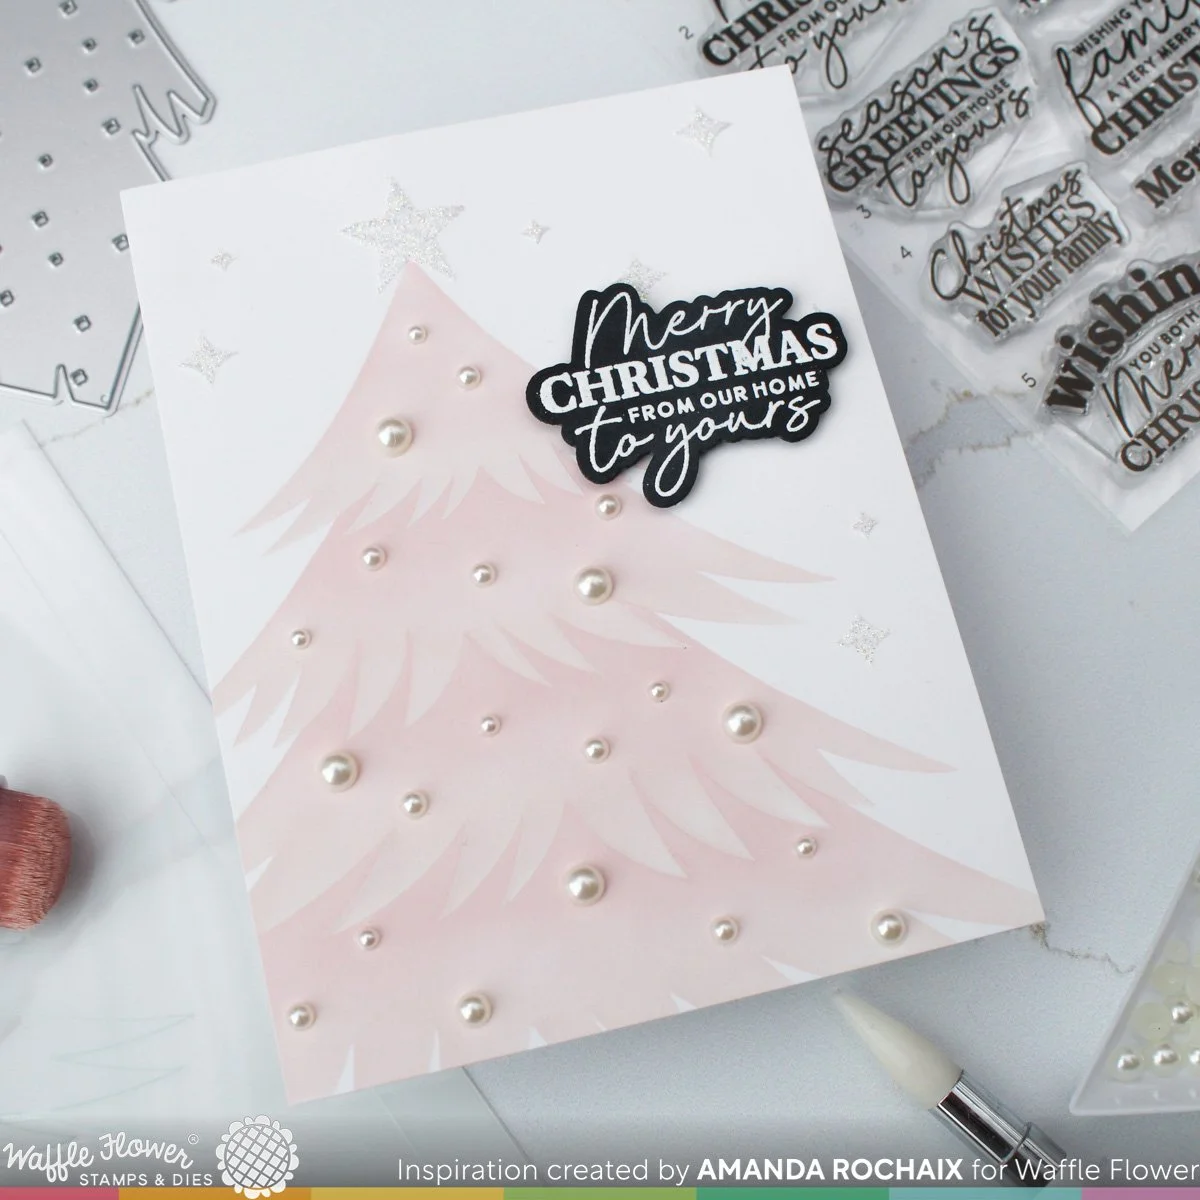
The Retro Christmas Tree Die-n-stencil has a fabulous set of ornaments included with it, but all I could think of were trees packed with round ornaments/baubles, so off to my pearl collection I went! I ended up using Vintage Lace pearls from Trinity Stamps and I truly think these fit the card perfectly! It feels so soft and elegant and I adore it!
Now for the sentiment! This month, Waffle Flower released lots of new sentiment stamps, but the Family Christmas Sentiments have to be my absolute favorite. I mean, come on! Those lovely, elegant fonts?! Matching dies that cut nice and close to the sentiments?! What’s not to love?! I also love the variety of sentiments you get in this set, it really covers all the bases. I decided on the ‘Merry Christmas from our home to yours’ sentiment and white heat embossed it on black cardstock. I cut my sentiment out with the coordinating die (also a note on these dies—WF has etched on the backs of them a number that corresponds to the numbered greeting on the stamp set. This is brilliant! So easy to figure out which die you need!), then added another die cut to it for a little bit more strength. I popped the sentiment up on some thin foam squares and called this beauty done!
Crazy Christmas Tree

I have been lovingly calling this my maximalist Christmas tree because it is definitely packed with stuff!! I knew right off the bat what color palette I wanted to use (I used it on this card last Christmas season)— Cranberry, Carnation, Sorbet, Lemongrass, Sea Glass, and Juniper. I looove these colors together, and they’re so fun for holiday cards! I decided to die cut the Christmas tree out of Sea Glass because, for one, it’s one of my favorite C9 colors, but I also thought it would really pop as the color of the tree. With the tree cut out, I pulled out my grip mat and the coordinating stencil. I thought to bring a bit more depth to the tree and not have such a tone-on-tone look, Juniper ink would be great to blend on a bit of shadows. When I lined up the stencils, I focused the Juniper ink at the top of each branch section (on the last card I focused my shadows on the bottom of the layer of branches) so that it would kind of feel like natural depth. In real life, these areas would be darker because the branches would be hanging over each other as you go down the tree, so to me it makes sense and looks pretty natural.
With the tree ready to go, I moved onto my ornaments. I was told that it was easier to die cut the ornaments first, then use the paper I die cut them out of as a jig to stencil with on my grip mat, so I did just that! I used all of the inks in my color palette and randomly (read—overthinkingly) blended them on. I was mindful on which colors I could layer over others, so keep that in mind if there’s a chance your inks layering could make some not so pretty colors. For the ornament toppers, I blended on Pebble ink for the perfect faux silver color.

With my tree and ornaments ready to go, I started to think about my background. I really wanted to use the Sparkles panel die since it had similar vibes to the tree, so I die cut the panel out of Juniper cardstock. I had thought about backing it with glitter paper or other colors, but it felt too distracting to my eyes, so I backed it with another piece of Juniper cardstock. I popped the tree up on some 2mm foam squares from Scrapbook.com (SSS thin squares or whatever you prefer would work too!), and stuck it down while lining it up with the left corner. I started to decorate the tree with the ornaments, but then I thought the Christmas Banners dies would make a fantastic garland, so I die cut the ‘peace love joy’ out of Lemongrass cardstock twice.
I glued down the banner garland, then glued down my ornaments. I die cut the star and the little starburst/snowflake dies out of white glitter paper from Concord & 9th. I originally was thinking of using the little starbursts/snowflakes that are meant to go on the ornaments as a little detail in the background, but I thought they added a nice festive vibe with them on the tree. I popped the star up on the same foam squares, then glued down the little starbursts/snowflakes. For a sentiment, I decided on the ‘sending good cheer’ from the Elegant Christmas 2 stamp set and white heat embossed it on black cardstock. I popped the sentiment up on some 1mm foam squares for just a touch of dimension, then stuck it down to the side of the tree. I think this card was finished off quite well!
I hope you liked these retro cards!! I had a blast with this bundle, I think it’s a big-time contender for my favorite of the release. Want more inspo with this set? Check out the product listing! My friend Ingrid, who is also on the design team, created a completely out of this world, beautiful card! I hope you feel inspired to craft today, and I hope to catch you soon with more Christmas content!
Affiliate disclaimer: all links to Waffle Flower, Altenew, Scrapbook.com, and Spellbinders products are affiliate links. These links allow me to get a commission at no extra cost to you if you use them to shop! All other links provided are links to supplies and shops I am not affiliated with and I do not get a commission from.