

Oxide Resist Quick Christmas Cards
Hi, friends!
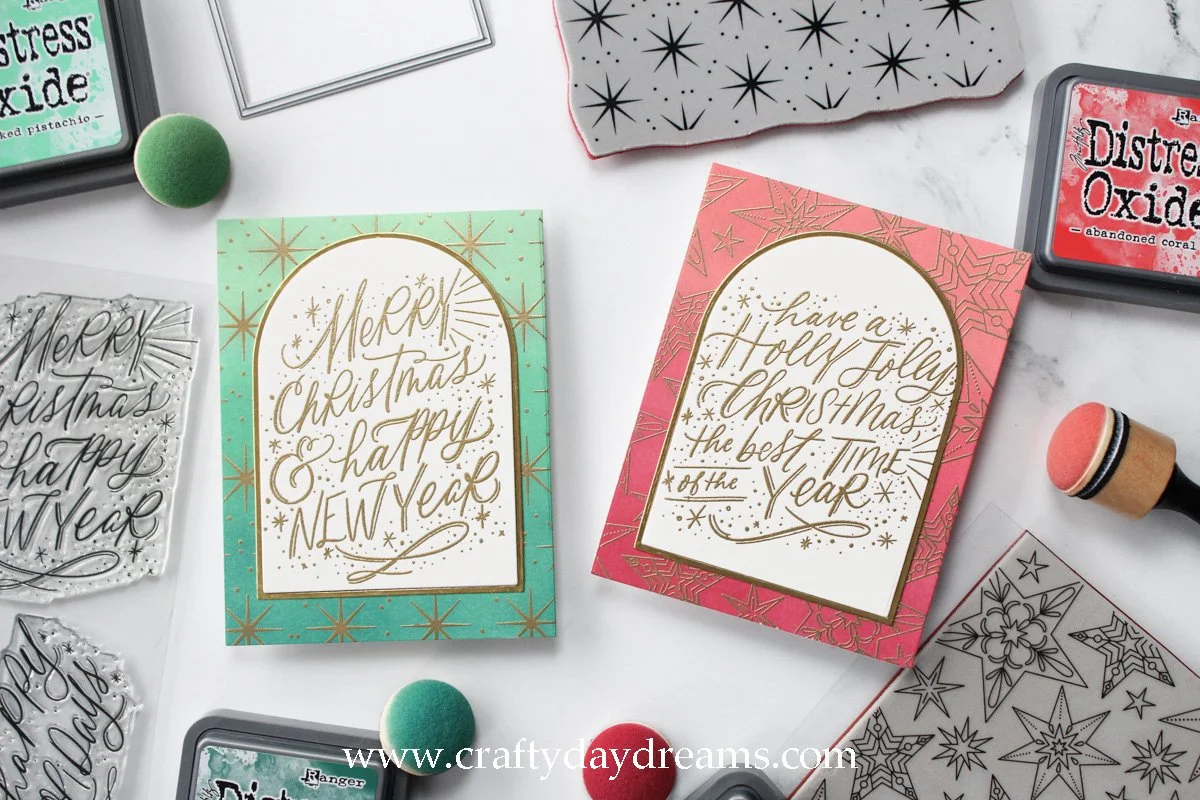
Today I’m sharing a couple more quick Christmas cards, but this time the focus is on Distress Oxide resist! This has become one of my favorite techniques, and it really helps to make quick cards! All you need is a background stamp (or a Turnabout), Distress Oxides, and a sentiment!
Green Star Background

I LOVE how this card turned out. The ombre of shades of green is just dreamy! I started this background out by stamping the Christmas Star cling stamp from Simon Says Stamp on Concord & 9th white cardstock, and heat embossing it in Gilded embossing powder from Brutus Monroe. Once the embossing was cool, I got to work on ink blending. The colors I used (and the order I blended in) are Cracked Pistachio, Lucky Clover, and Pine Needles. This creates a nice and soft blend, and I can’t wait to use these colors again!
Once my background had dried, I die cut it with the largest rectangle die from the Nesting Rectangles dies from Waffle Flower. Then I got to work on the sentiment. Last year (or maybe it was 2020) I picked up the Reason for the Season and Peace on Earth stamp sets from Gina K. Designs, and I love the simple yet beautifully lettered Christmas sentiments in them. I decided now was the time to use them, so I heat embossed with the same powder the ‘Merry Christmas & Happy New Year’ sentiment on SSS Ivory cardstock. Once it was cool, I die cut it using one of the arch dies from the Essential Arches die set from Ellen Hutson. Remember last week when I said you would be seeing more of these arches? Well, this is why! And I love them on these backgrounds!
I die cut 3 additional arches out of white cardstock to add dimension underneath my sentiment layer, and also die cut it out of SSS matte gold cardstock to add a frame around the arch for a polished look. See?! Easy-peasy!
Red Star Background
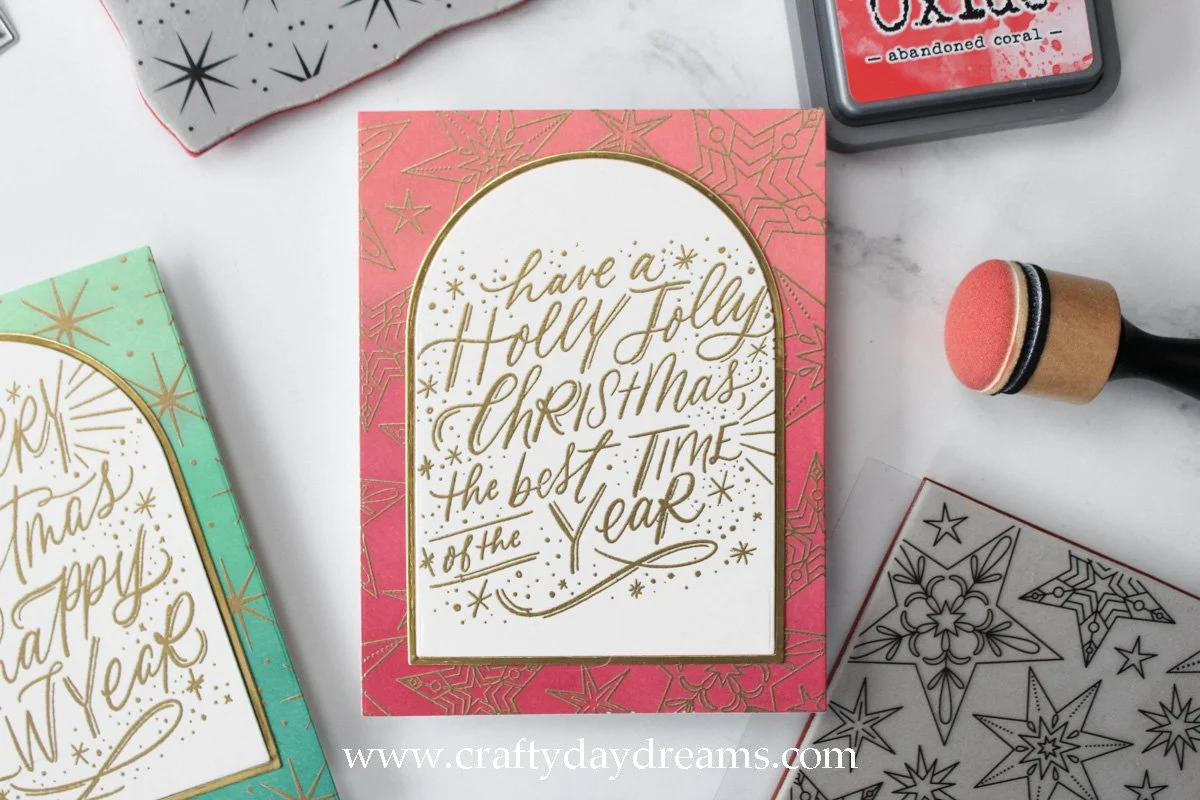
This card is just as easy as the last one! The hardest part of this one for me was honestly choosing the right reds. Some reds were too warm and leaned orange and others leaned too pink. But, I finally came to the right mix!
First, I stamped and heat embossed in gold the Star Pattern Bold Print from Hero Arts on Concord & 9th white cardstock. Once the embossing cooled, I started blending Abandoned Coral at the top of the cardstock, then Festive Berries in the middle, and Lumberjack Plaid on the bottom third. I love how this blend turned out! I wanted to keep the first color light like I did for the green background so that it had the same feel, and I think I accomplished that!
Just like with the green card, I die cut my panel using the largest rectangle die from the Nesting Rectangles die set then set it aside to work on the sentiment. I wanted this card to have the ‘same feel but different’ vibe to it, so I chose to gold heat emboss a different Gina K. sentiment for this card. I heat embossed in the same Gilded embossing powder the ‘have a holly jolly Christmas, the best time of the year’ sentiment on SSS Ivory cardstock. I used the same size arch die as the last card and repeated the same steps of die cutting extras for dimension under the sentiment and one out of gold cardstock to add a finishing touch to this card.
So what do you think of these cards?! I honestly love them and am so sad I came up with this design after I was done sending my cards out this year! This type of design could also be easily mass produced since it comes together so quickly with only a couple of products!
That’s all for this post, so I hope to catch you next time with more inspiration! 😊