

Concord & 9th— Iconic Christmas Turnabout Stamp 3 Ways

Hello crafters, and happy Friday!
Today I’m sharing three cards I made with the Iconic Christmas Turnabout Stamp from Concord & 9th. I had picked this up during their summer sale in June, and I figured there was no better time to bust it out than Christmas in July. These cards range from traditional, to fun, to straight up chaotic. Comment below which you like the most!
If you would like to learn how to use a turnabout, I’ll link a video here. When I went to use this turnabout stamp, my alignment guide was off (the images seemed to be scaled a little smaller, and the alignment guide hung over the turnabout jig when lined up), so I did my best and eyeballed where it should be lined up and tested it on scrap paper before stamping. As always, if you have issues and questions, you can reach out to Concord & 9th customer service, they’re great!
Traditional Christmas
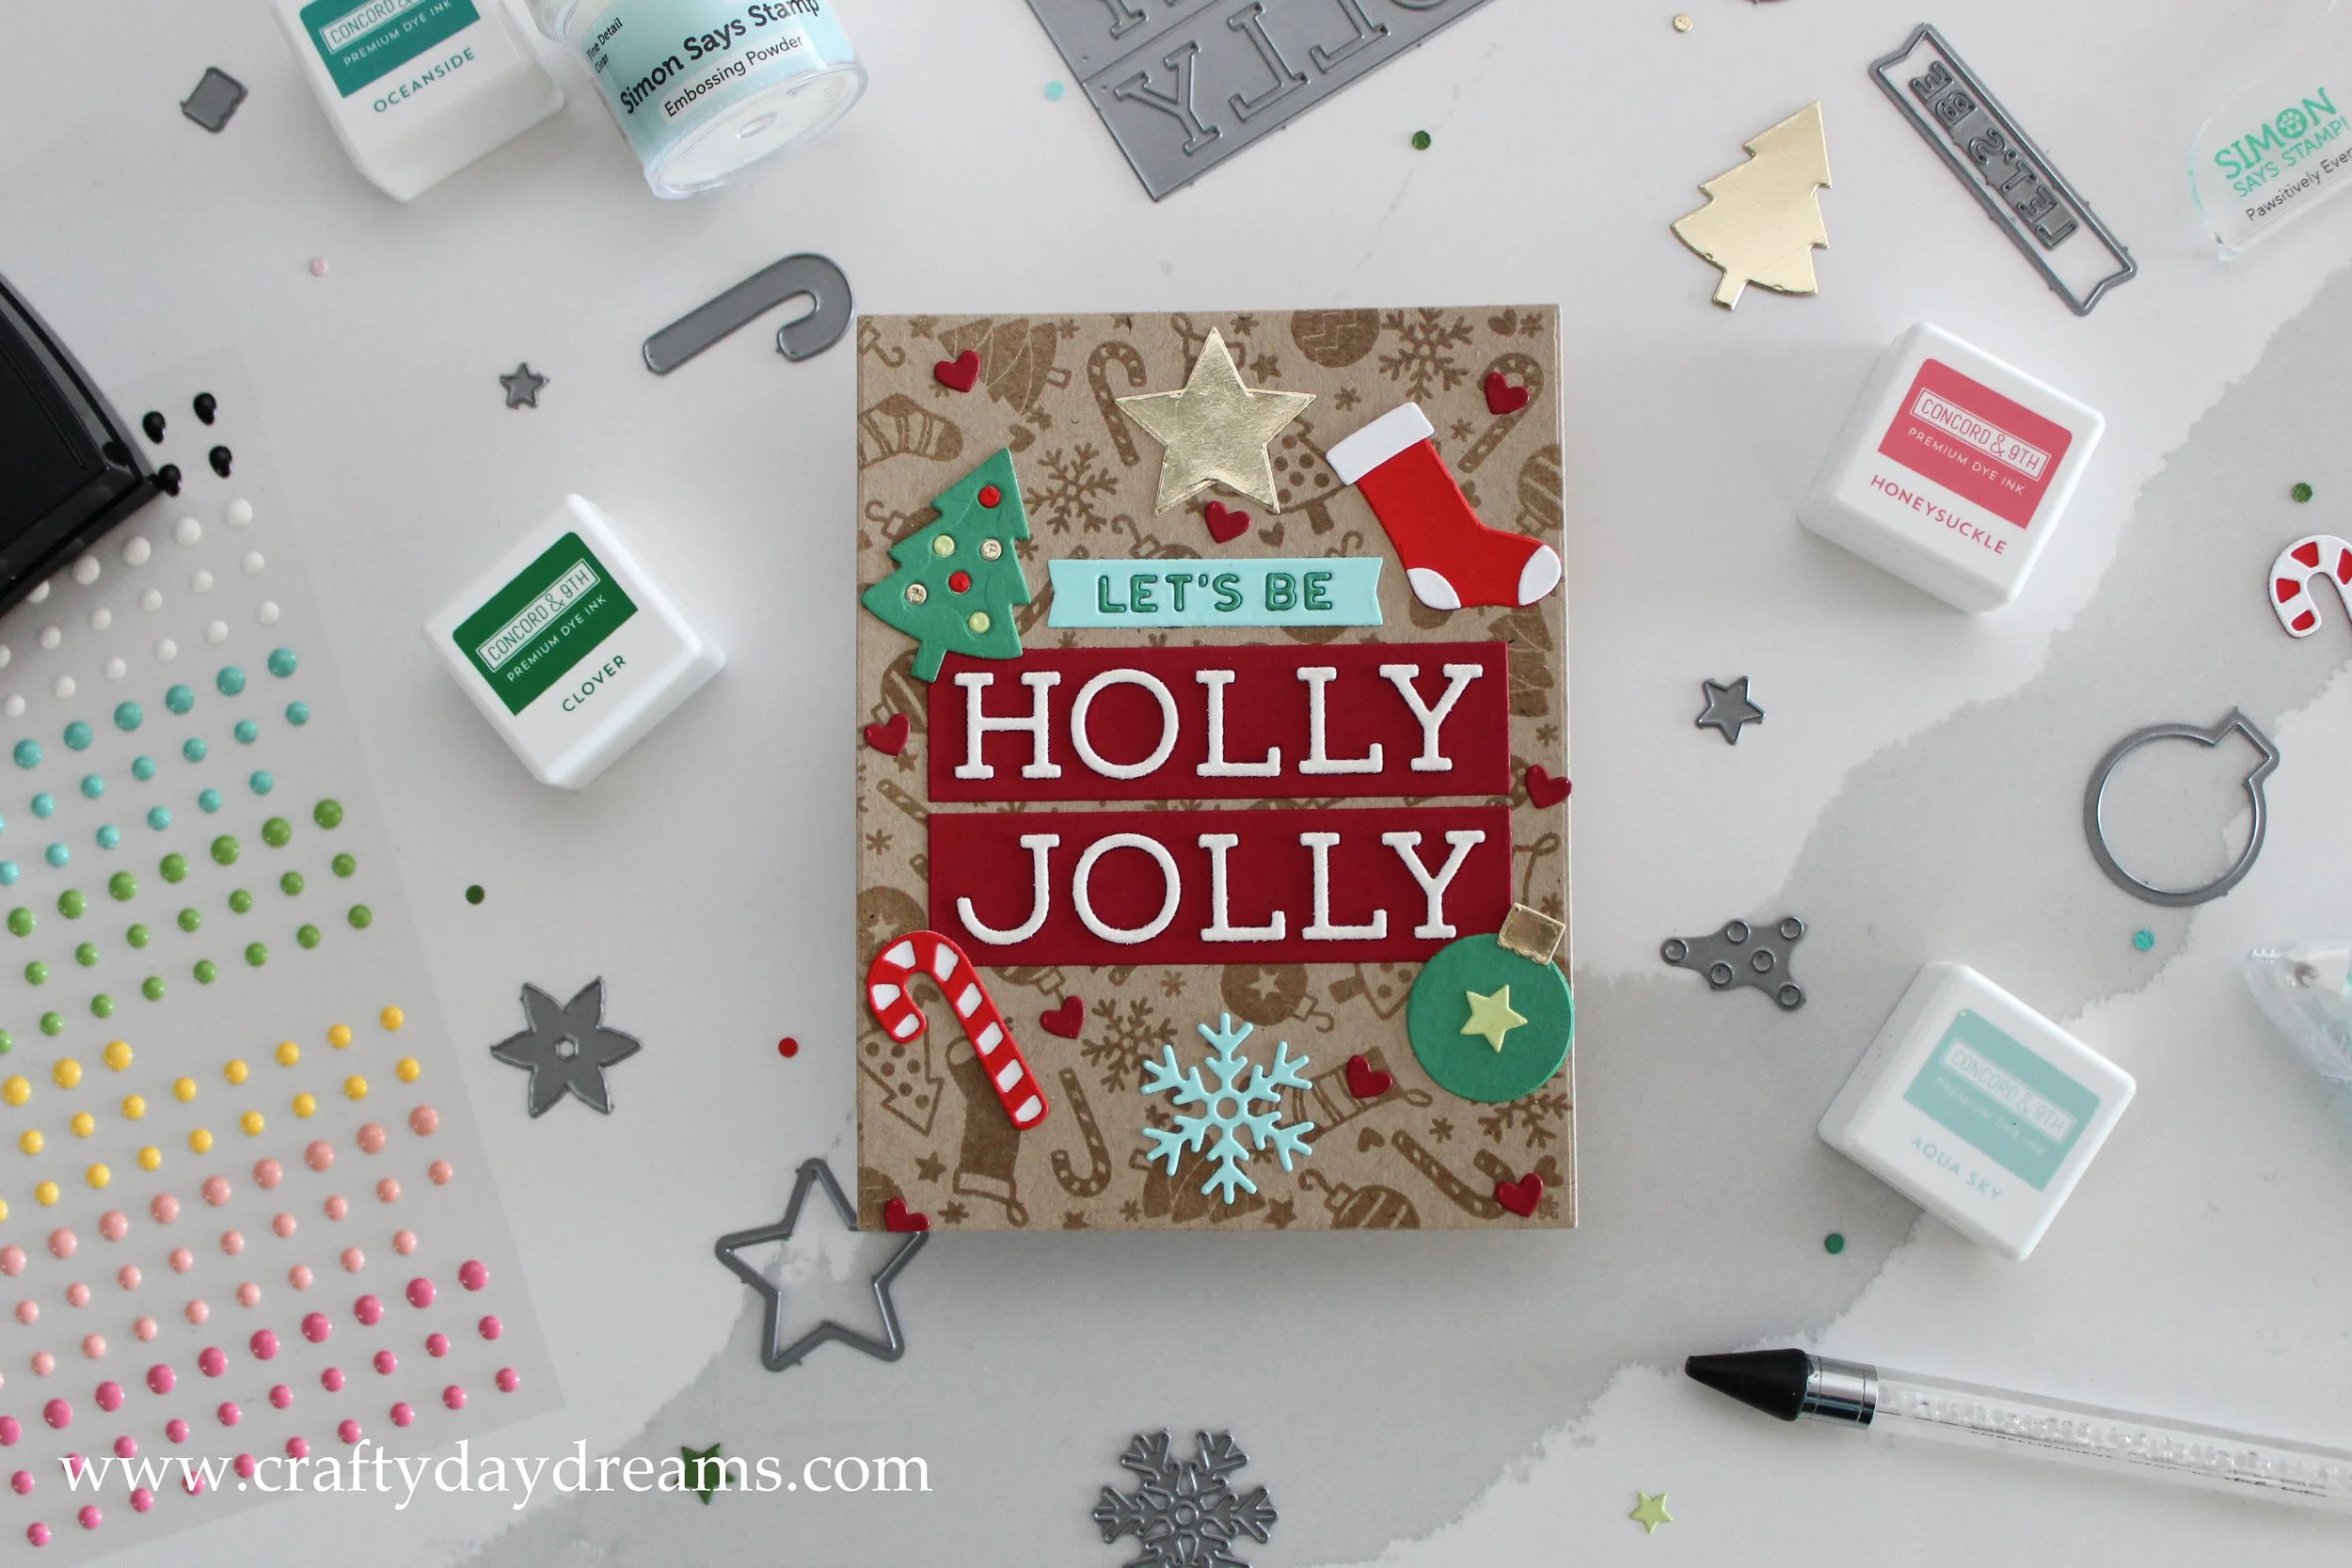
I started this card off by clear heat embossing all four turns of the stamp on a 6x6 piece of Wheat cardstock. The color palette I wanted to stick to on this card was more traditional reds and greens, so I die cut (from the coordinating Iconic Christmas dies) the ornament, tree, and inlaid letters in the banner out of Clover cardstock, and the candy cane and stocking out of Poppy cardstock from Concord & 9th. I’ve shared this in previous blog posts, but Concord & 9th has amazing cardstock, the colors are beautiful and for the price, you get two extra sheets of cardstock compared to other brands. I love their line of colors and that they have varying shades of colors.
I die cut all the gold elements in this card from gold cardstock from Recollections (the Michael’s brand), and the banner and snowflake out of Aqua Sky from C9. For the greeting, I used the Seasonal Sayings dies and die cut the ‘Holly Jolly’ out of Cranberry cardstock. Then I die cut two more layers of that die, one of white cardstock, and one of white glitter cardstock and layered up the letters. After gluing everything down, I decided the card needed a little bit more, so I die cut some hearts out of Cranberry cardstock and placed them around.
Fun colored Christmas

This card is so fun! I made this one based off a color palette from my Tiny Trees Turnabout Stamp post. Part of the reason I stamped on Ballet Slippers cardstock was because my ink pad had dried up and I was waiting on an order with the re-inker. I knew the only way to get the Ballet Slippers color was to clear heat emboss it. The order I stamped the turnabout stamp in was: Aqua Sky, Honeysuckle, Oceanside, and then the clear heat embossing. If I had enough ink in my ink pad, I would have started with Ballet Slippers first and followed the rest of the order.
When I was brainstorming this card, I knew I wanted to use the Iconic Christmas die set as well. In order to do that, I knew I would need to mat them. I used a leftover Oceanside frame from the Pinkfresh Studio Pretty Frames 2 die, and on top of that, I glued the smallest rectangle from the Folk Edge Rectangles die set, also from Pinkfresh. I really love the detail on the folk edge, and I love the how the Oceanside frame brings some blue to the matted piece.
I started to die cut my icons, and decided I wanted to use the snowflake, tree, candy cane and stocking so I stuck with the same color scheme as the background. I die cut the tree out of Clover and the inlaid ornaments out of Honeysuckle, Ballet Slippers, Oceanside, and Aqua Sky. I glued extra ornament pieces on the Oceanside stocking and die cut the detail pieces out of Honeysuckle and Ballet Slippers. The snowflake was cut out of Aqua Sky, and I placed an Oceanside enamel dot over the center of it. Lastly, the candy cane was cut out of Honeysuckle for the base and Ballet Slippers for the stripes.
I finished the card off by white heat embossing ‘Happy Holidays’ on a piece of Honeysuckle cardstock.
Chaotic Christmas
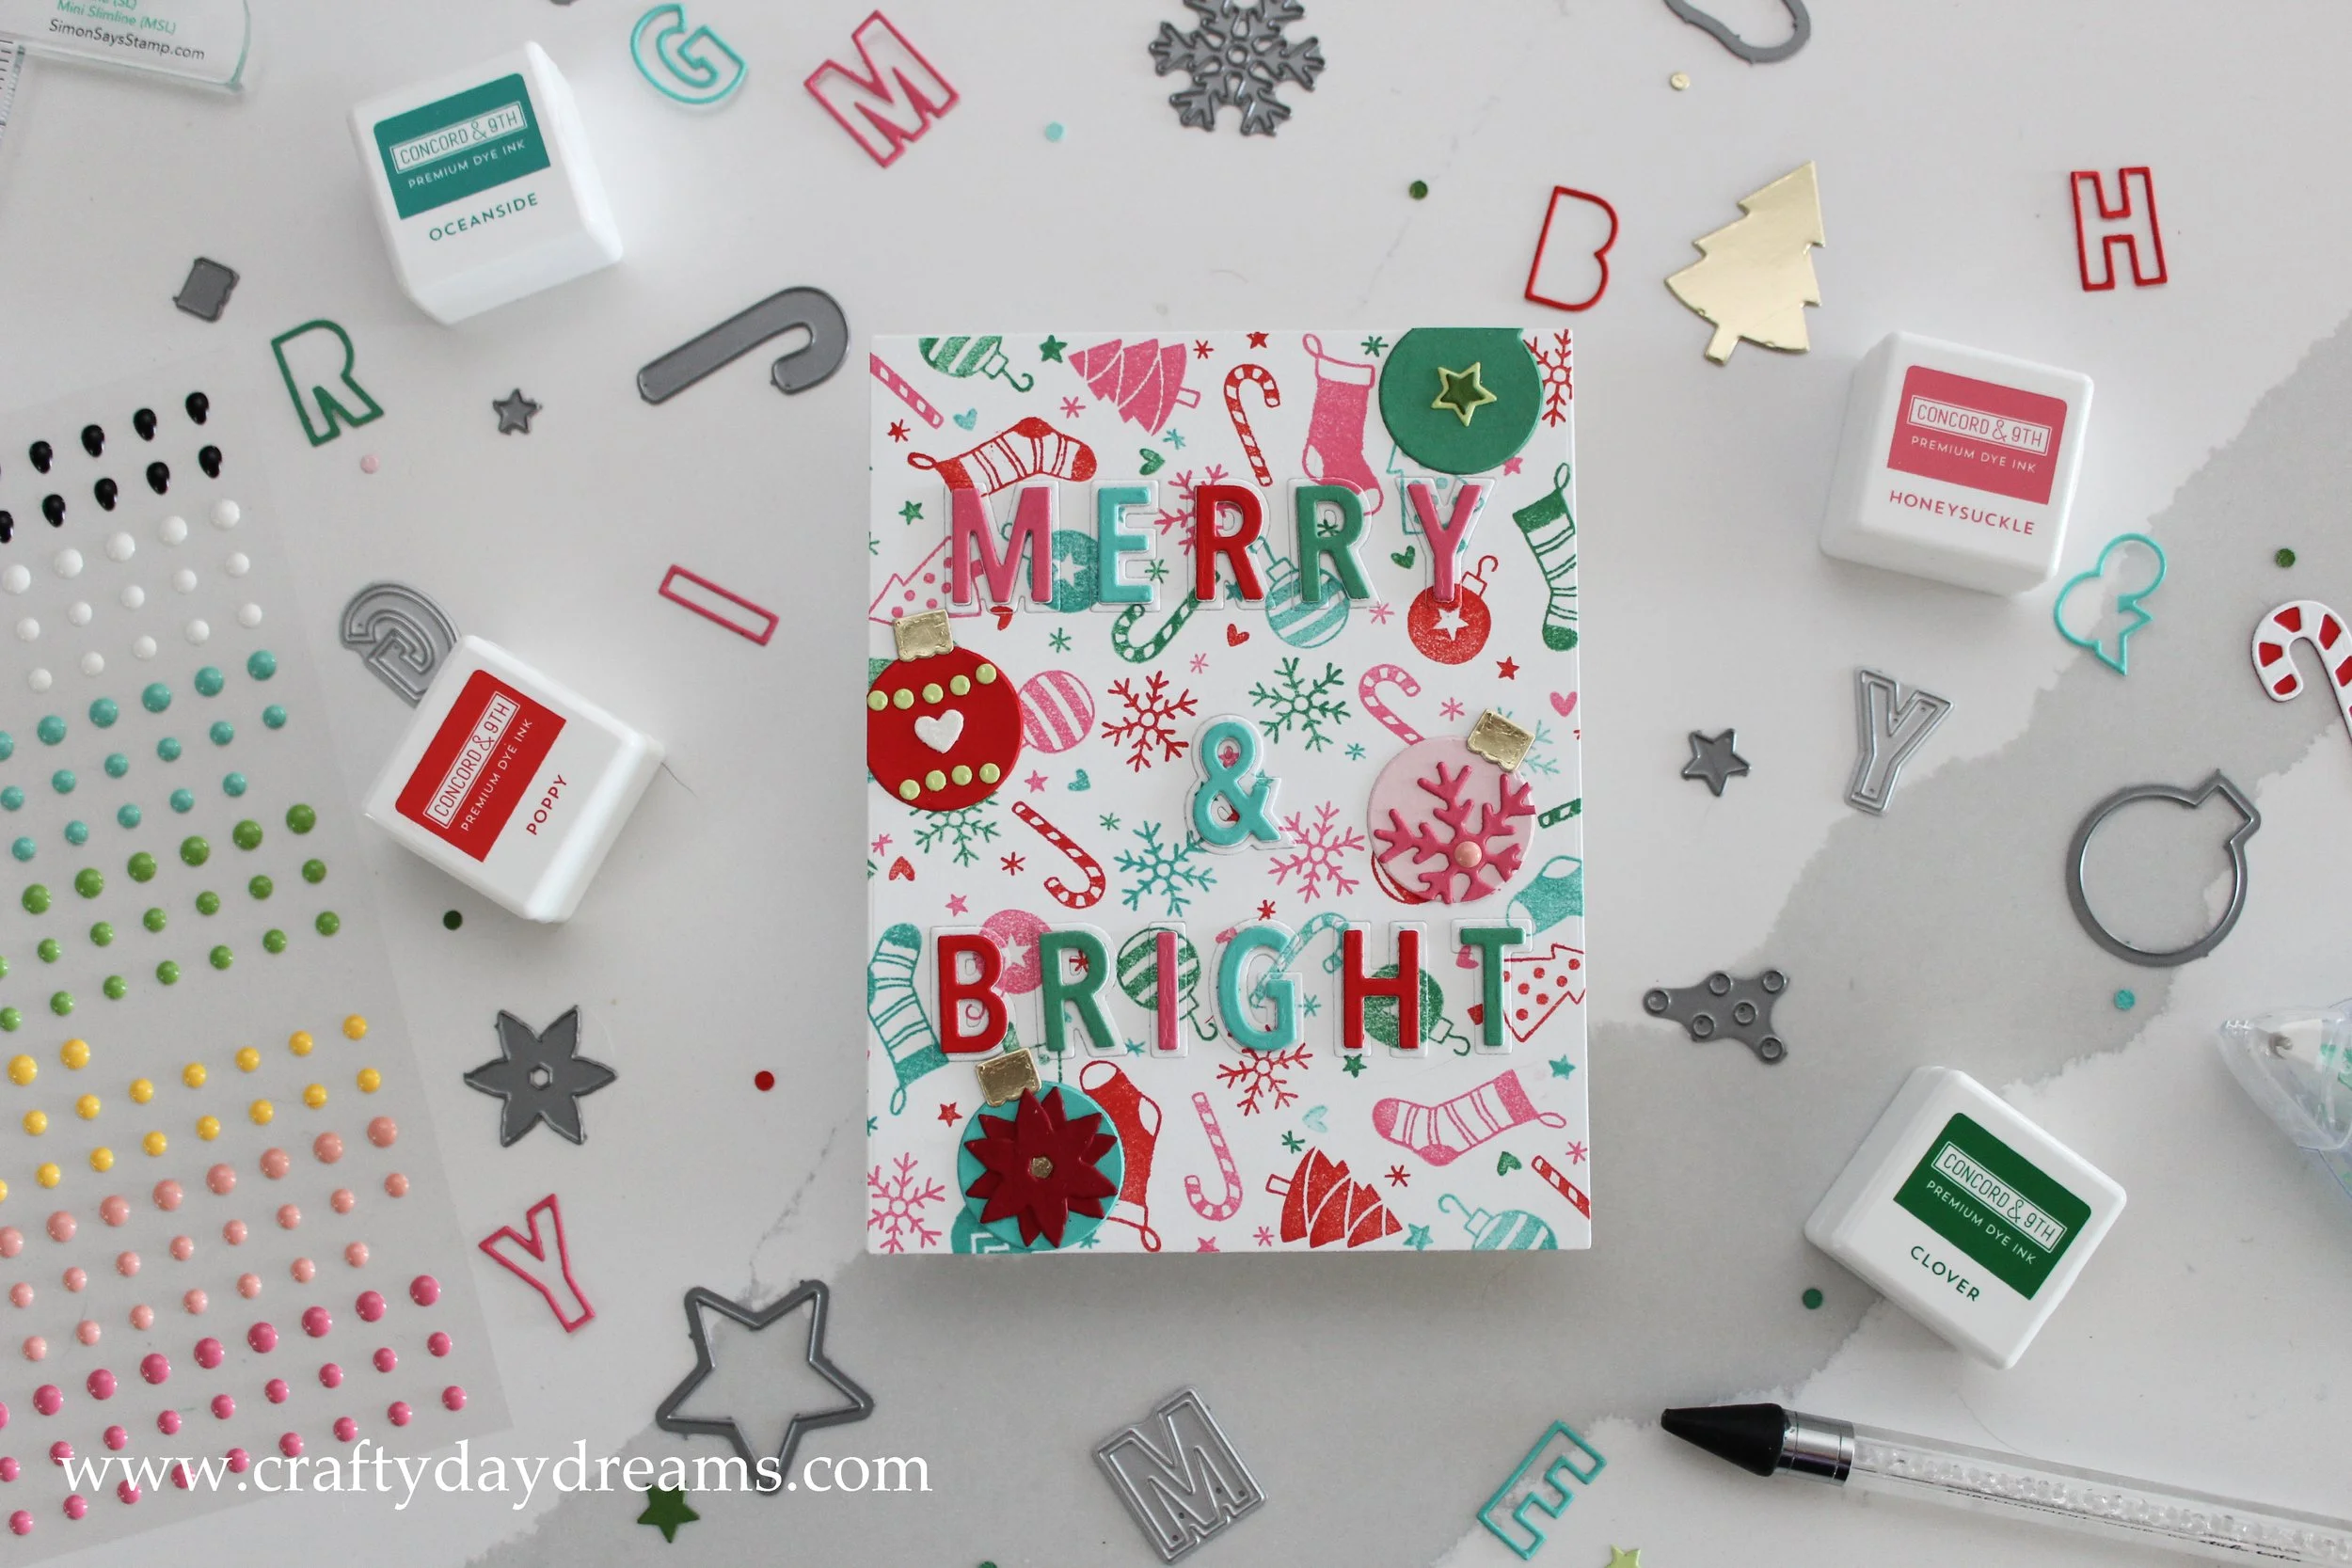
Now onto the most chaotic card of the bunch! When I started this card, I knew my color scheme would be a more colorful but traditional color scheme so I used Clover, Honeysuckle, Oceanside and Poppy ink. My thought for this was to attempt an eclipse technique like I did last week, so I die cut ‘Merry & Bright’ out of the background panel using the Double- Cut Alphabet dies (also from C9). When doing this, make sure you hold onto every single part of the original die cut!
Then I die cut about 5 layers or so of each letter, popped my background panel on a card base, and glued the first plain layer of the outline and inner letter. After this, I glued the stamped outline on and a plain white inner letter. I built this up about 3 more times or so (I don’t remember the exact number of layers I did, but you can do as many or as little as you want). When I decided I was done with the inner layers, I glued the stamped inner letters on. At this point I decided the background was too busy and the eclipse technique too subtle because of it. I decided to die cut the letters one more time, but out of the colors used on the background to save the project.
I made another chaotic decision and decided to add ornaments to the panel to try and break some of the pattern up. Before doing this, I had thought about cutting the pattern above and below the sentiment off and placing the sentiment on cardstock to tone it down, but decided to stick with the ornaments. I decorated each one differently: the Oceanside one had a Cranberry poinsettia on it, the Ballet Slippers one had most of a Honeysuckle snowflake on it, the Clover one had Parsley and Sprout stars on it, and the Poppy one had a white glitter heart and Sprout dots on it. It’s absolute colorful chaos.
I hope you enjoyed seeing the three cards I made using the Iconic Christmas Turnabout Stamp, I had a lot of fun putting them together, and I’m happy to be adding to my Christmas card stash early this year! Thanks for stopping by, and I’ll catch you next time!