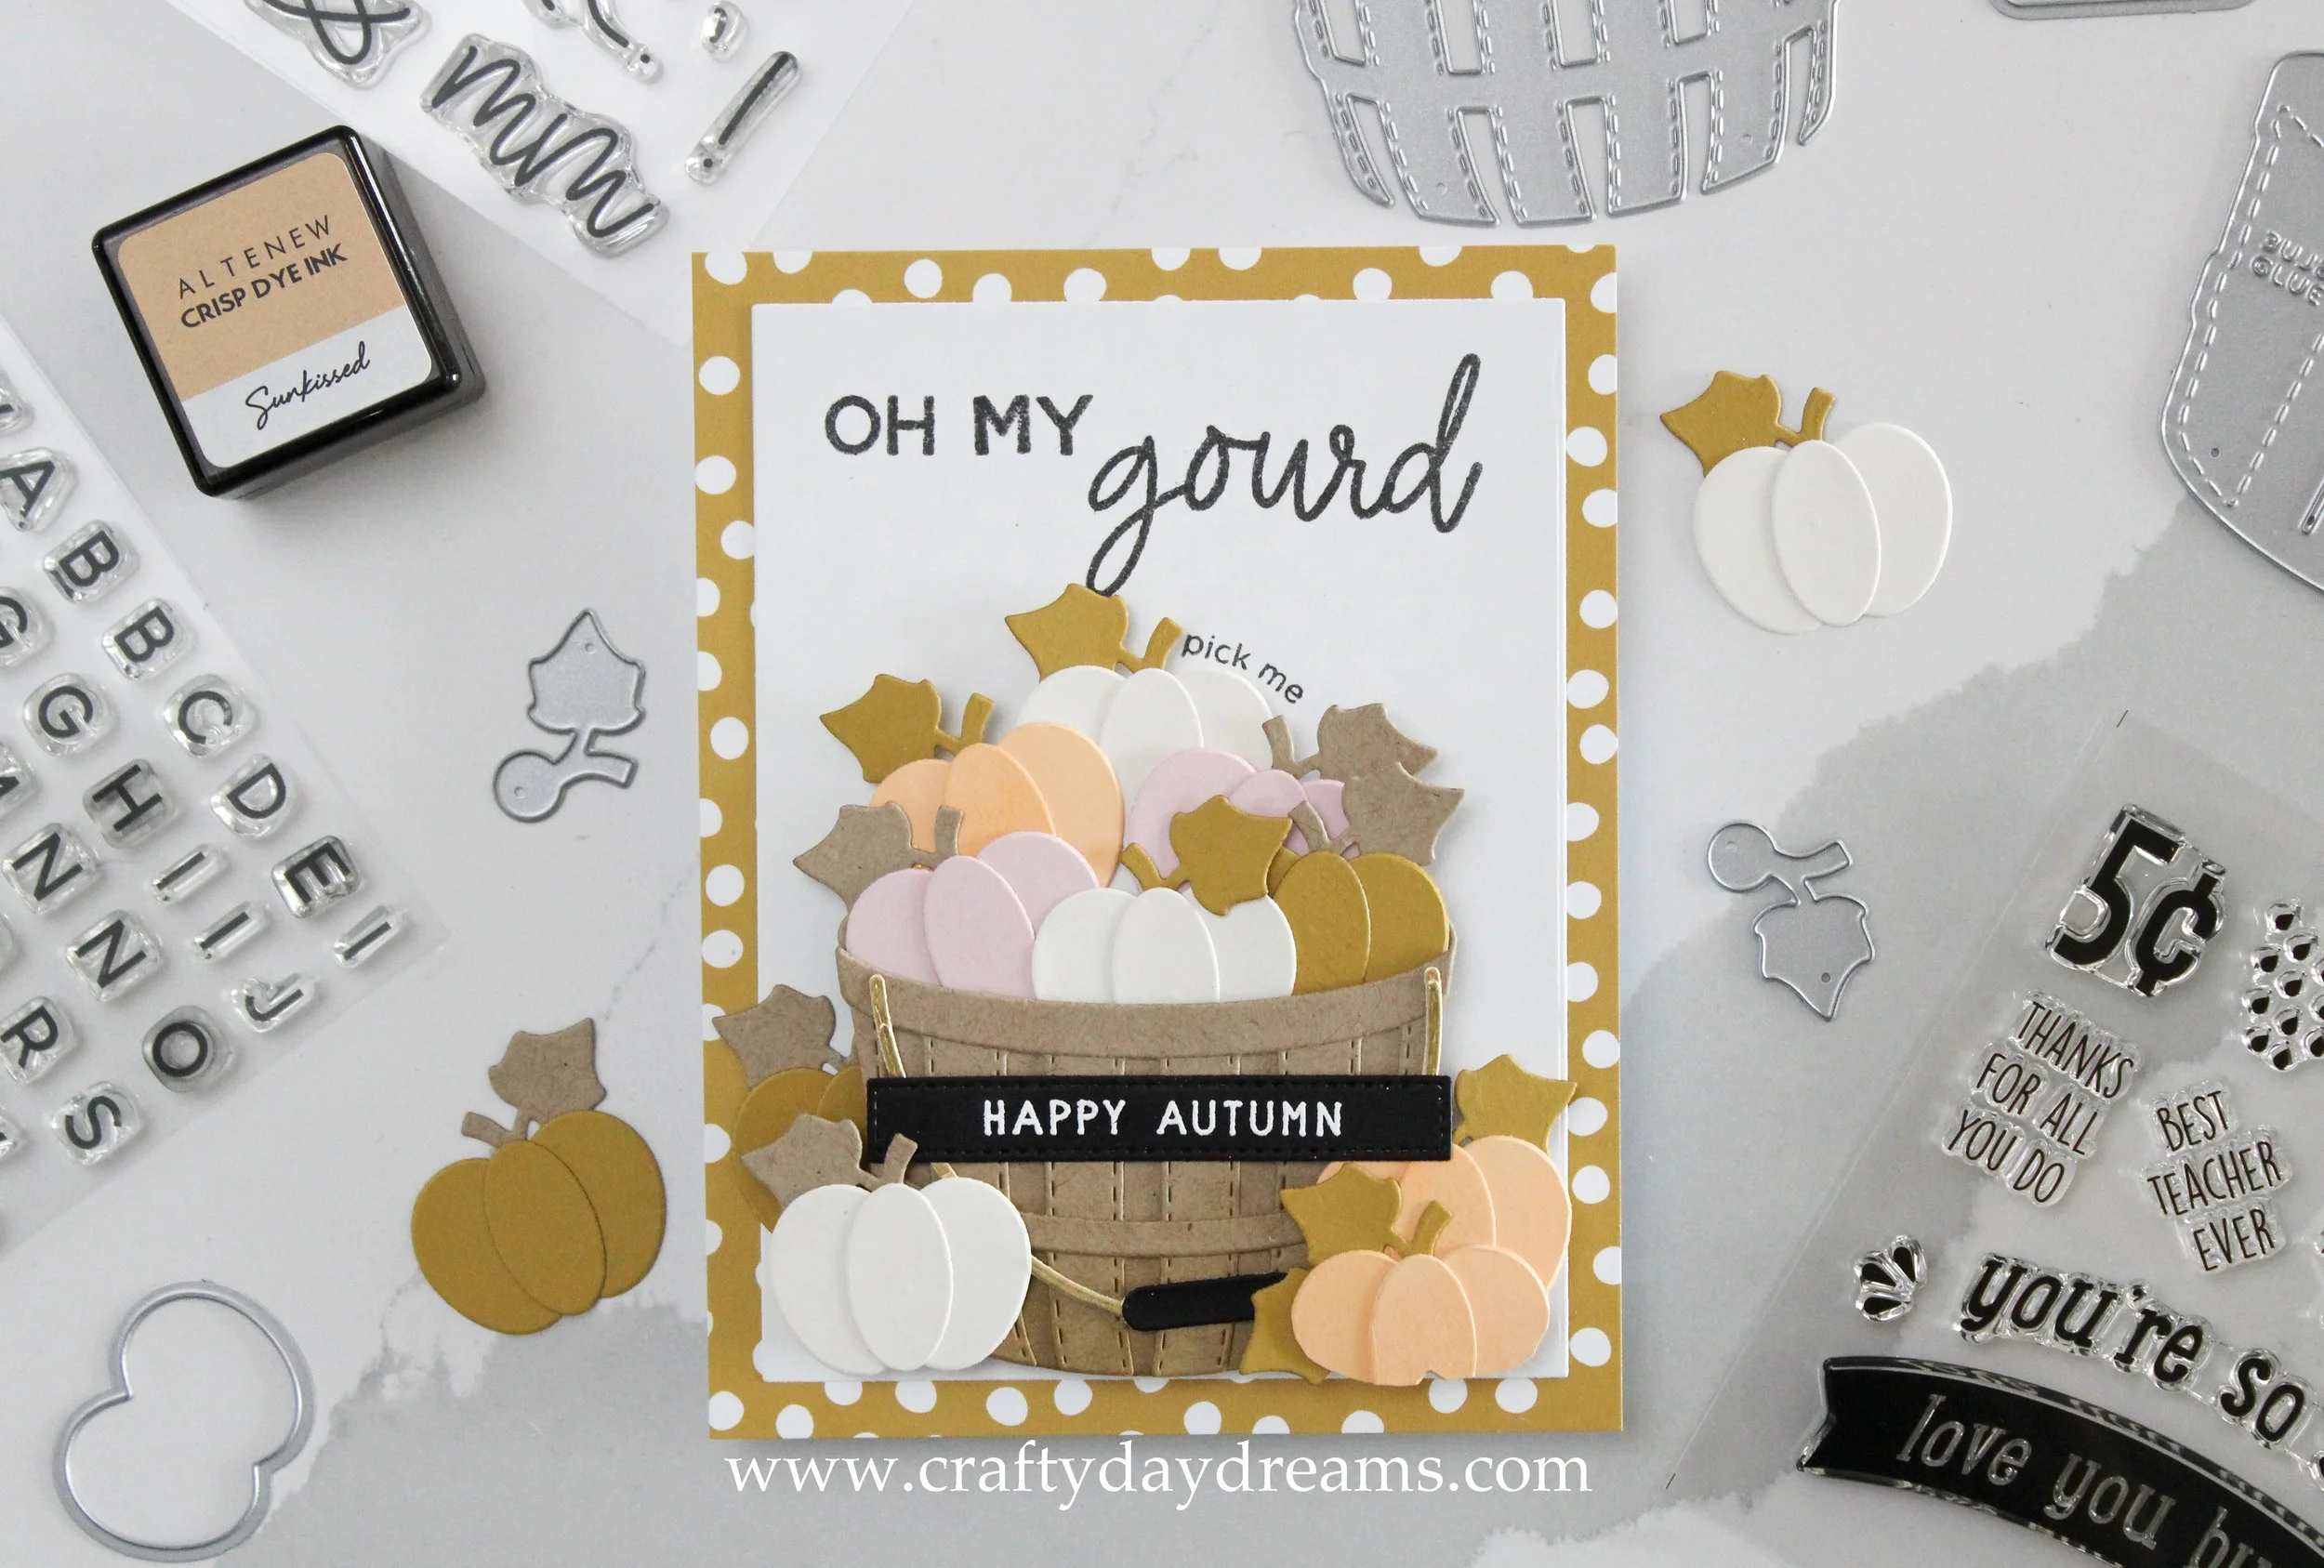
Concord & 9th—Freshly Picked Autumn Basket
Hi, Crafters! I hope your week is off to a great start!
Today I’m sharing another cute fall card today featuring the Freshly Picked bundle from Concord & 9th’s August 2022 release. This stamp and die set is so fun to play with especially since C9 gives you the option to create a basket full of apples, pumpkins, or strawberries, and it’s an interactive die set! These dies and sentiments can be used for so much more than fall cards, and I love that C9 gives so many options to really stretch this product. And don’t be scared if the interactive portion feels intimidating, it’s pretty easy to put together!
Now onto to details for this card! I started off by die cutting all the basket pieces out of Wheat cardstock and blended Wheat ink on the bottom of the basket to give it a little bit of dimension. I decided I wanted this card to have a soft fall color palette (in comparison to the fiery colors of my recent cards), so I die cut the pumpkin dies out of Ballet Slipper, Stardust, and Ivory (from Simon Says Stamp). For the orange, I used the same technique I did in my Spellbinders Open House card, and took an Altenew ink cube in Sunkissed and smooshed it on a piece of C9 white cardstock, and once it was dry, I cut it out with the pumpkin dies. This is a great way to get the perfect/custom color of cardstock that you may need!
From here, I die cut the pumpkin stems out of Wheat and Stardust and did my best to alternate the directions of the stems on each different colored pumpkin. For the basket handle, I die cut the metal looking part out of SSS matte gold cardstock, and the grip portion out of C9 black cardstock. With all the parts I needed ready to go, I worked on filling out the basket.
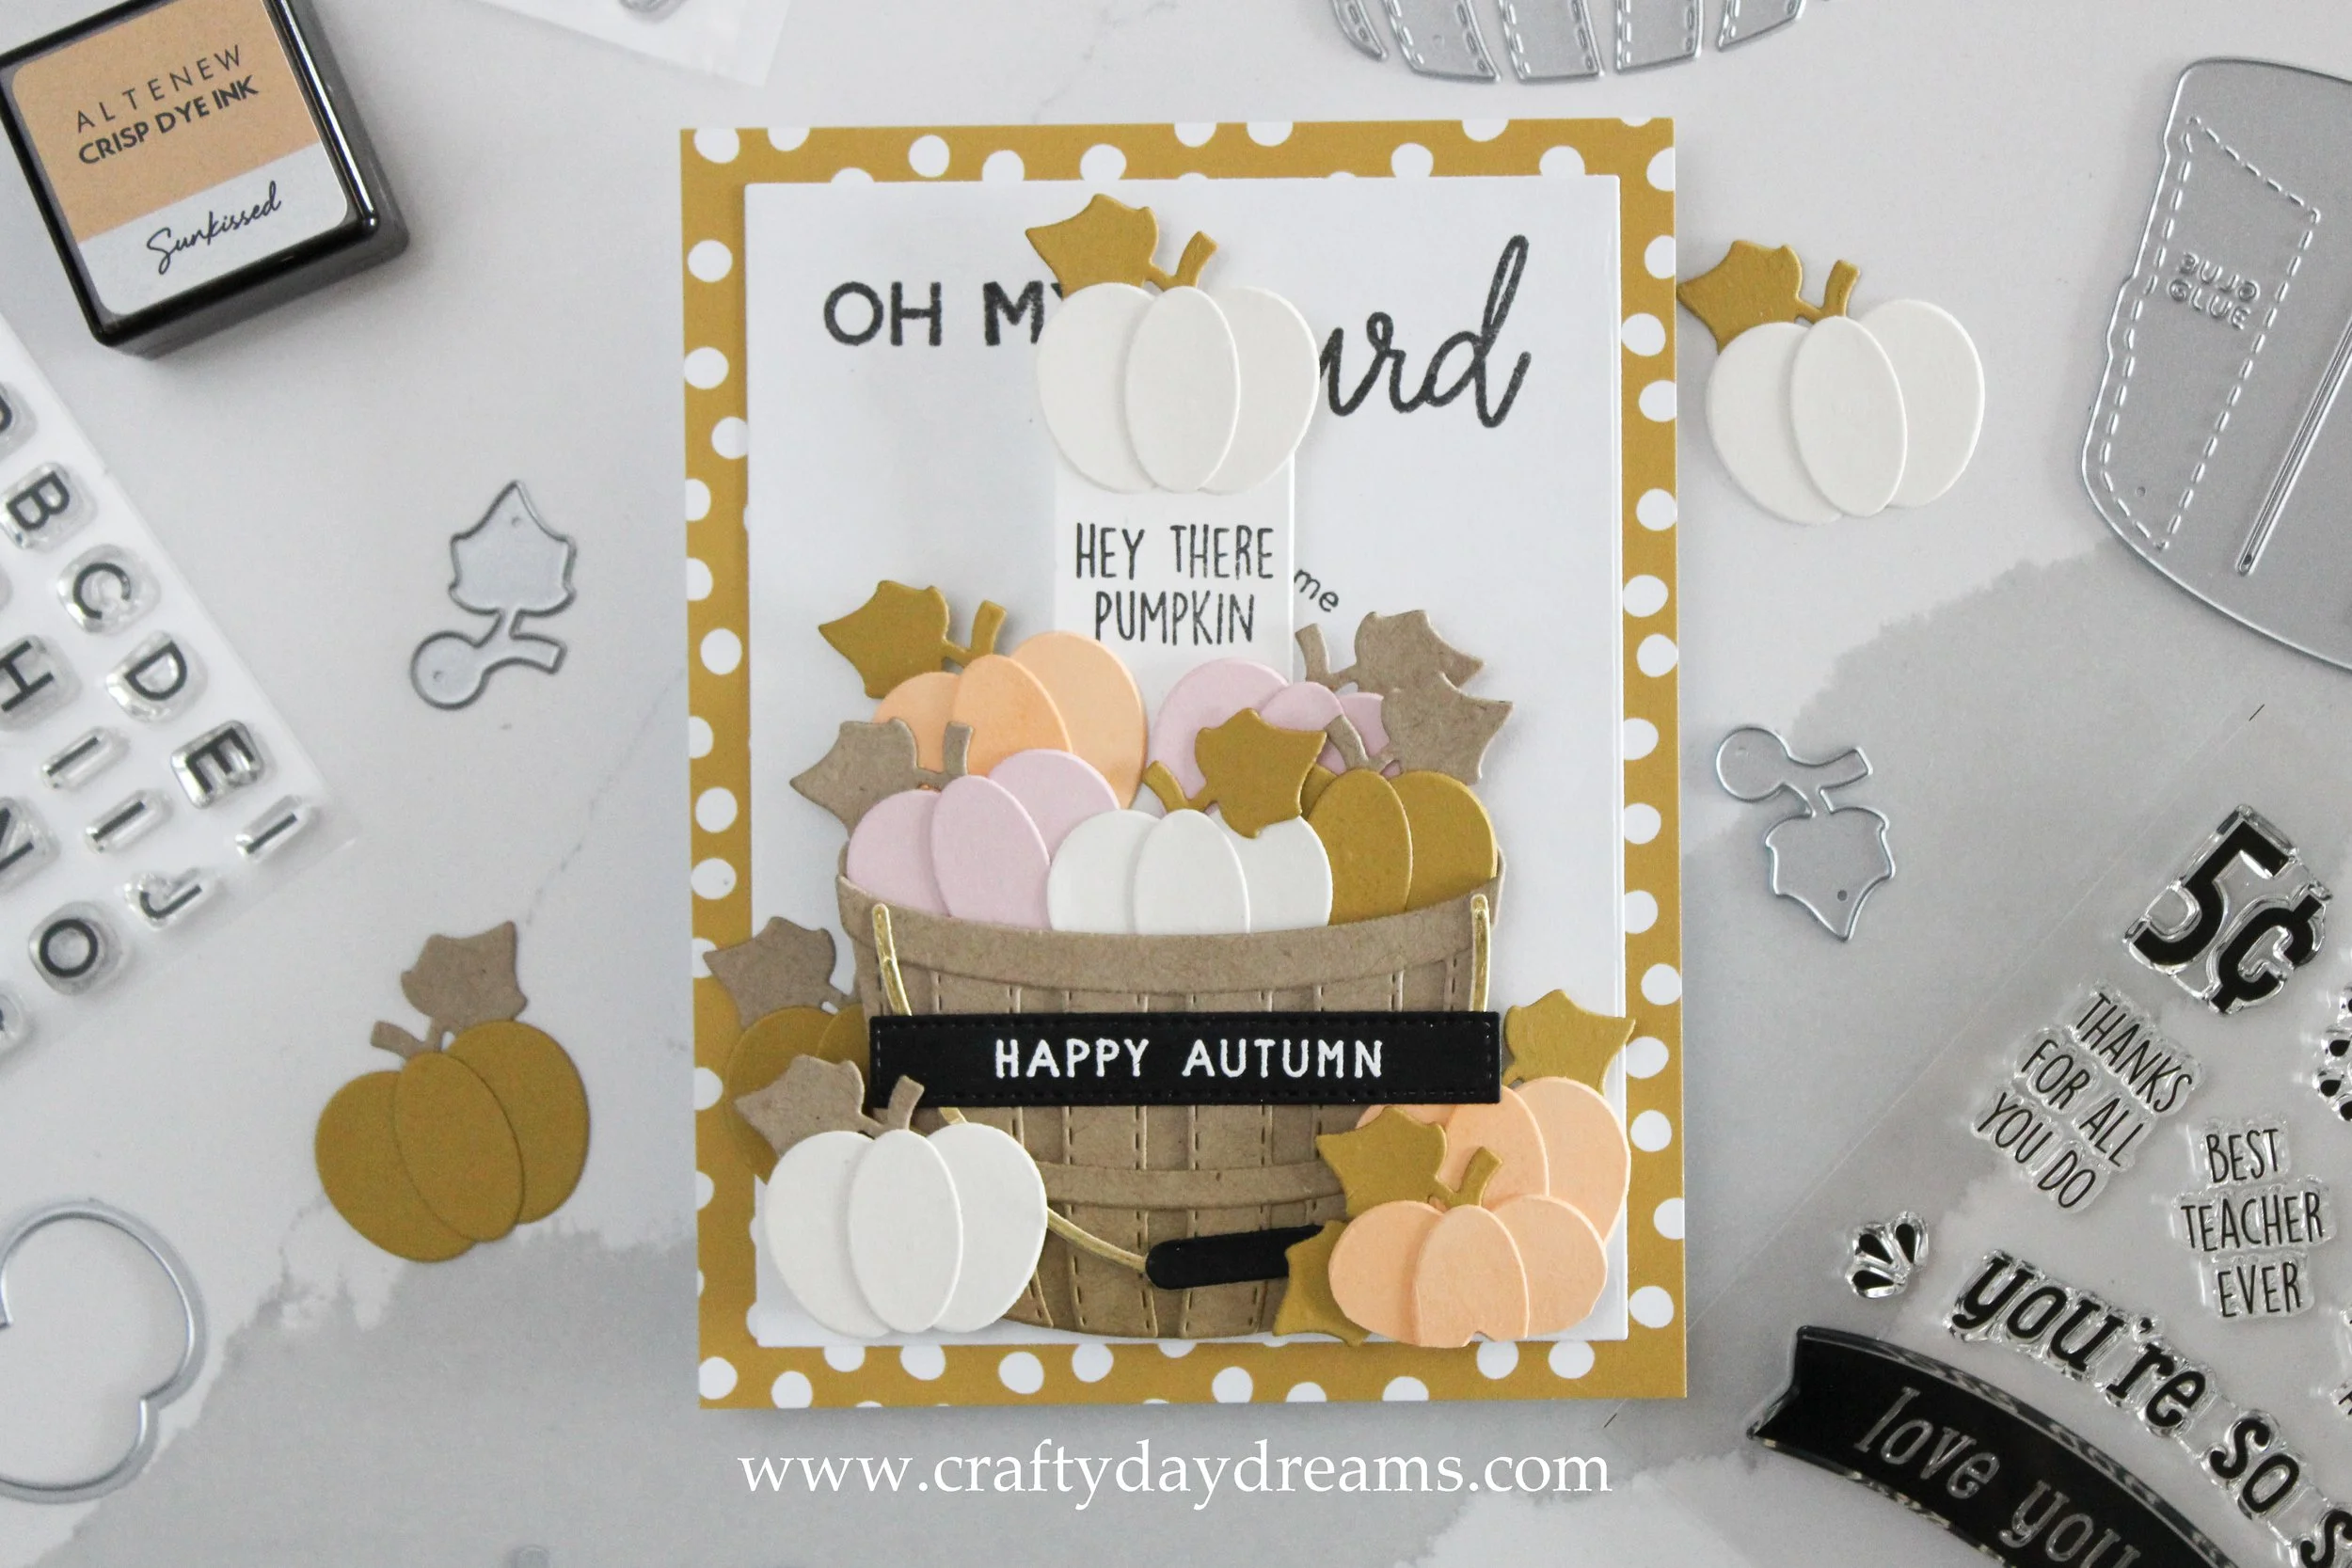
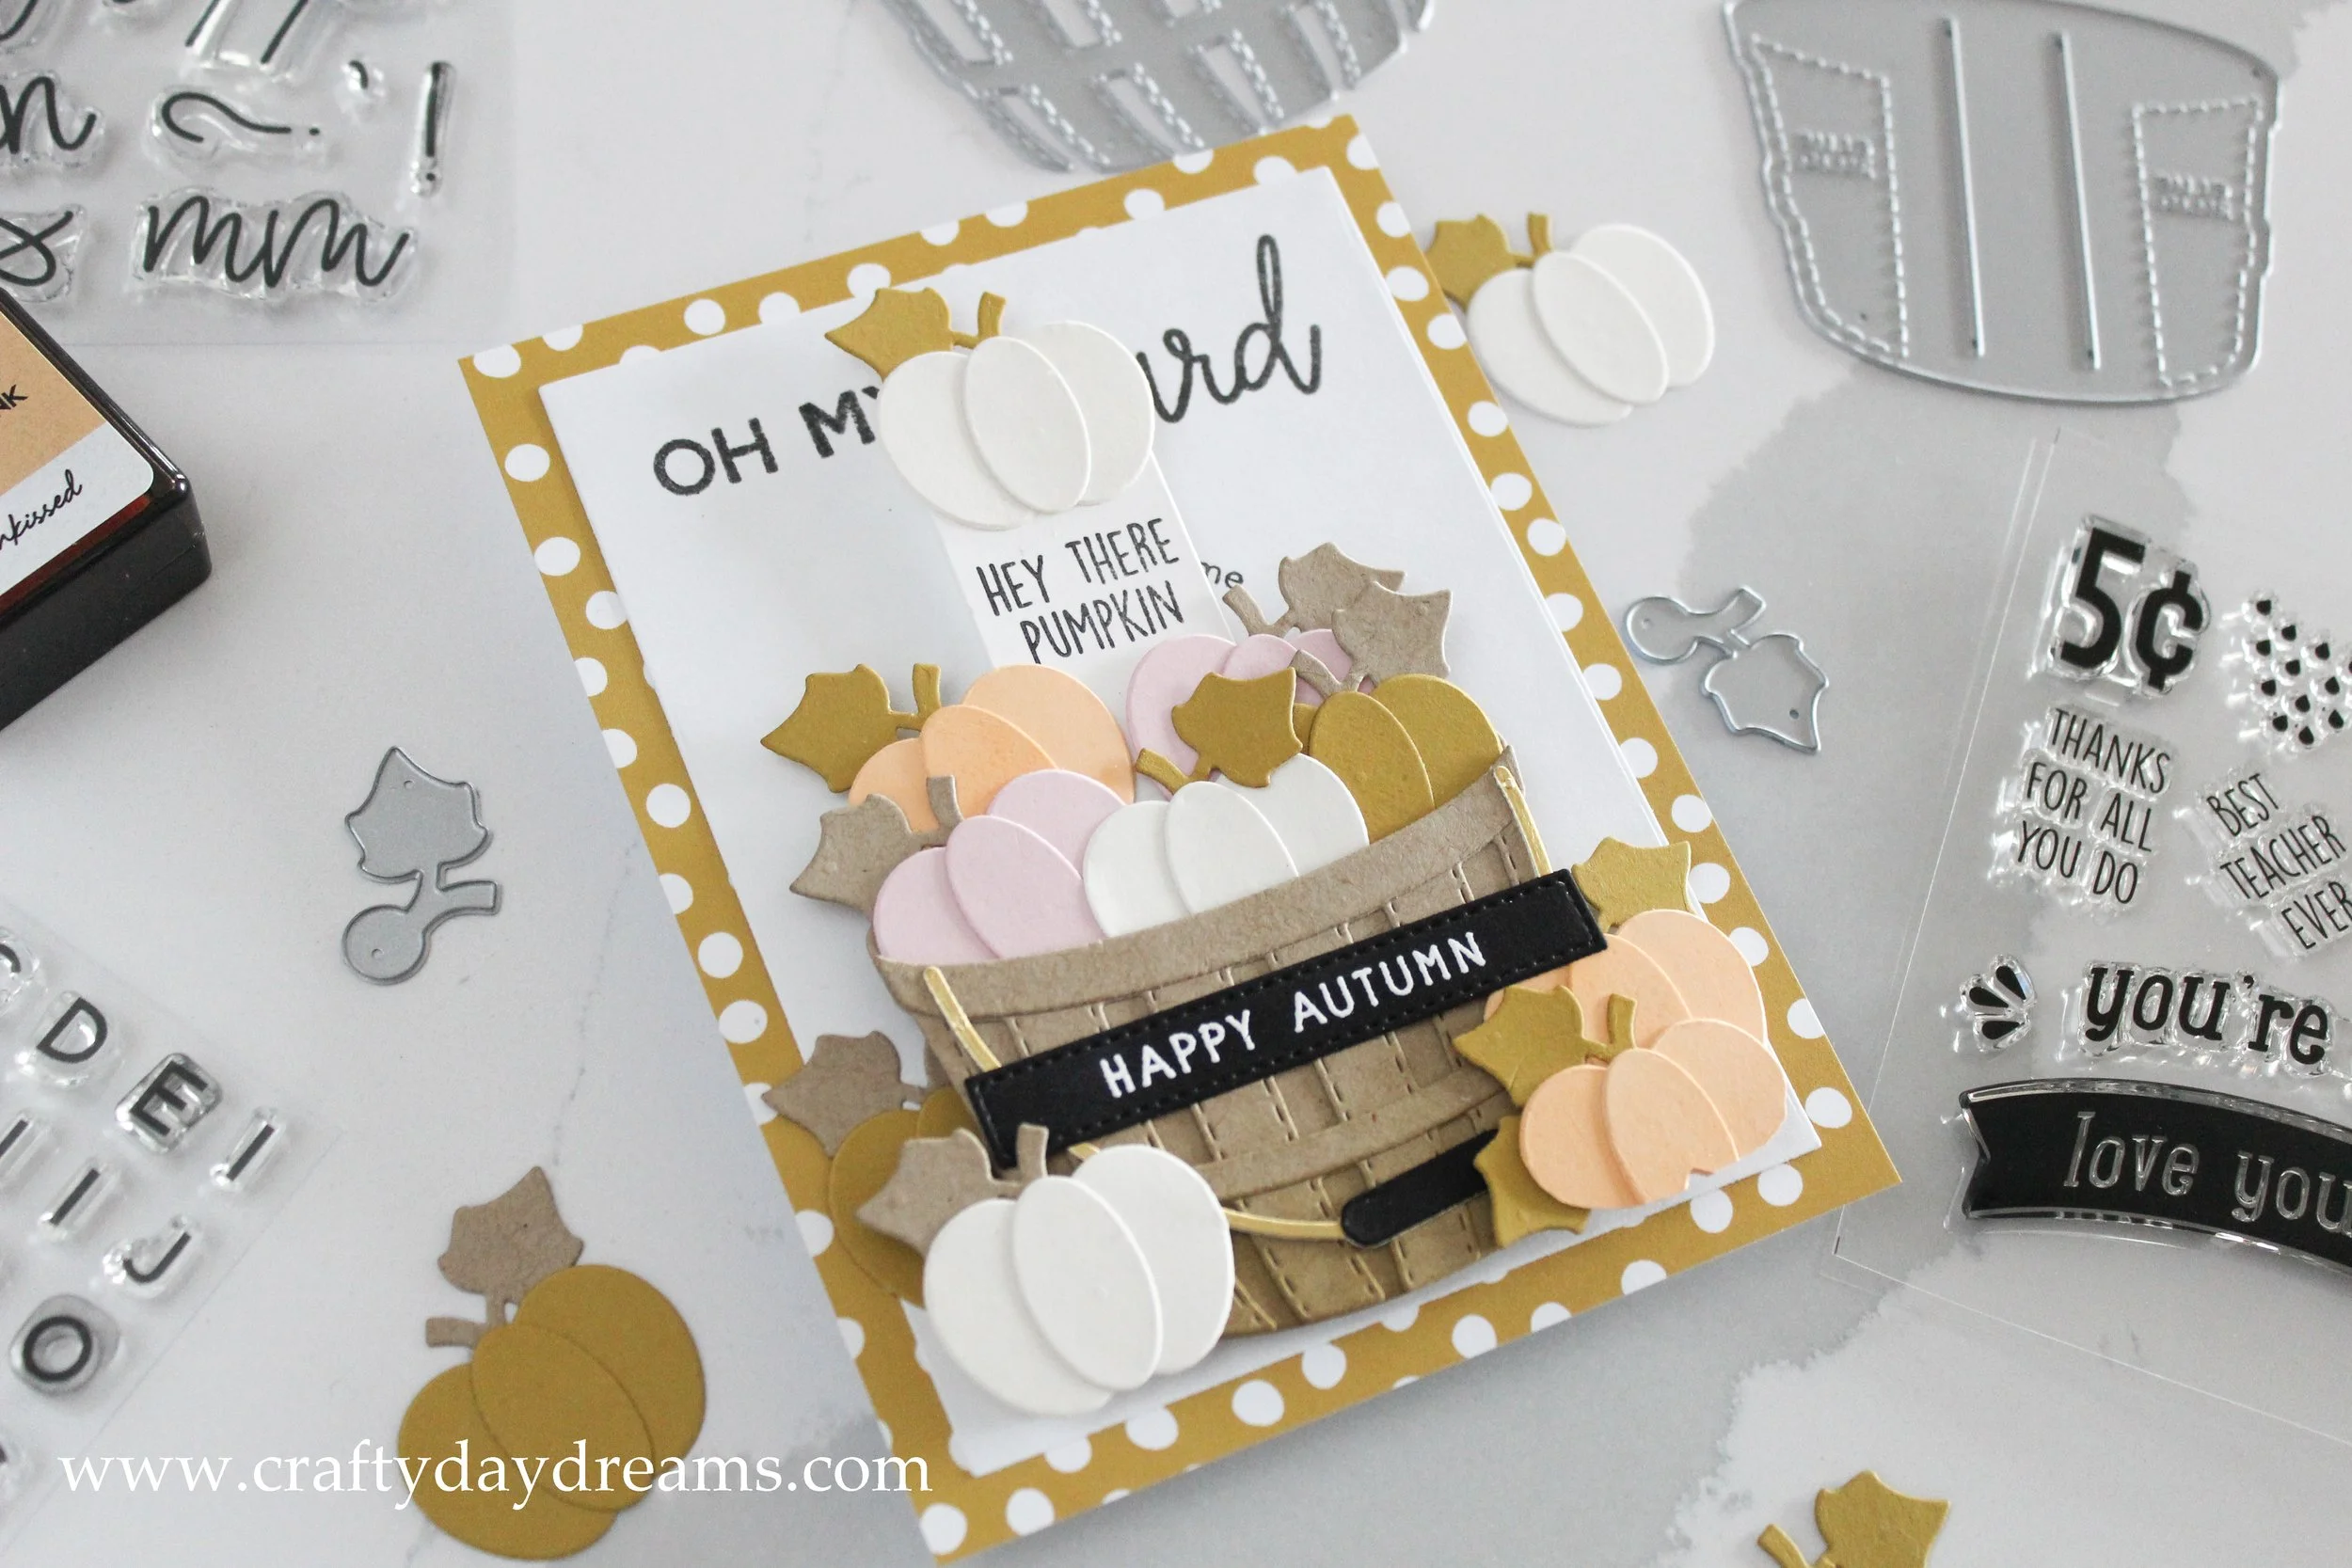
I looked at examples from Concord & 9th’s blog post to see how designers had filled their baskets to get an idea on how to get it to look nice. I wanted to make sure I had enough pumpkins to make it look full, but not too many where it was hard to tell that it was a basket of pumpkins. When working on this part of the assembly, make sure you glue pumpkins to the front of the basket! I started by gluing the front three to the inner lip of the basket, then gluing the next row to the back of the first row. I made sure the pumpkin that was on the interactive pull piece was positioned just right, and I didn’t stamp the message on the scroll piece until I had the pumpkin glued onto it to make sure I didn’t stamp too high or low.
Once my basket was finished, I got to work on the rest of the sentiment. I really wanted to use alphabet stamps and stamp out ‘oh my gourd, happy fall’. I pulled out the Lovely Letters stamp set and Little Letters stamp set from Concord & 9th. I love the playfulness of the Lovely Letter set, so I really wanted to use them here. However, since the Little Letters are a bit larger in scale that I originally thought, I had to change my mind on the sentiment, so I decided to stamp ‘oh my’ in the Little Letters and ‘gourd’ in the Lovely Letters. I really enjoyed using the Lovely Letters stamp set, but you do have to stamp each letter one at a time, but they’re fairly easy to line up, so it doesn’t take too long. For the other half of my sentiment, I pulled out the ‘happy autumn’ stamp from the Harvest Wreath turnabout stamp set and I white heat embossed it on black cardstock.
By this point I decided that my card front panel had to be matted with the polka dot Stardust patterned paper from the C9 Garden Party patterned paper pack. I love how playful this pattern is, and I think it adds such a fun vibe to this card while coordinating well with the color palette. The last bit of stamping involved on this card was adding the cute little ‘pick me’ onto the card front. Since I knew where I wanted my basket, I placed my card front in my MISTI and lined everything up. Once I picked the stamp up on the MISTI door, I curved it a little since I thought it would look super cute hugging the pumpkin.
I popped the basket up on foam tape (being sure to keep the foam tape in the marked glue sections the die cuts) to give it some dimension, but you could definitely use glue to attach it to your card front. I adhered down a couple extra pumpkins near the basket, but realized my large orange one was glued a little too far back. Because of this, I got the idea to Frankenstein a pumpkin to fill the empty, awkward space. I took one of my extra orange pumpkins and tried to freehand cut a shorter pumpkin, but I felt I couldn’t get it right. I tried using the pumpkin die to cut some of the bottom off, which worked fairly well, but I still fussy cut a little to get it to look a little better. I love how cute this little pumpkin is! Once I had the pumpkins down, I glued down the ‘happy autumn’ sentiment and called this card done.
What do you think of this card?! I struggled with deciding not to add some extra embellishments to the upper portion of the card but decided not to push my luck.
Thanks for stopping by and reading the blog! I hope to catch you next time with more inspiration!


