Concord & 9th— Boughs and Holly Joyful Wreath
Hi, friends! Welcome back to the blog!
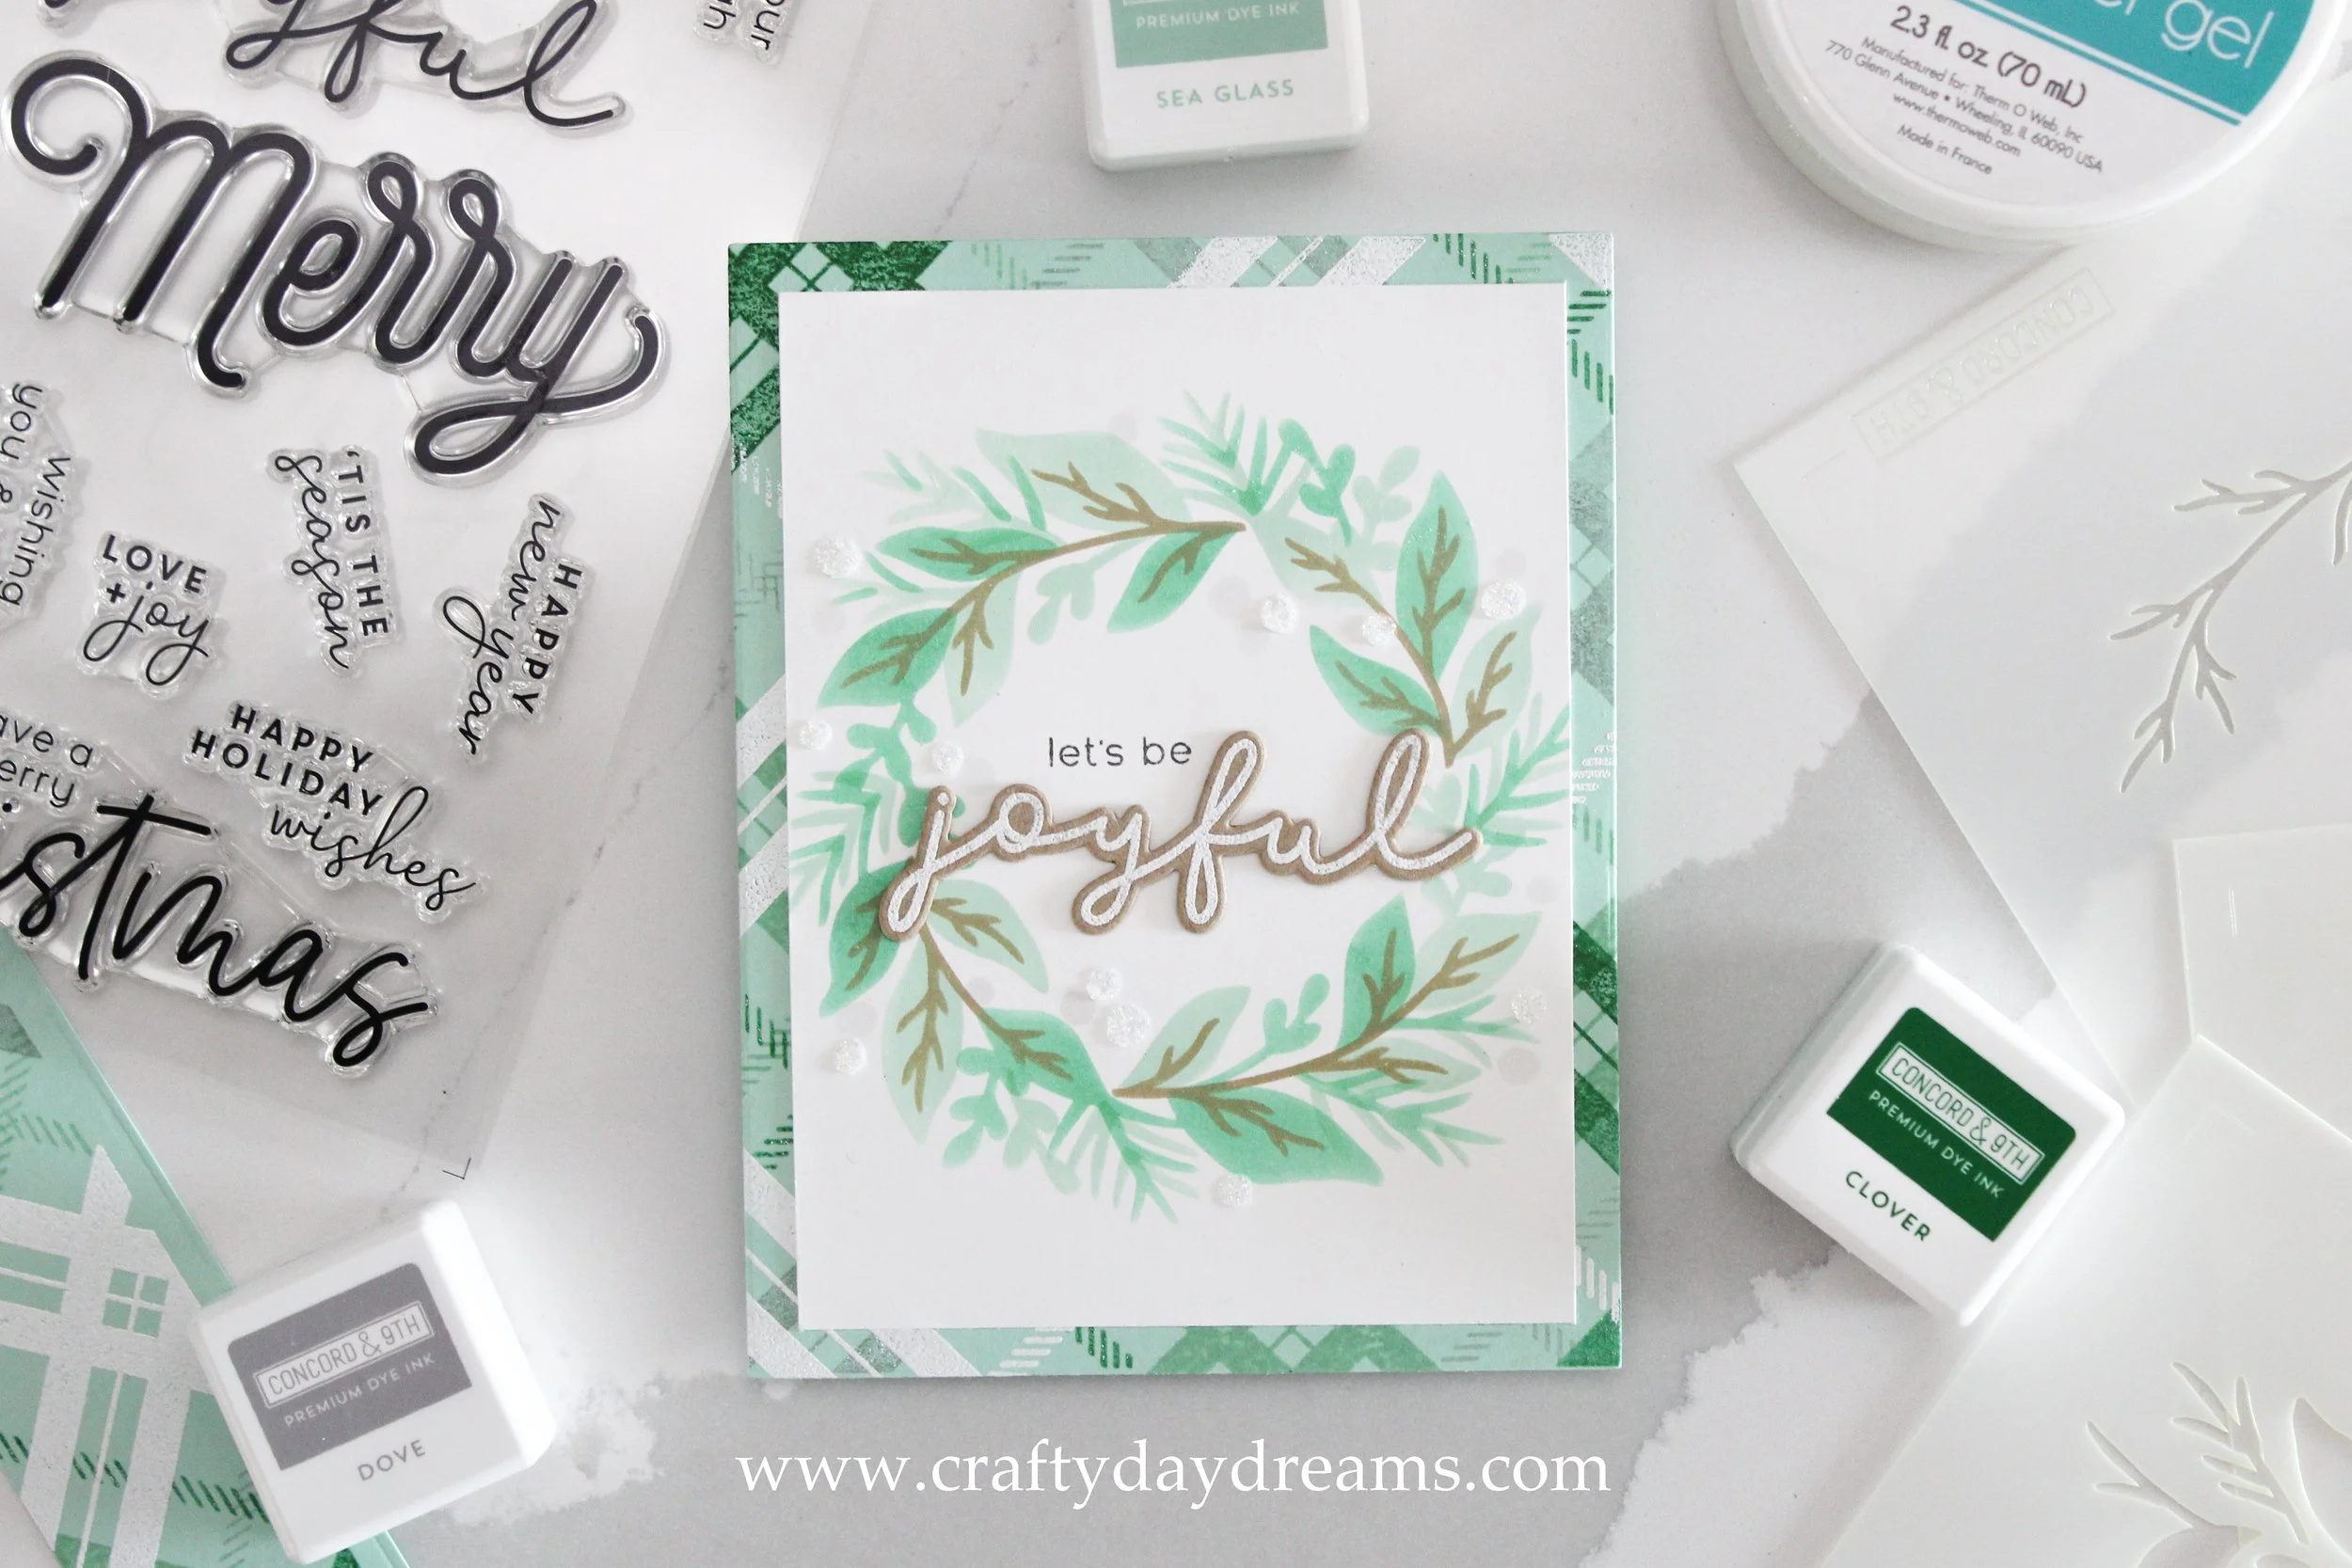
Today I’m sharing a quick and easy Christmas card made with products from Concord & 9th’s September 2022 release. I love the cool toned, yet soft vibe that this card has. The star of the show here would be the wreath stencil set from the Boughs & Holly Stencil Pack, and I love that this stencil could be used for more than just Christmas! You could add berries to it or leave them off, but changing the colors away from the traditional reds and greens really gives this wreath a different feel. You could even make a fall wreath with it and embellish it with die cut flowers! There are so many possibilities.
Anyway, onto the details with this card. I used the leafy stencil and ink blended on Sea Glass ink, turned the stencil 180 degrees, lined it up, and blended on Clover ink. These two inks (as well as the cardstocks) play really well together, and I love how they look in this wreath! Next, I went out of order from what the stencils suggest and blended on the branch stencil with Wheat ink. I like having the brown branches here because it reminds me wicker wreaths, but Evergreen ink would have also looked amazing here.
The inspiration I had for this wreath was how mistletoe can have red or white berries. Since another card I’m working on has red berries, I wanted to go with soft white ones this time. To do so, I very lightly blended on Dove ink. To add some sparkle, I flipped the stencil 180 degrees and applied Iridescent Glitz glitter gel and I love what it added to this card 😍. Just as a disclaimer, after washing off the Glitz glitter gel, the stencil does have a little hazy/scratched appearance, but it doesn’t feel scratched, and it doesn’t affect ink blending. And as another side note, if you use a dark color (like red) before using a light-colored Glitz glitter gel, go and wash your stencil super well! I didn’t on a card that I was working on before this one, and my berries that I wanted to be white turned out a bright pink haha. Lesson learned!
I knew by this point of the card that I was going to use the stamped word ‘joyful’ from the Festive Phrases stamp set and the small ‘let’s be’. I white heat embossed the ‘joyful’ on Wheat cardstock and die cut it with the coordinating die. Once I figured out where I wanted the ‘joyful’ to be glued down, I lined up the ‘let’s be’ stamp and stamped it with Simon Says Stamp Intense Black ink. I love how this sentiment looks.
I was really debating on how to finish this card off. I almost glued a white scallop frame down over the wreath panel to have a clean, bright card, but I changed my mind. Instead, I used the new Plaid Turnabout stamp on Sea Glass cardstock and stamped a turn in Sea Glass, Dove, Clover and the final turn was white heat embossed. I cut the wreath panel down 1/4 inch on each side and matted it on the plaid background. I love how the plaid looks with the wreath, especially since I used the same colors so it would coordinate perfectly.
I really enjoyed using these products on this card! I love C9 stencils because they’re at a lower price point than stamp sets, and because they are so high quality. They are the thickest stencils I’ve ever used, and it really makes cleaning them a breeze! And oh my gosh, this plaid turnabout stamp 😍. I had originally passed on it on release day since I’m running this blog on my own money and doing it full time, so I try not to buy things that I think I won’t be super wowed by. But let me tell you, I had major FOMO over this plaid turnabout! At first all I thought was it was only a Christmas product, but oh my gosh, it can be used for so many things! Fall/Thanksgiving, masculine cards, Easter/Spring (with some bright colors)…the possibilities are endless!
I hope you enjoyed this post, and I hope it inspired you! I’ll catch you next time with more inspiration 😊.


