Altenew June Release Blog Hop: Craft-A-Flower Japanese Anemone Three Ways!
Hello, Friends!
I’m so happy to be back and blog hopping along with Altenew for their June release! If you haven’t seen it yet, it’s full of florals, tropical foliage, and all things summer! Today I’ll be focusing on the new Craft-A-Flower: Japanese Anemone die set. If you’ve been following along with my blog or have caught me in other Altenew hops, I love to share how I’ve used products in multiple different ways so that there’s hopefully a bit of inspiration for every type of crafter. I really feel like I’ve achieved that today with the three different style cards I created: a card with a background using die cut flowers, a 5 x 7-inch card with ink blended flowers, and a mini slimline with vibrant die cut flowers.
One thing I absolutely love about this die set is that it is a little different from the other Craft-A-Flowers in the scale and size of the various flowers. Usually Craft-A-Flower dies create large florals that tend to be the big focal point of a card. I love that this die set can be used in other ways than that, making it maybe a little more versatile (at least in my opinion).
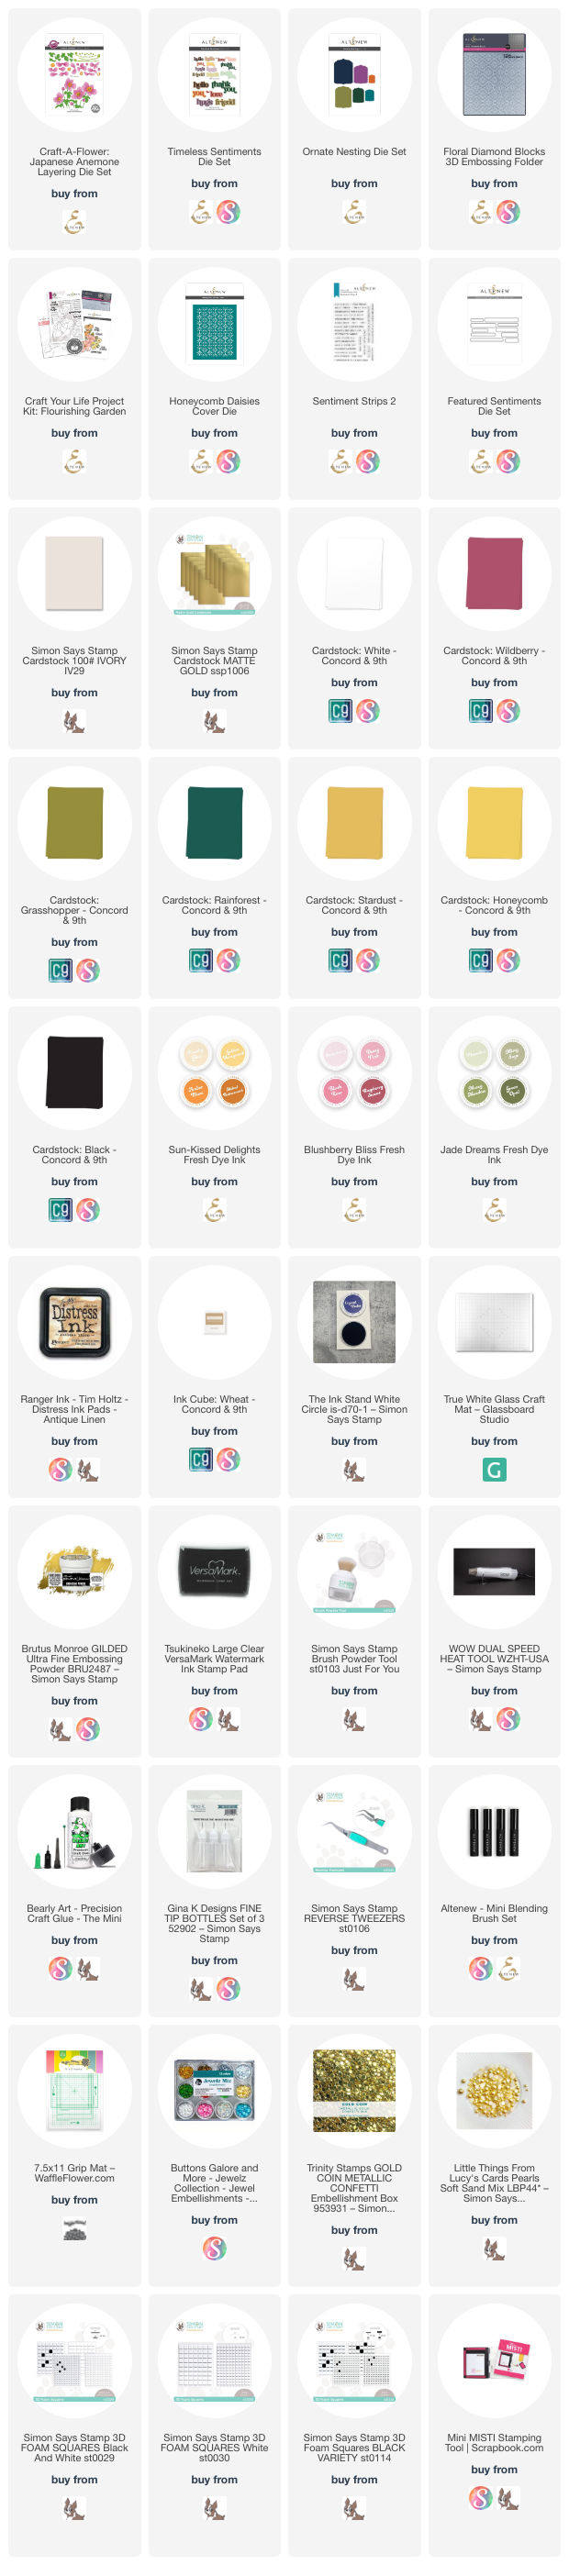
Giveaway details, the supplies I used, and links to the rest of the incredible designers in this hop will be linked at the bottom of this page! As always, thank you to Altenew for providing me these products to play with! Want to start hopping from the beginning? Click here to get started at the Altenew Card Blog!
Ivory Elegance
I love that this die set has 4 different flower orientations in it, it truly makes creating a background with them easy as can be! To start this card off, I die cut a handful of flowers and the flower center dies out of Concord & 9th white cardstock. I really wanted ivory/white to be the focus of this card, so I decided I would ink blend the flower center details so they were soft and fit the vibe. To do so, I used Antique Linen distress ink on the circle detail piece, and Wheat ink from Concord & 9th for the flower center. I think these colors were perfect for this design!
I cut down a piece of Ivory cardstock from Simon Says Stamp to 4.25 x 5.5-inches and arranged the flowers in all different orientations across the card front. Once I was happy with the layout, I pulled out some Press’n’Seal, burnished one edge of it on my work surface to create a hinge, then picked up the flowers and folded the piece back (like a book) so I could add some thick foam squares to the back of each flower. I think the thick foam squares are essential here since the dimension they bring really packs a punch! After popping off all my liner papers, I stuck the flowers down and trimmed off the excess.
I knew for a greeting that I was going to die cut the ‘hello’ from the Timeless Sentiments die set out of matte gold cardstock, but I knew I needed to bring more gold into this card. Once I had my sentiment stacked up with a few layers of white die cuts underneath it, I stuck it down in the lower right corner of the card, then pulled out some Soft Sand pearls from Lucy’s Cards and scattered them around. I didn’t really have a rhyme or reason to it, and you might feel there are too many pearls (I know I had that doubt a time or two!!), but they really filled in the gaps quite well and brought some balance and shine. I love the different texture and dimension they add to this card too.
Ink Blended Blooms
With this card I’m going soft and textured, and not to mention, kind of large since this is the first 5 x 7-inch card I’ve made in maybe two years?? All I know is that I think this card turned out pretty perfectly if I do say so myself!
I was so excited to play with the new fresh dye inks released this month that I just had to use them on these flowers (not to mention, they are a perfect floral color palette!). I started off by die cutting all of the flowers, flower centers, stems, and leaves out of Concord & 9th white cardstock. I popped the flowers on my grip mat and covered each petal in a base color of Dusty Pink. To add a bit more dimension and punchy color, I pulled out Blush Rose ink and focused my blending on the center of each petal layer. For the flower centers, I blended on Pistachio ink for a nice light green, and Maple Yellow for the ring around the flower center. For the stems and leaves, I first blended on Mossy Meadow to get a base layer down, then brought in Green Opal to deepen up the stems and the base of the leaves. I absolutely loooove these greens, I think they’re my favorite green quad of the fresh dye inks.
I assembled my flowers using liquid glue (I have not glued the stems and leaves yet so that I can place them more precisely) and set them off to the side so I could work on my background. I really wanted to add some texture to my background since it was such a large space and it seemed like it really needed some sort of texture to make things more interesting. I went through my Altenew card front dies first to see if I could stretch one of them to cover a 5 x 7 panel, but the opening on my die cut machine restricted me from being able to successfully use one of those. I ended up settling on the Floral Diamond Blocks 3D embossing folder, which I had to do some partial embossing with since the folder is 6 x 6-inches. I slid my white card front into the folder after misting it with water and ran it through my die cut machine. All that was left was a 1-inch strip of plain white cardstock on the bottom of my card front, which I did think about just leaving as-is since it could be fun to have that bit of space with no texture. I ended up deciding to finish embossing the whole thing, so I lined up the bottom of my cardstock with the grooves in the embossing folder pattern and made sure the row(s) above the untextured inch matched up so that when I ran it through my die cut machine, it would finish the pattern seamlessly. The only issue with this is that the pattern turns out fine, but there is a sort of embossed line where things overlapped, so it’s not a fully seamless panel when you do this, but you can always cover the seam/imperfection up like I did!
I knew I wanted to use the Ornate Nesting die set to create a focal point on my card, so I die cut the largest one out of Ivory cardstock from Simon Says Stamp. This still keeps things light and bright but adds a little bit of contrast and a smidge of warmth. At this point, I decided to make this a thank you card, so I die cut the ‘thank you’ from the Timeless Sentiments die set out of matte gold cardstock and two layers of white cardstock. I glued the layers together and started playing around with my placement of everything and decided that I needed to sneak in a subsentiment. The subsentiment I chose was from the Flourishing Garden stamp set (I do have a video and blog post on this set!), and I love the variety of sentiments in this set! They basically cover every occasion! I chose ‘you brighten my day’ because I thought that fit this pretty well, and I heat embossed it in gold. Once the embossing cooled, I glued the ‘thank you’ down just above it, then I glued the ornate die cut onto my card front, centering it the best I could.
When it comes to the flower arranging, it did take me a little bit to come up with this layout. I realized three flowers fit on the card front fairly well, but it left me a little bit of empty space. I thought about changing the flowers on the card for other orientations, but I really really loved the flowers that open up to the right and left, and they were pretty large, so I decided everything was going to stay and instead I would make use of the buds included in the die set. I quickly ink blended the buds the same way as I had the flowers and started to play around with the orientation of the flowers and stems. I really try to vary the heights of each as well as the direction and angle of the stems and flowers so that things feel a little realistic and so that they look pleasing to the eye. I was really happy with how my stems were positioned and I didn’t want to risk getting one of them out of whack, so I snuck the tip of my glue bottle behind them and quickly glued them down. Since I knew I would likely place my flowers a little differently by the time I had adhesive on them, I decided I would save the leaves for last.
For the flowers, I decided varying dimension would be best. I popped the large, open flowers that are on the left and right edges of the card up on thick foam squares and popped the buds and center flower up on thin foam squares. I like how this adds a nice perspective to the card, almost like you’re about to walk through a field of flowers and some are real close to you while others are just a little bit further back. From here, I could easily glue the leaves down while trying to make it so that they weren’t all facing the same way/angle, and I think things turned out quite well!
At this point, I was in love with this card, but I was thinking maybe a little extra sparkle would be nice. I pulled out my Holiday Jewelz Mix from Buttons Galore & More (I love this set, so many gem options!), and used the White AB gems. These gems kinda pick up on the colors around them, so they fit in with this card well. Honestly, embellishing this was a little tricky for me, I was so in my head about it that it took a little while. I tried to make a couple ‘triangles’ with the way the gems are arranged because I find doing that helps a bit with placement and balancing things a little bit. Once I was happy, I glued the gems down and called this beauty done!
Bold & Beautiful
Now this guy packs a punch! If ink blending florals and large cards aren’t your cup of tea, then maybe this mini slimline with vibrant die cut flowers is just for you! For this card, I decided to play around with the new cardstock colors from Concord & 9th, so I die cut the flowers out of Wildberry, the flower centers out of Honeycomb & Stardust (not new colors), and the stems and leaves out of Grasshopper cardstock. Just like the last card, I assembled the flowers and got to work on the background before gluing the stems and leaves together.
I wanted a dramatic background, so I pulled out some Rainforest cardstock from C9 and cut it to 3.25 x 6.25-inches. I thought texture was needed on this card, so I pulled out the Honeycomb Daisies cover die and die cut that out of another panel of Rainforest cardstock. I decided that it would be fun/interesting to crop the honeycomb panel 1/8-th of an inch on each side making this panel 3 x 6-inches. I dotted liquid glue all over the back of the honeycomb panel, then glued it down on my slightly larger card front.
Before I could glue my flowers down or even figure out their placements, I needed to nail down my sentiment. Once again, I pulled out the Timeless Sentiments die set and die cut the ‘hugs’ out of matte gold cardstock and two layers of white cardstock. When I laid this sentiment out on my card front with some flowers, things felt a little too empty, so I decided a subsentiment was needed. I went back to the Flourishing Garden stamp set and white heat embossed the sentiment ‘I am here for you’ on black cardstock. I cut the sentiment out using one of the small sentiment dies from the Featured Sentiments die set which allowed me to visualize everything and nail my placements down.
Just like the previous card, I first glued down my stems so that those would be exactly where I wanted them to be. I popped the right and left blooms up on thick foam squares, and the bud up on thin foam squares in order to bring those different levels of dimension to this card. With those stuck down, I could glue my leaves on and trim off the excess.
Next, I popped some glue on the back of my sentiment and stuck it down on the upper right corner of the card front. I nestled my subsentiment just below the ‘hugs’ and glued it down, trimming off the excess cardstock so that it ended on a straight edge. I could have used the die to have a rounded edge to the sentiment strip, but for some reason I really liked it ending in a straight cut.
To finish this card off, I thought more sparkle was needed. This time I pulled out Gold Coin sequins from Trinity Stamps and scattered them around. I used my ‘triangle’ method again to arrange these and once I was happy I glued the sequins down. This card came together very quickly (the part that took the longest was popping out all the fallout from using the Honeycomb Daisies cover plate haha!) and I love how different it is from the other two I created!
Well, that’s all I’ve got for you today! Thank you so much for stopping by! I really hope you love these cards and that you feel inspired to create, I’m feeling incredibly proud of this bunch and I’m thrilled to be sharing them today.
Don’t forget to keep blog hopping along (links are just below this!) if you haven’t checked out what the other fabulous designers in this hop have created!
Giveaway Prizes
$300 in total prizes! To celebrate this release, Altenew is giving away a $100 gift certificate to 1 lucky winner and a $50 gift certificate to 4 winners! Please leave a comment on the Altenew Card Blog and/or each designer’s blog post on the blog hop list below by June 12, 2024 for a chance to win. Altenew will draw 5 random winners from the comments left on each stop of this blog hop and announce the winners on the Altenew Winners Page on June 14, 2024.
*The winner of the $100 gift certificate will be chosen from comments left on the Altenew blog.
Affiliate disclaimer: all links to Waffle Flower, Altenew, Scrapbook.com, and Spellbinders products are affiliate links. These links allow me to get a commission at no extra cost to you if you use them to shop! All other links provided are links to supplies and shops I am not affiliated with and I do not get a commission from.