Waffle Flower—Postage Collage Snowy Stencil
Hi friends!! There’s a lot going on in our household, not to mention I’ve started a new job, so I apologize for being absent again!
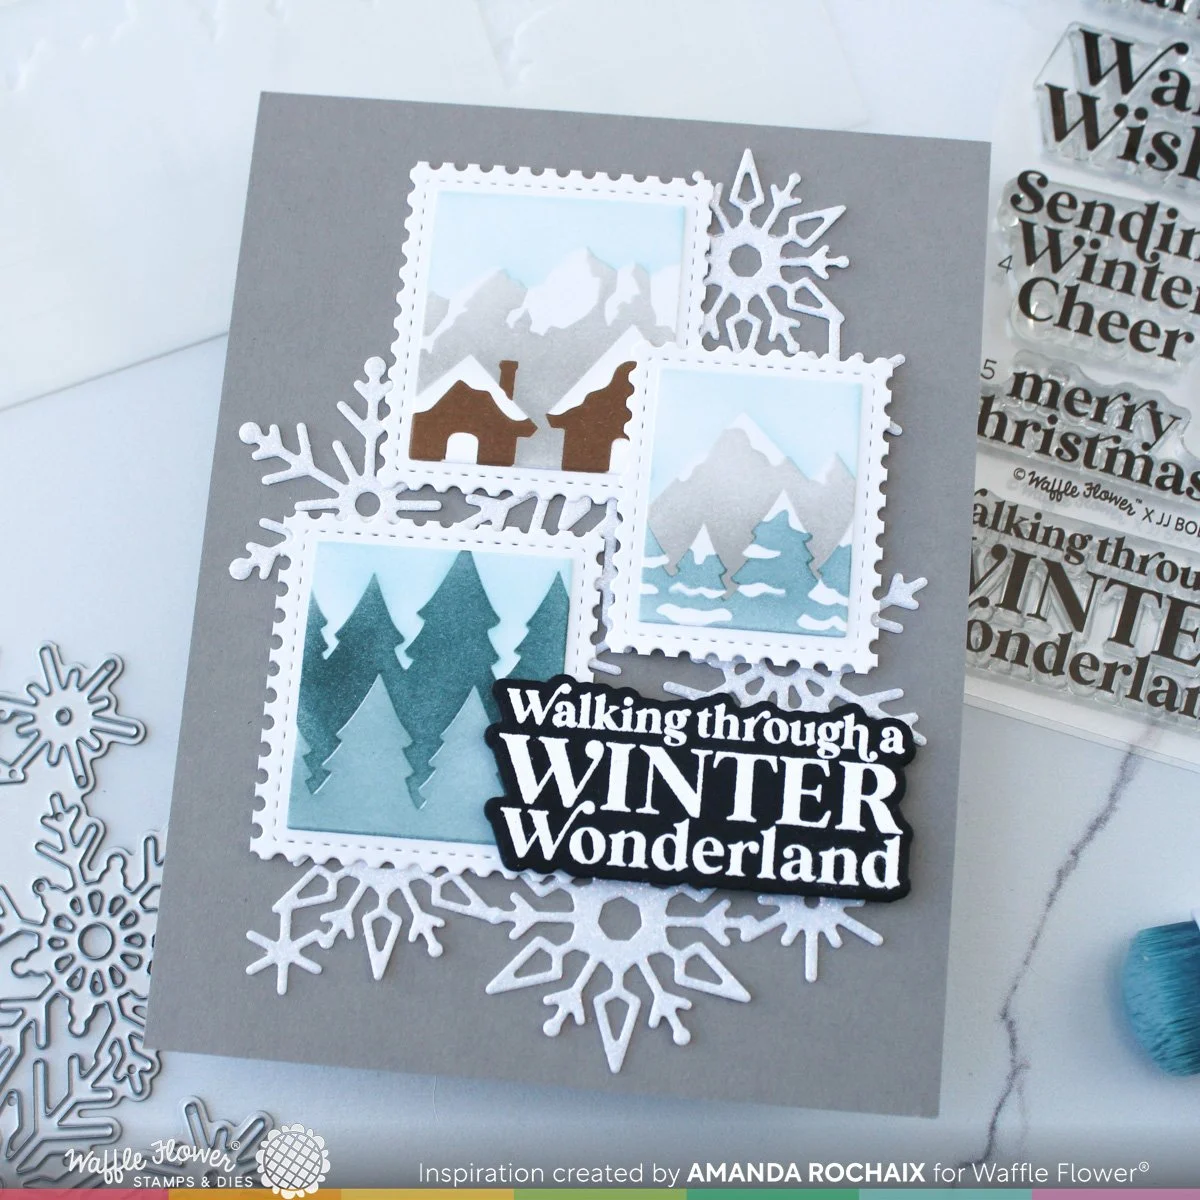
But, today I’m here to share a fairly quick and easy Christmas card featuring some products from Waffle Flower’s Snow Fun release. There are soooo many amazing products in this release, and today I’ll be using three of them: the new Postage Collage Snowy Stencil, the Snowflake Cluster die, and the Snow Cheer Sentiments combo. I loooove the font used on this new sentiment set, and if you’re thinking that it feels familiar, it sure is! This font is also used on the Holiday Cheer sentiments as well.
All right, so let’s get down to business. I first started out by die cutting an A2-sized panel of C9 white cardstock with the Postage Collage Blocks die. This die has really become a ‘must-have’ for me, and since it’s come out, I’ve used it with every release. It gives you the freedom to change the ruffle-y part of your postage stamps, but it also allows you to add some lovely dimension to your postage stamps! When you die cut with this die, you get a frame and all of the fallout pieces that make up the postage stamps, so to make stenciling easier, I stick the frame to my grip mat then pop the fallout pieces in place. This helps to keep the fallout pieces in place in case they ever move, but it also ensures that your stencil lines up seamlessly!
With everything ready to go, I lined the first stencil up on my grip mat, then got to stenciling. I was really into cool, crisp colors with this release, so I stenciled all my trees in Rainforest ink (using various pressure to get different shades), Powder for the skies, Cobblestone for the mountains, and Nutmeg for the cabins. I probably could have been a bit more fun and went for some more fun/playful colors, but my brain was not letting me think that way! Once I was done with all four layers of the stencil, I die cut the postage ruffle piece using the Postage Collage die and white cardstock. I glued the postage scenes on to the ruffle piece, then cut them apart.
I feel like lately I’ve been using the Postage Collage sets in a ‘basic’ way, or I guess, using them the same practically every month, so I wanted to try a fun, broken up layout this time. Since I was going for frosty colors, I thought leaning back into Cobblestone and using it as my cardfront color would add a lovely coziness to this card, so I trimmed a piece to A2-size.
At this point, I felt things were too plain and I wasn’t sure if I wanted to use a texture die on the Cobblestone cardstock, but then I had the idea of using the Snowflake Cluster die as some background texture and to really drive home the winter vibes. I die cut the Snowflake Cluster die out of some white glitter cardstock from Concord & 9th for a little bit of shine, but also so that it stood out from the postage ruffles. I glued it down, then started to arrange my postage stamps. Once I felt things were balanced, I thought the ‘walking through a winter wonderland’ sentiment from the Snow Cheer sentiment set would be perfect for this card. It really nails the wintery vibes, but it is also nice and large, so I white heat embossed it on black cardstock and die cut it out.
I glued the cabin and mountains stamp, as well as the tree stamp, down to the Snowflake Cluster diecut. I would have used thin foam squares here, but I’m trying to be mindful/minimal with my dimension since I will likely be mailing this card. I popped the mountain and trees stamp up on some thin foam squares and stuck it down so it slightly overlapped the cabin and mountains stamp. To finish this card off, I added thick foam squares to my sentiment, then popped it down in the lower right corner. I love the overlap that the elements of this card have— so fun!
That wraps up today’s post! I hope to post more wintery/holiday cards soon, so if there’s one you really want the details on, let me know in the comments below!!
Affiliate disclaimer: all links to Waffle Flower, Altenew, Scrapbook.com, and Spellbinders products are affiliate links. These links allow me to get a commission at no extra cost to you if you use them to shop! All other links provided are links to supplies and shops I am not affiliated with and I do not get a commission from.


