Trinity Stamps—A Sweet Birthday Card
Hi crafters, welcome back to the blog!
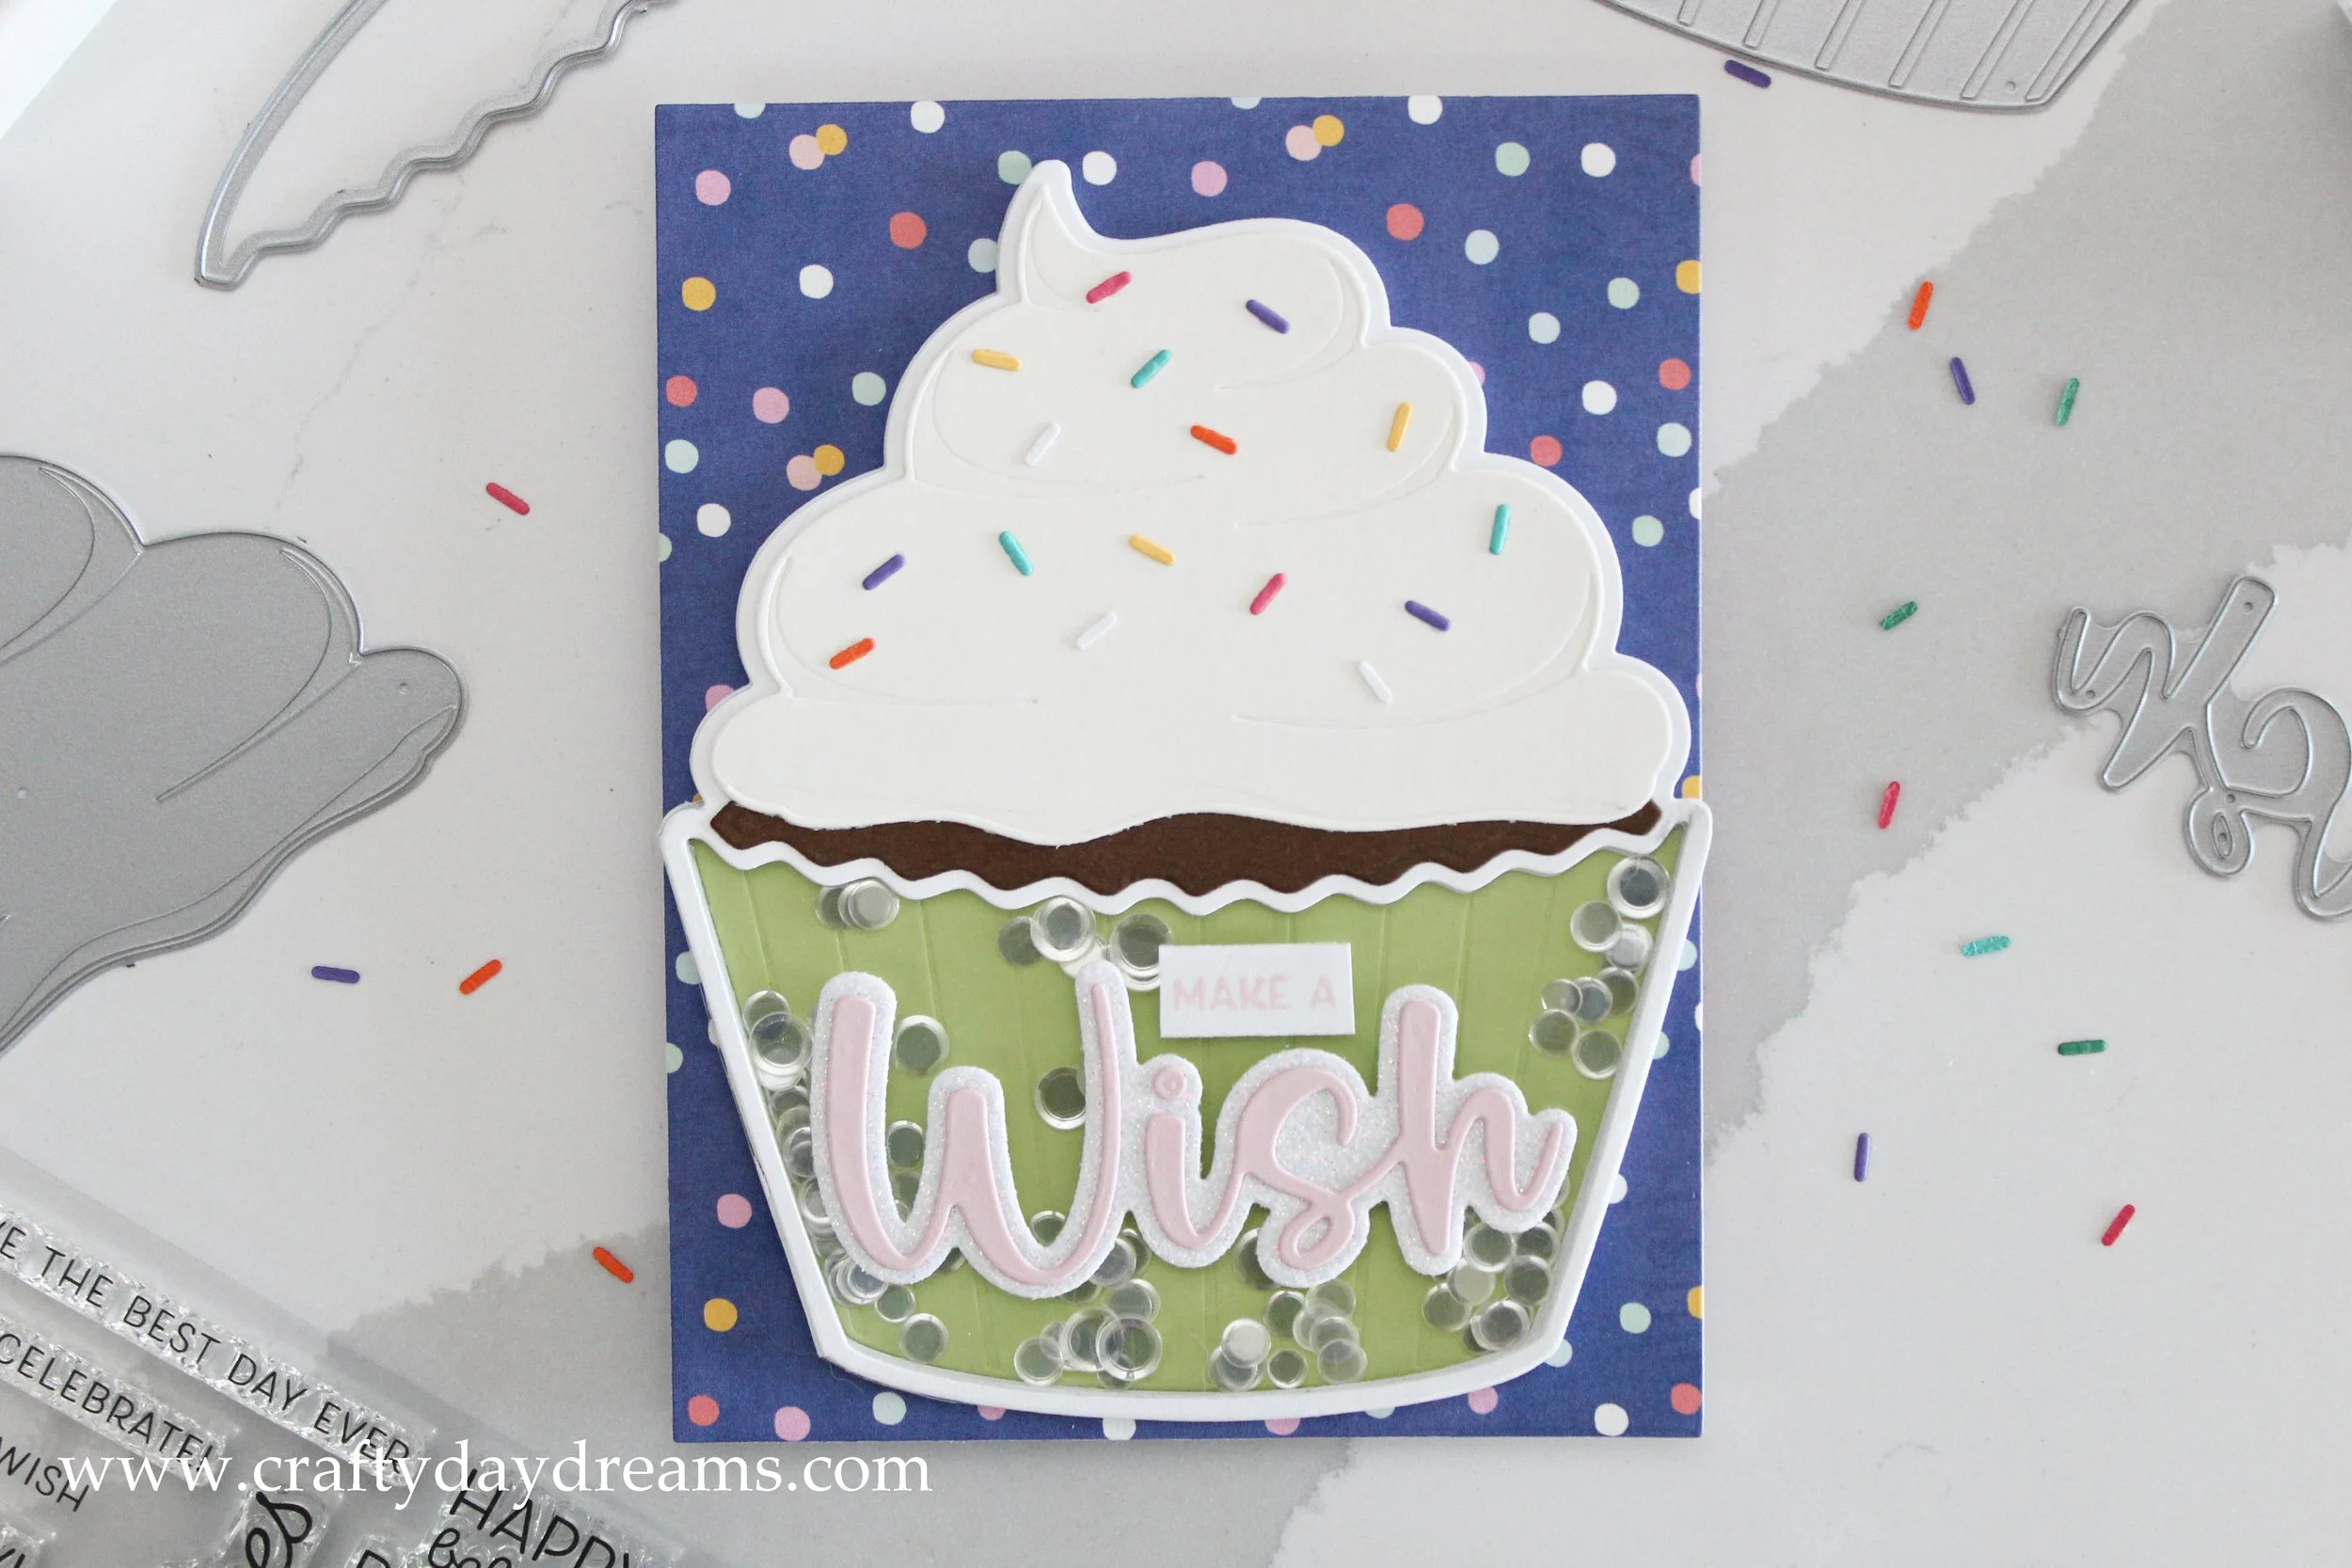
Today I’m sharing another card that I’ve made using the Trinity Stamps Cupcake Card die set. I love this die set and how easy it is to slap together an adorable birthday card (here’s a link the other card I made with it here for more inspiration)! I made this sweet card for my mom’s upcoming birthday, and I love how it turned out! I can’t wait for her to get it in the mail, I hope it feels like a big hug from 1,900 miles away.
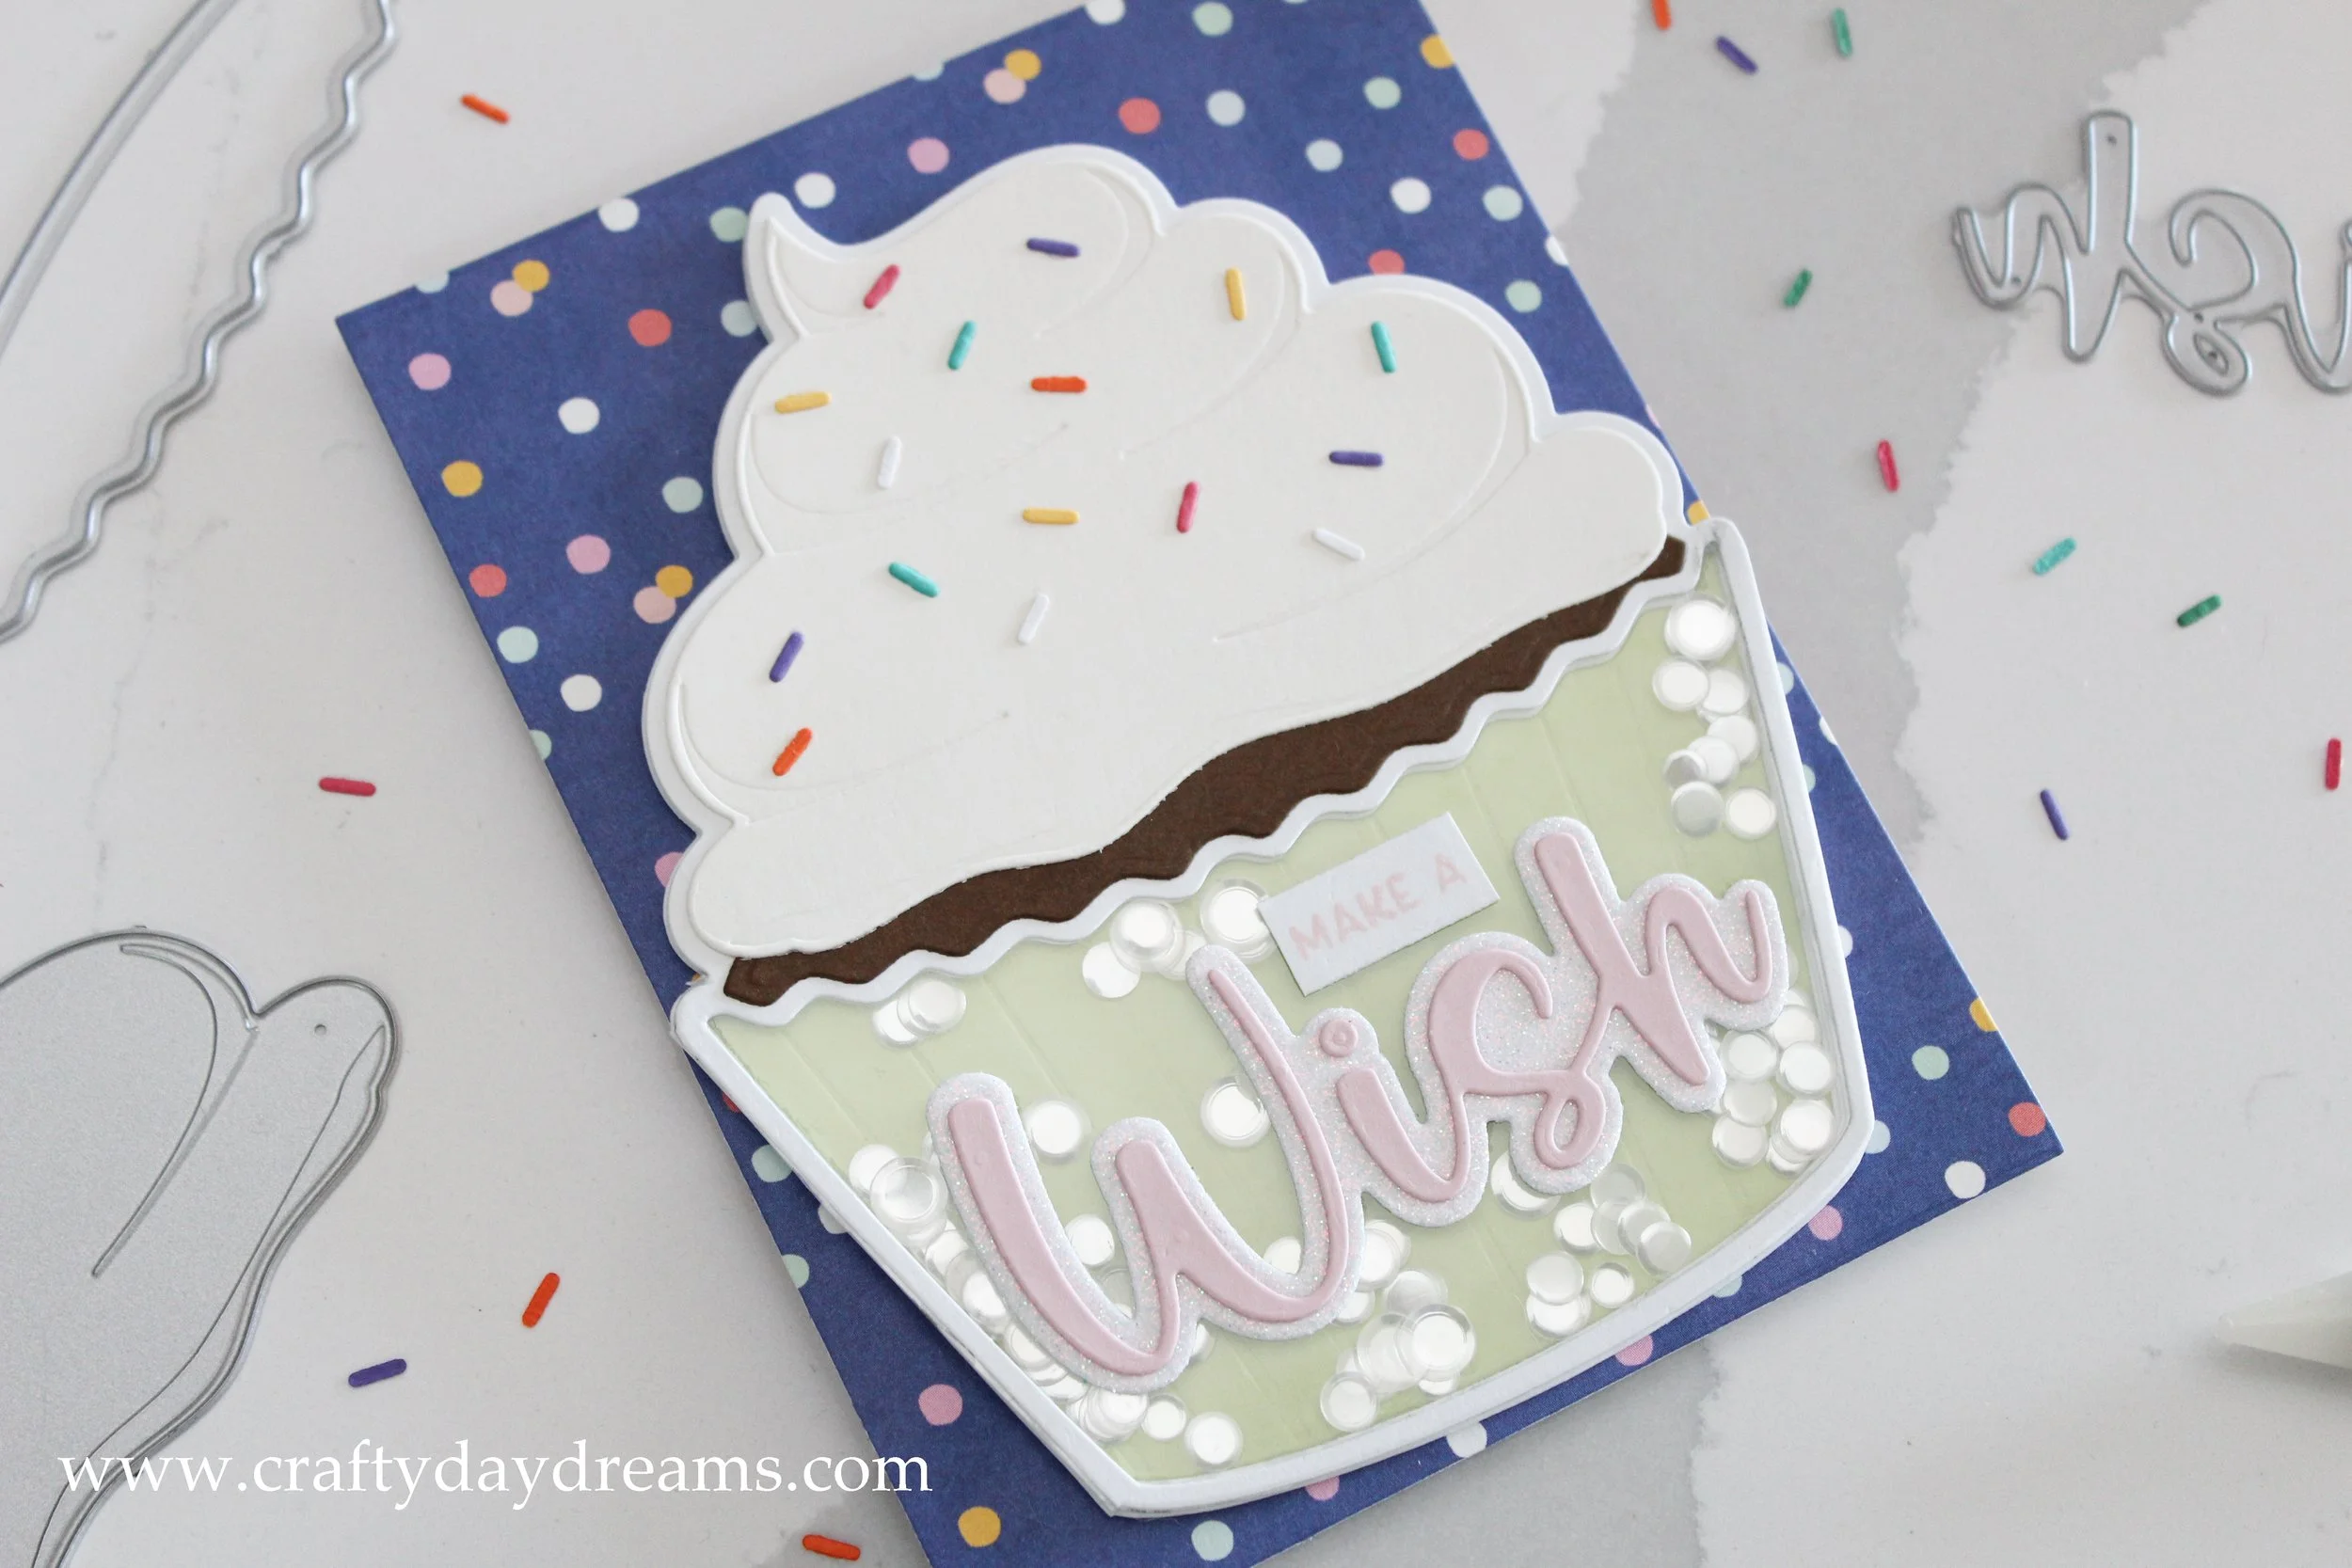
I started this card off knowing I wanted to make a shaker card, and to be honest, I probably went about it in a more difficult way. The easiest way to make a shaker card with this die would have been to cut the cupcake wrapper out of your card front, die cut the cupcake card base (and cut it where it folds), die cut that with the cupcake liner, and slap that on top of the opening on the card front. However, I did not do that. I ended up die cutting 7 cupcake card fronts and die cutting the wrapper out of each one to make a shaker window, while lining them up to try and get them positioned as close to each other as possible. Once I had all the windows cut out of all the layers, I traced around the cupcake base on acetate and cut the acetate to size. I glued it behind my top layer and stacked up and glued together the rest of my layers. The reason I built this card this way was because I did not have foam tape thin enough (and I really didn’t want to try and cut some down to the width I needed), so gluing all these layers together made a very solid well for shaker bits that wouldn’t get squished in the mail.
After a lot of hemming and hawing, I decided to put Rock Candy sequins from Trinity Stamps into the shaker well. These have a nice silver-y look to them, but they are also a little bit iridescent. For the backer piece to the shaker portion, I die cut the cupcake card base again and cut it at the fold line. I decided to die cut a wrapper out of Sprout cardstock from Concord & 9th, since my mom loves green, and to get it lined up perfectly I took my last layer (before it was glued down) and lined it up with the shaker backer to glue the wrapper piece perfectly in place. This was another reason that I decided to build the shaker the way I did, I feel it made lining the cupcake wrapper portion up easier. To assemble the rest of the cupcake, I die cut the frosting out of Ivory cardstock from Simon Says Stamp, and the cake portion out of a dark brown scrap of cardstock I had sitting around.
For the background panel, I die cut an A2 sized piece of patterned paper from the Celebrate! 6x8 paper pad from Simple Stories. I had originally decided to use a larger polka dot patter, but there was too much white space that it felt the cupcake didn’t stand out enough, so I switched to the blue polka dot paper. Since I had my background picked out, I could now figure out what I was going to do with my sentiment. Based off the background colors, I decided to die cut the word ‘wish’ out of Ballet Slipper cardstock from Concord & 9th, and the shadow layer out of their white glitter cardstock. I love their glitter paper—especially the white. It’s gorgeous, the glitter doesn’t fall off when you’re die cutting, and the white glitter has the most beautiful duo chrome color to in when it’s tipped in the light. I decided to match this color scheme for my ‘make a’ sentiment (from the Many Birthdays stamp set from Spellbinders) and stamped it on plain white cardstock with Ballet Slipper ink.
To finish the card off, I took some leftover sprinkles from my food truck cards and glued them randomly on the frosting. I really like how this pulls some of the background colors into the cupcake and makes it a bit more cohesive. I hope you enjoyed this project! I really can’t wait for my mom to see it, I know she loves this die set, so I hope it makes her day.
Thanks for stopping by, I hope to catch you next time!


