

The Greetery—Curio Confections Sweet Birthday Card
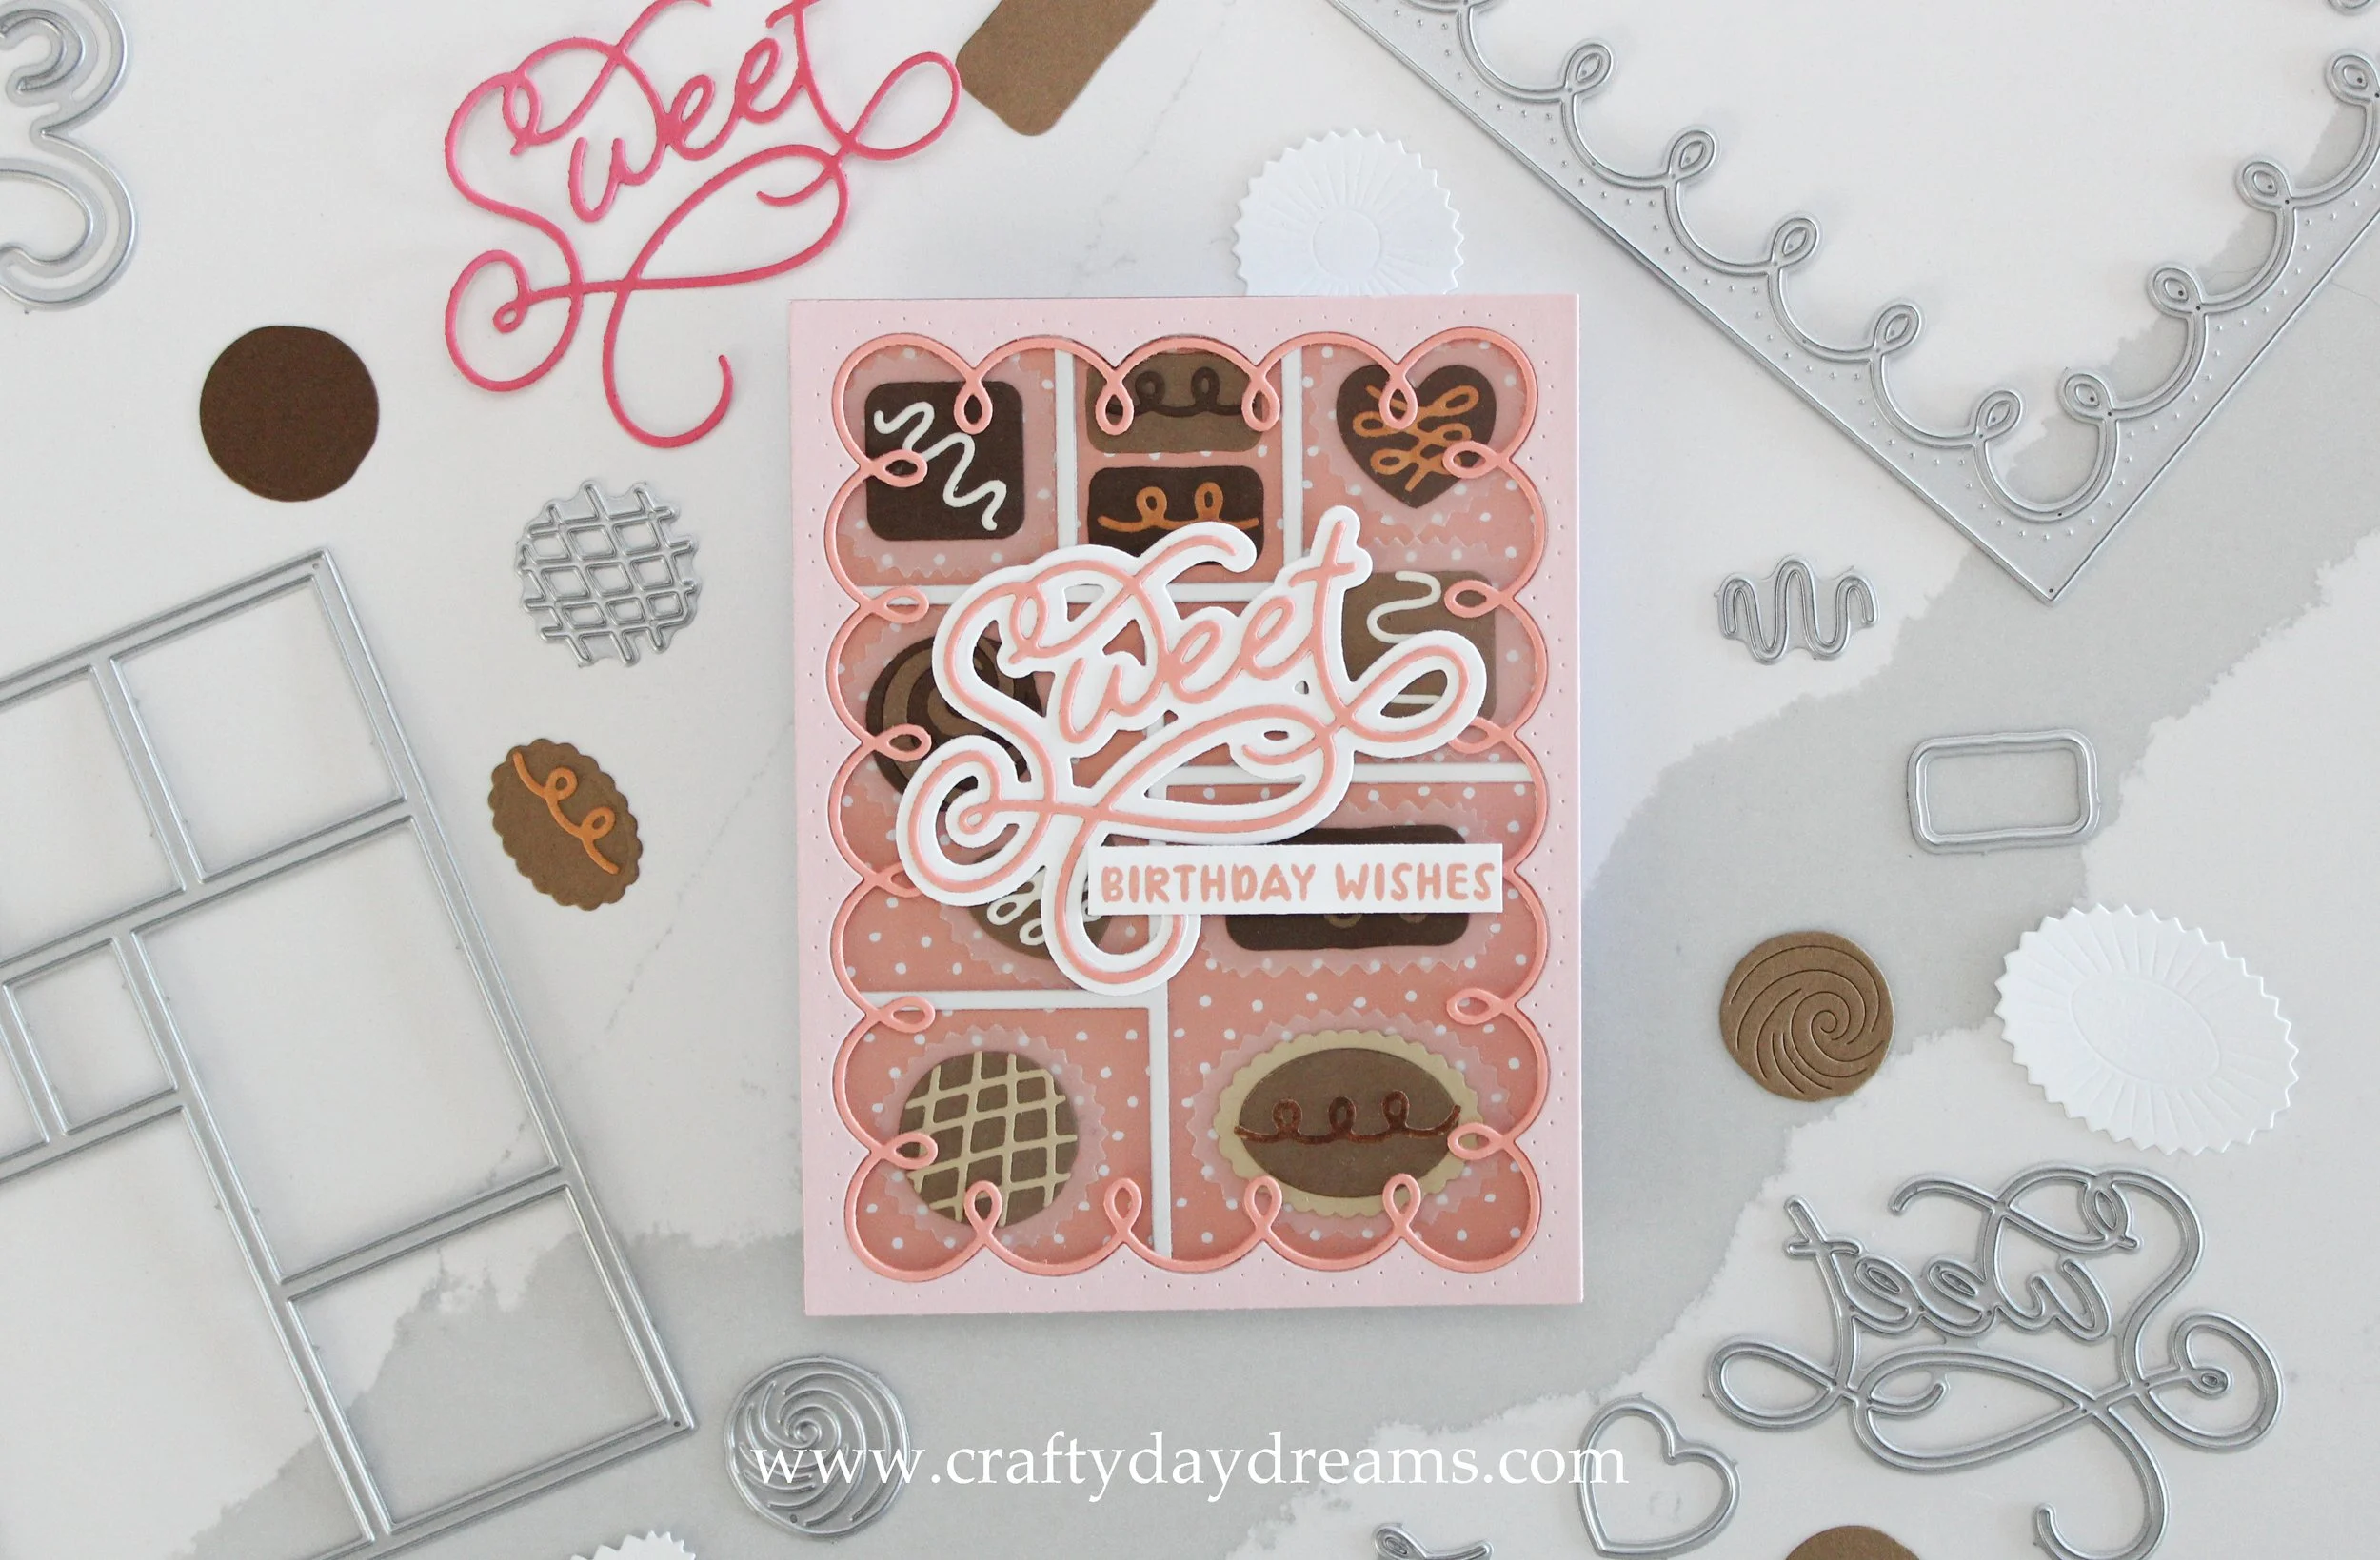
Hi friends! Boy, do I have a treat (😜) for you today! I’m sharing this absolutely ~sweet~ birthday card that I wish I could physically eat. The products featured in this card are from the Curio line of dies from The Greetery, and I love this Confections die set! I love to paper piece, so I really enjoyed making this card, and I can’t wait to use this die set again. And as a disclaimer, using this die set just might make you crave chocolate. 😅
I started this card out by die cutting all the dies included in the die set. I cut a few sets of wrappers from both plain white cardstock and vellum. When doing this, I did run the dies through my Big Shot 2x, the first time cutting them like normal, and the second time with my embossing mat and plate to try and get more of the texture from the dies on the wrappers. This worked well with the white cardstock, but not with the vellum (this could have been me needing a cardstock shim). Next, I die cut the chocolate dies out of two different shades of brown cardstock (these were from a Paper Accents value pack) to make it look like dark and milk chocolate.
I die cut accents/striping out of Ivory (SSS) cardstock, a warm tan cardstock, and a caramel-colored cardstock that I made by coloring in a 2x2 square with a brown alcohol marker. I started mixing and matching accents on the chocolates and gluing them down. Glossy accents would be a great finishing touch onto the chocolates, but I was a bit too impatient to gloss each one and wait for them to dry. Once I had a handful of chocolates made and glued onto vellum wrappers, I started to work on the chocolate box portion of the card.
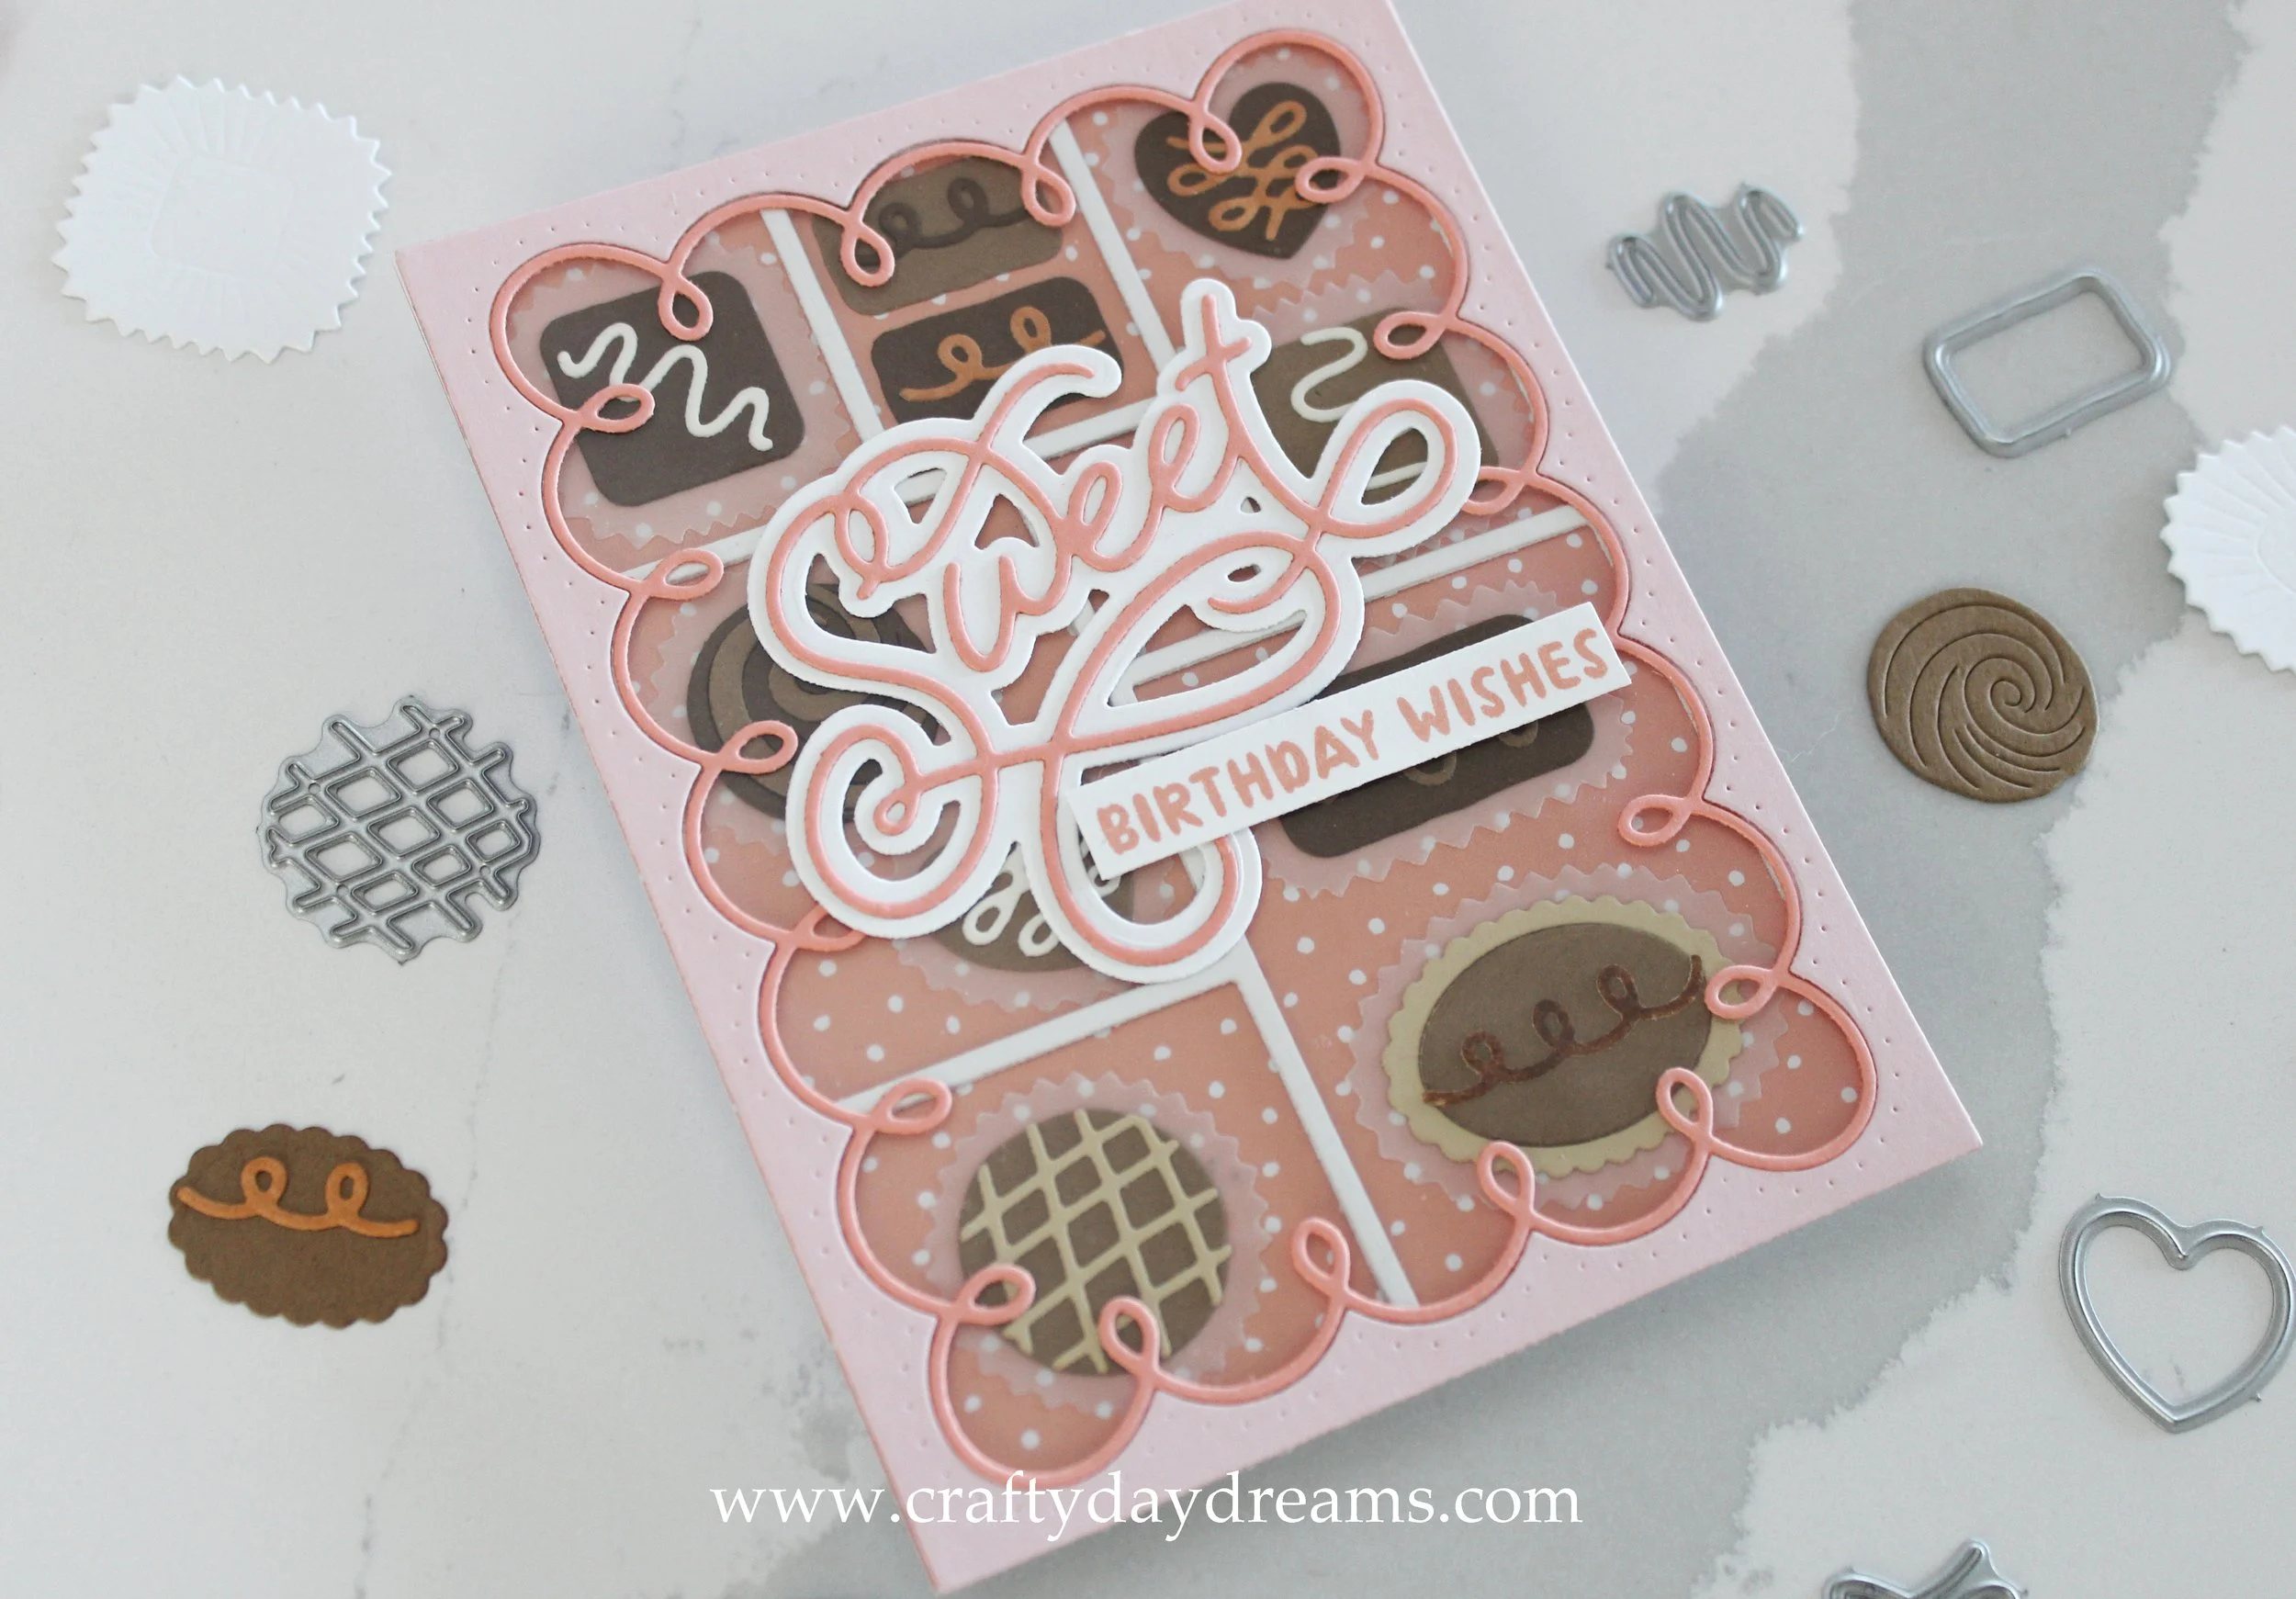
I die cut the Curio Divider & Details II die three times out of plain white cardstock and glued them together. While this was drying, I cut a piece of polka dot Grapefruit patterned paper (this was exclusive to C9 Summer Camp) to use as the box liner. I knew I wanted this card to be sweet and cheery, so I die cut the Frosted Frames cover plate out of Concord & 9th Ballet Slipper and Grapefruit cardstocks. I cut an A2 sized piece of acetate and glued the larger Ballet Slipper piece of the frame down and then the Grapefruit squiggly piece.
While the frame pieces were drying, I glued down the divider die cut to the patterned paper backer. I fit as many chocolate pieces into the divider as I could and glued them down. You could use foam here for dimension, but I decided against it since I didn’t want this card being too bulky to mail. Once the chocolates were glued, I applied glue to the back of the acetate frame piece and glued it onto the card front.
With the card mostly completed, I got to work on the sentiment. I had also purchased the Piped Sentiments: Sweet die to stretch this die set and cover plate more along with the Sweet Tooth stamp set. This really allows these products to be used for birthdays, valentines, thank yous, and a pick me up.
I die cut the Sweet word die out of plain white cardstock for the shadow, and Grapefruit for the word portion. This really ties the sentiment to the box top since the piping on that is also in Grapefruit. To finish off the sentiment, I stamped ‘birthday wishes’ from the Sweet Tooth stamp set in Grapefruit ink and die cut it using a sentiment banner. I glued down the ‘sweet’ and popped the ‘birthday wishes’ up on foam squares.
I absolutely love how this card turned out! It’s adorable, and this is just one way to use these products. I can’t wait to send this card out and make someone’s birthday extra sweet. 😊
