

Concord & 9th— Popsicle Party and Sweet Summer Cards
Hi friends!
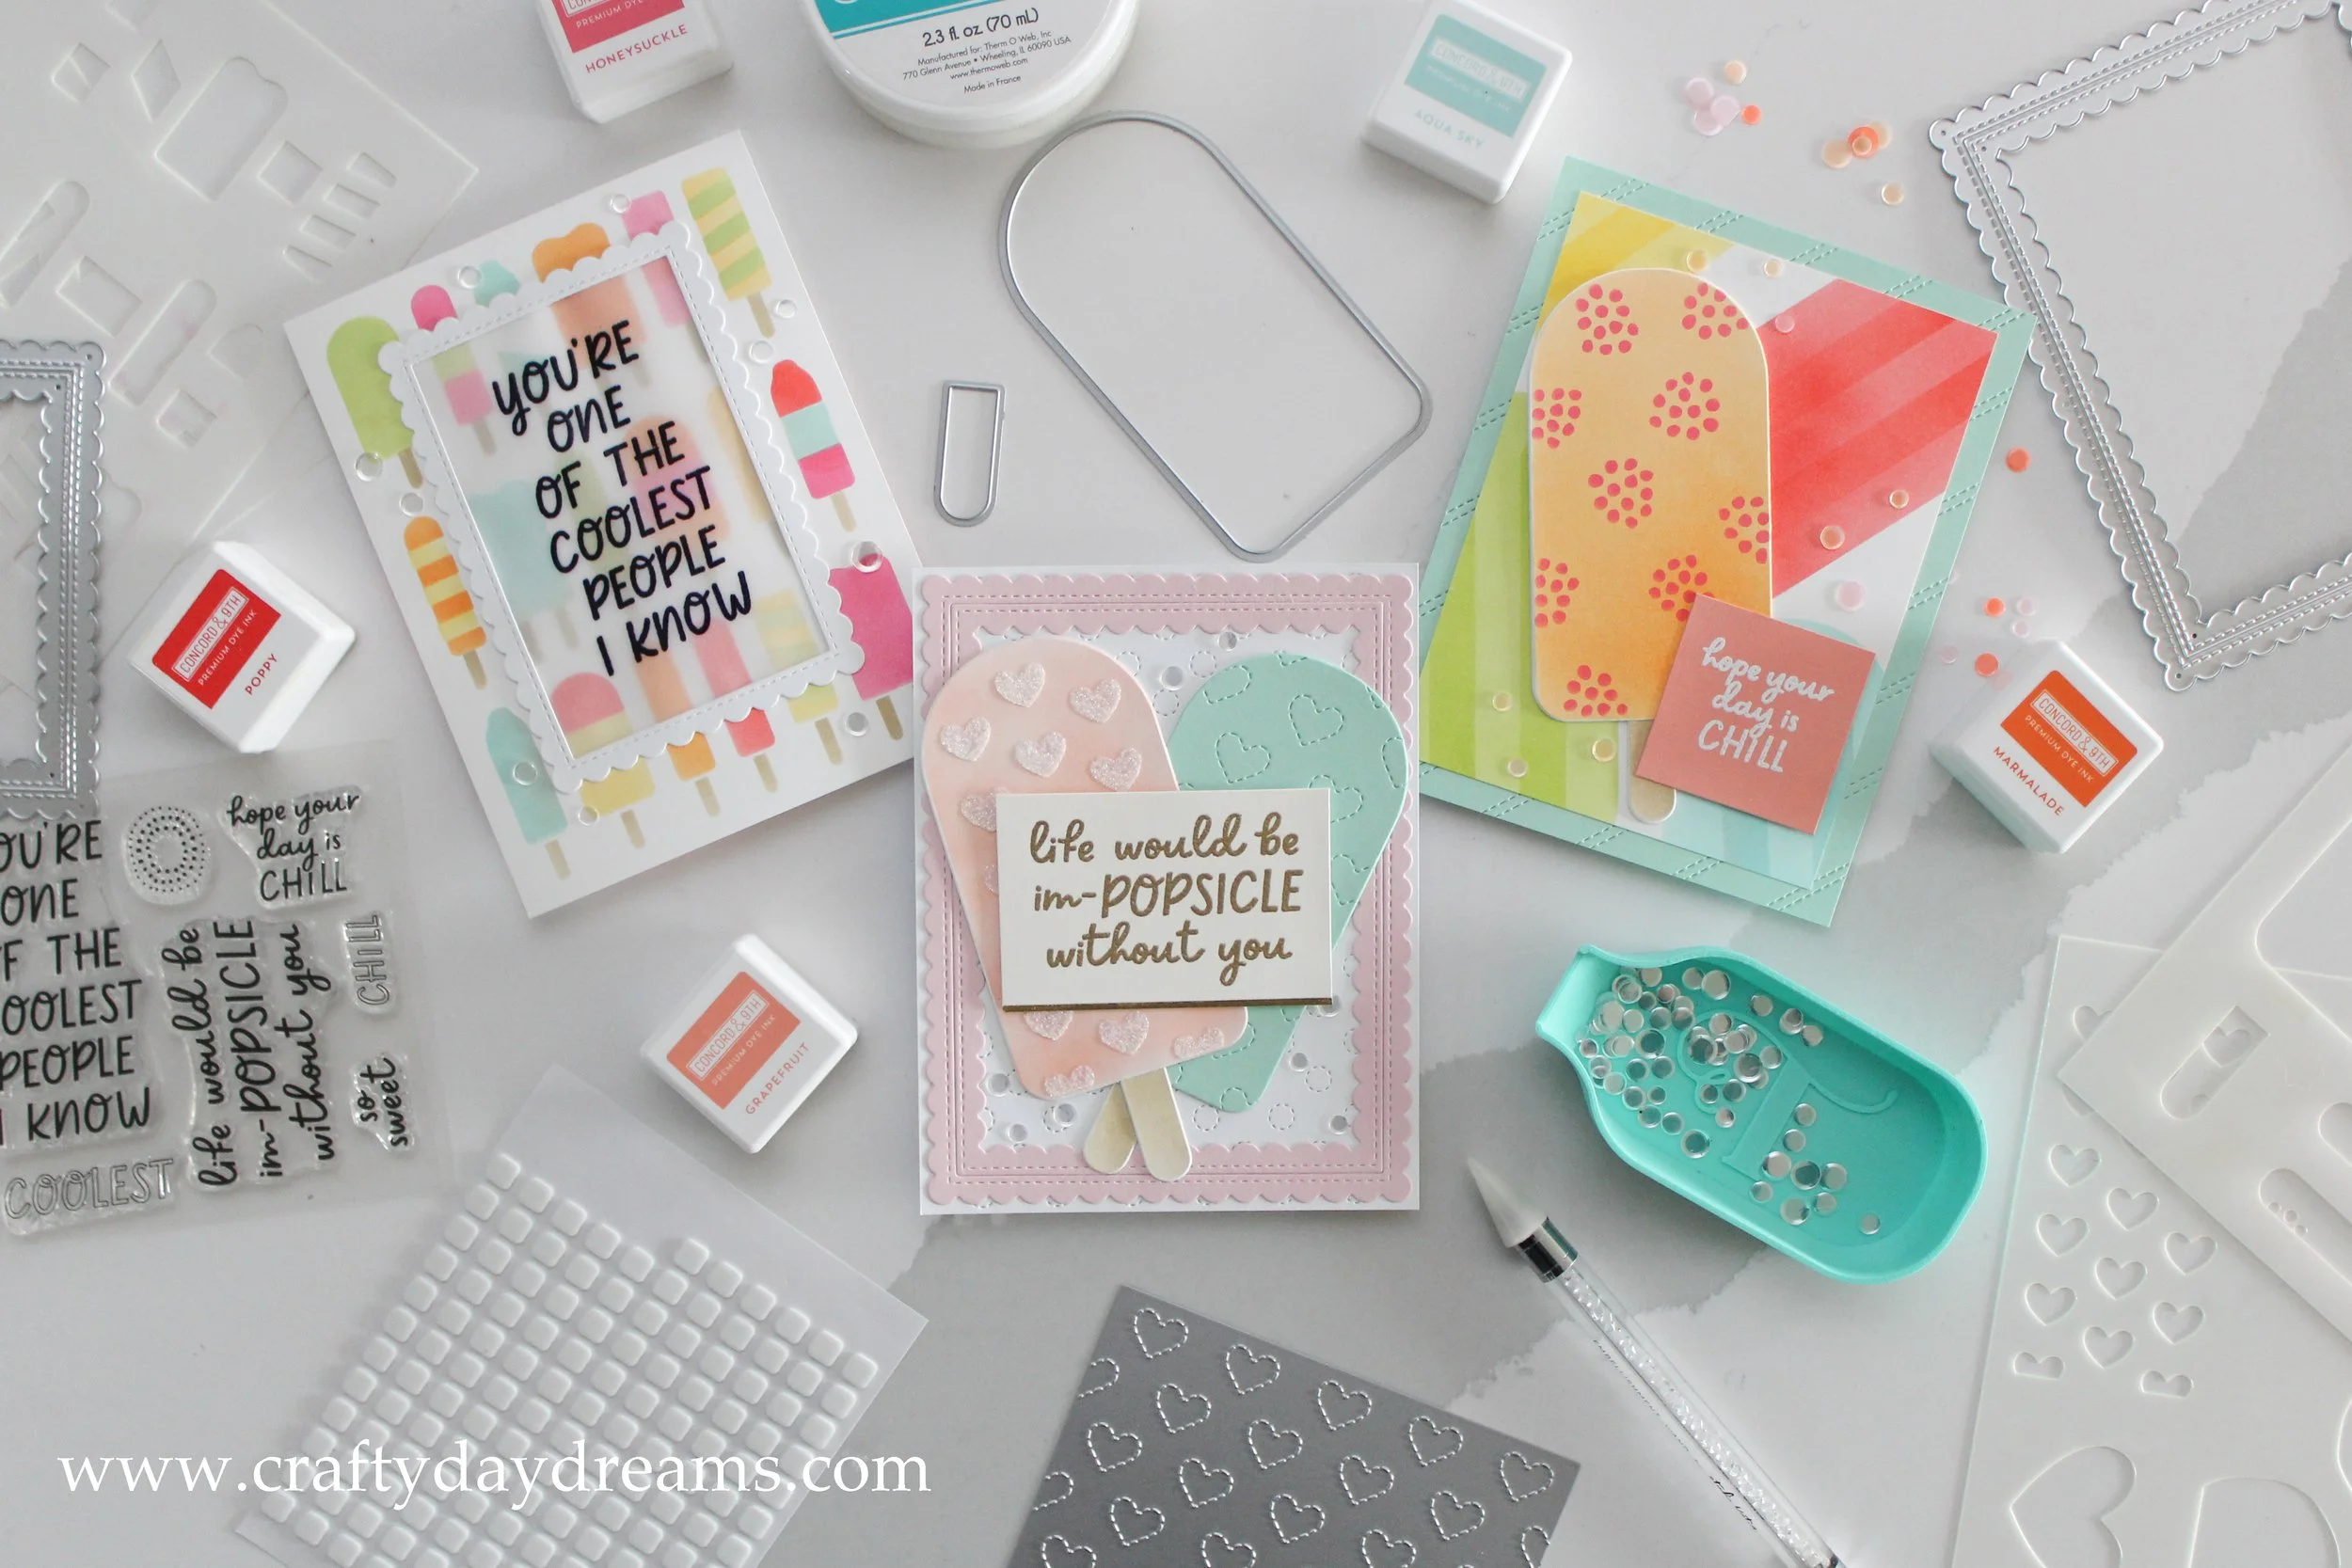
I’m back with a set of fun and easy popsicle themed cards using the Popsicle Party stencils and Sweet Summer bundle from the July release from Concord & 9th. These stencils are so fun to use, and I love the variety of popsicles you can make with them! They are perfect for summer months, but I don’t think I would be upset if I received a card like this in the winter, they’re so cute! As always, my tip when it comes to ink blending is to use Concord & 9th white cardstock, this stuff allows your inks to blend like butter! But if you don’t have that on hand, any other good quality smooth white cardstock would work.

I started this card off by randomly blending an Aqua Sky, Sprout, Buttercup, and Poppy popsicle to roughly fill each corner on a A2 sized piece of C9 white cardstock. I then took the same stencil I used for the popsicle shapes and turned it to use the little indent stencil to give the popsicles more dimension, and did so using the same inks, but with a little bit of a heavier hand. I originally stenciled and die cut a honeysuckle popsicle as well as the orange popsicle with the honeysuckle raspberries, but with the background so busy I decided just to use the orange one. I cut down my popsicle filled panel 1/4 inch on each side and used the Stitched Stripe card front die on some Sea Glass cardstock to add some texture to the background. I glued my orange popsicle on an angle and popped up my white heat embossed sentiment on some Simon Says Stamp foam squares. To finish the card off, I adhered some Poppy Bloom sequins from Simon Says Stamp.

This card was fun to make, and a little bit of a learning process along the way. This was actually the second time I made this card, and I still made some mistakes. The first time I made it, my issue was the vellum I was using was warping way too much that I decided I needed to remake it, so I ordered some Simon Says Stamp 40lb vellum since the reviews talked a lot about how good it was with heat embossing. It definitely is better than the cheaper stuff I was using, but as you can see in the picture, I still have a little bit of warping, but that could be from my frames as well.
Anyway, I randomly ink blended popsicles in Sprout, Honeysuckle, Buttercup, Marmalade, Aqua Sky, and the popsicle sticks in Wheat. This stencil was a blast to use, and you can definitely make it easier to use by blending solid popsicles or not going too crazy on the colors as I did. Be cautious when blending different colors and mask off popsicles with a sticky note/tape to avoid getting ink in spots where you don’t want it. I was so bummed with this remake because I was trying to make one of those red, white, and blue popsicles, but got red ink in the spot where the blue was to be when I was wiping off the stencil. I still think the card came out cute though!
I heat embossed my greeting using Ultrafine Black embossing powder from Simon Says Stamp and sandwiched the vellum between two medium sized scalloped rectangle frames from Pinkfresh Studio. I finished the card off with some Rock Candy sequins from Trinity Stamps, which really adds a fun pop to this card.
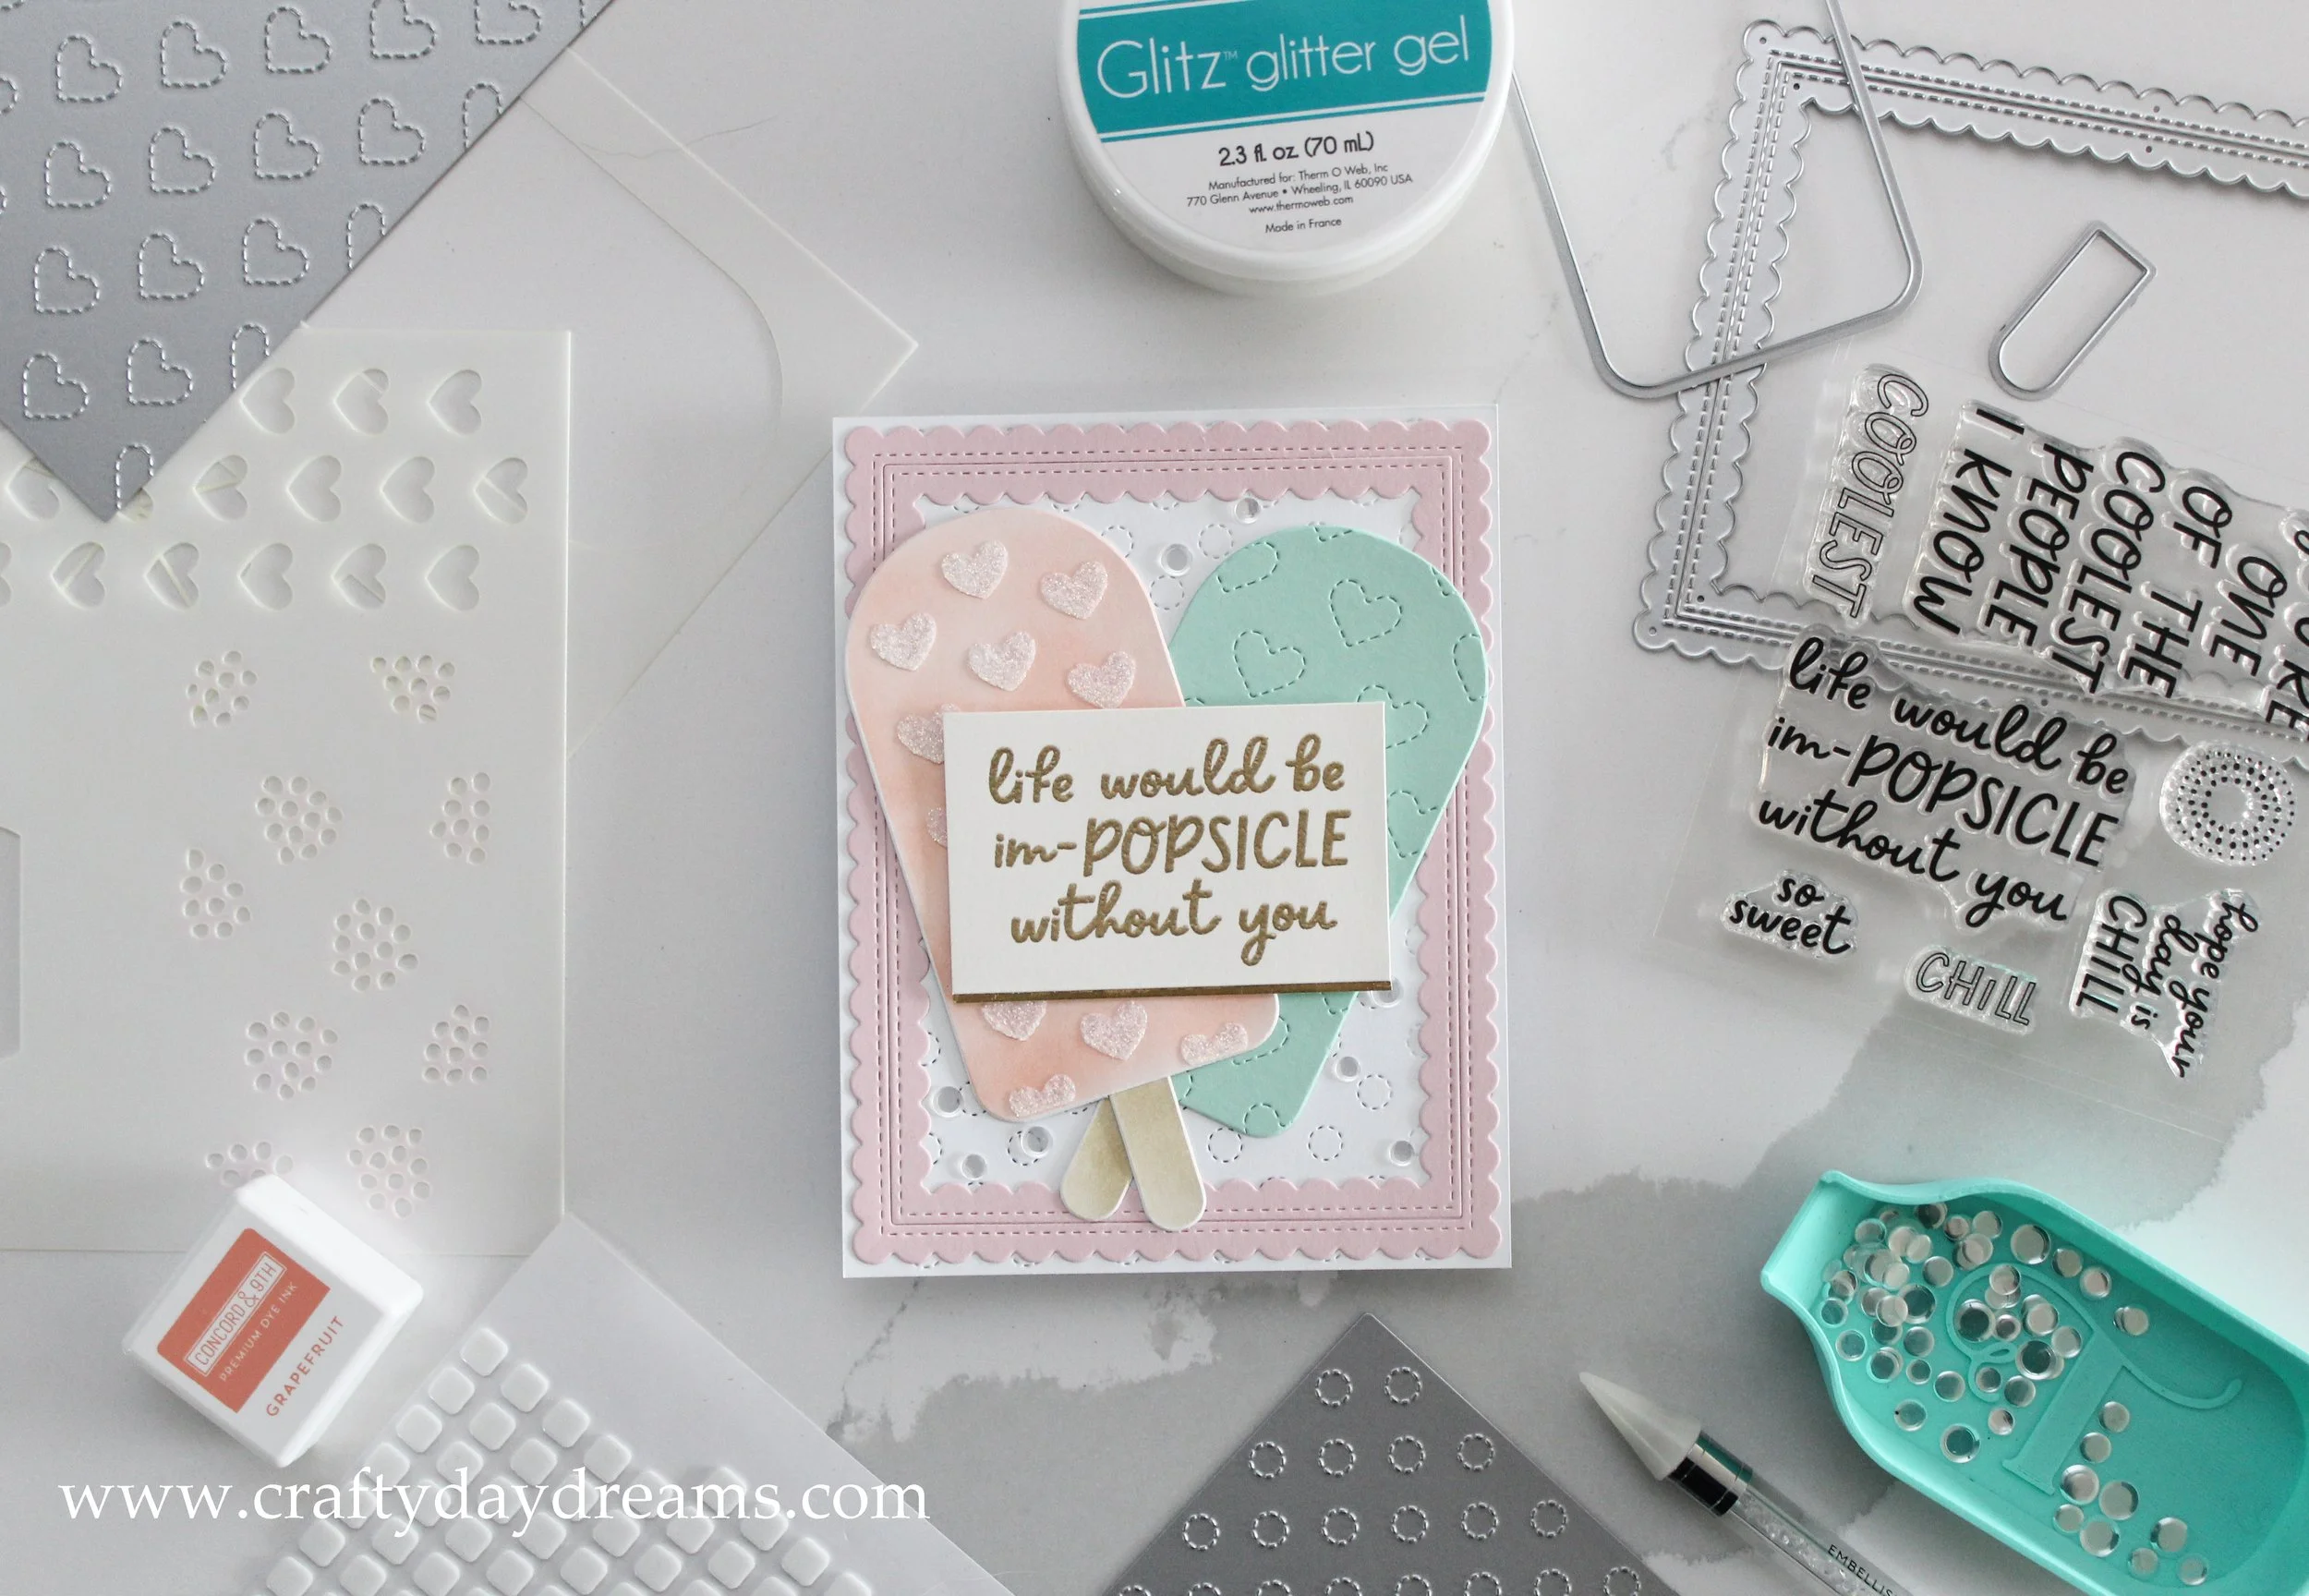
I think out of these three cards, this one is my absolute favorite. It gives off the vibe of a sweet shoppe, and I adore it! This was also my first-time using Glitz glitter gel, and I think I’m hooked! I would love to incorporate it into more projects, and I was actually inspired to try it out because of a card Channin Pelletier made for Feature Friday linked here.
To start this card off, I ink blended a popsicle using Grapefruit ink. Then I lined up the corresponding heart stencil and applied Iridescent Glitz glitter gel and set it aside to dry. Once it was dry, I die cut it and inked and die cut a stick out of Wheat ink. I wanted this card to feel fun, so I die cut a white panel using the Stitched Polka Dot card front die and moved on to my second popsicle. I had orignally wanted to use the Honeysuckle popsicle I had left over from my first card, but in the end I felt like it was too much of a highlighter color in comparison to the softness of the Grapefruit popsicle. While showering, I had the best shower thought haha, and decided I would use the Stitched Hearts card front to cut out a popsicle, that way it would tie into the Grapefruit one, as well as the sentiment I was planning to use. So I did just that using some Sea Glass cardstock, and inked and die cut another popsicle stick.
For the sentiment, I gold heat embossed ‘life would be im-popsicle without you’ on Ivory cardstock from Simon Says Stamp using Gilded embossing powder from Brutus Monroe. I cut a thin strip of Matte Gold cardstock, also from Simon Says Stamp and glued it along the bottom edge of the sentiment. While playing with placement, I found a Ballet Slipper colored Scalloped Rectangle frame in my stash, and when I laid it on the card, it was everything I needed. The frame is what I think gives it that sweet shoppe vibe, and it felt perfect! So I glued the Sea Glass popsicle down at an angle and added a little dimension behind the Grapefruit one and glued it on top. I popped the sentiment up using small foam squares from Simon Says stamp, and finished the card off with Rock Candy sequins from Trinity Stamps.
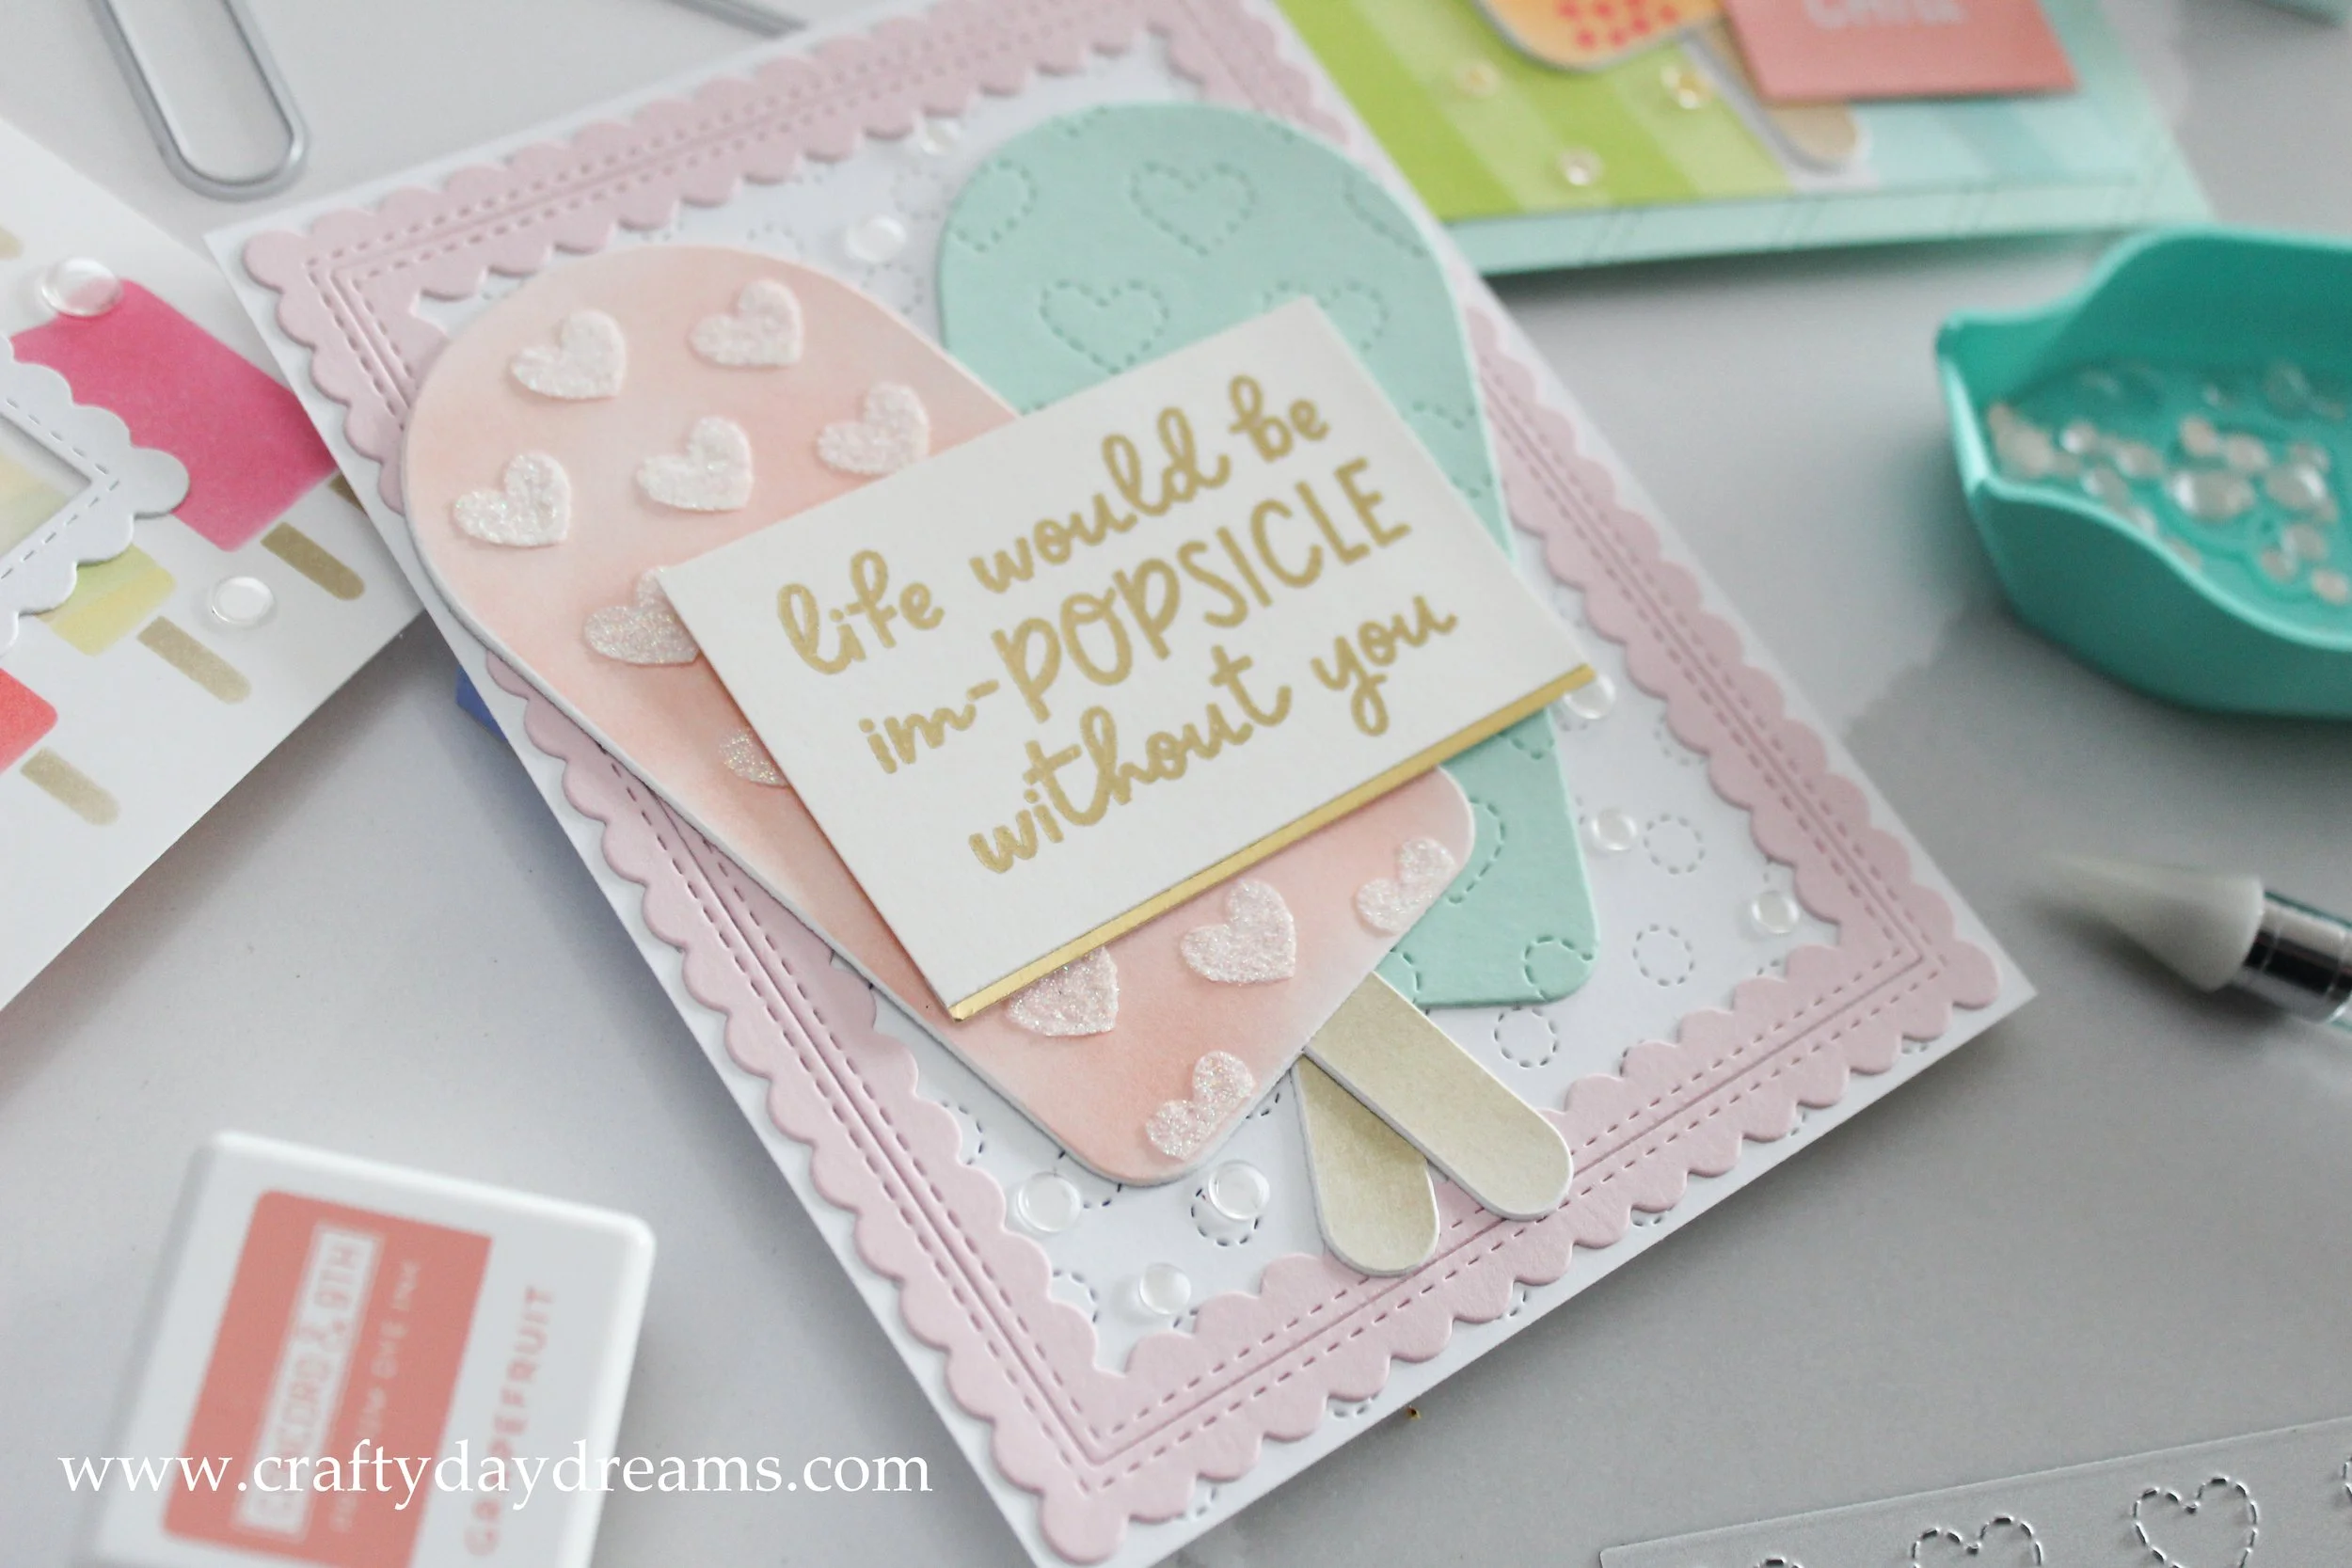
Look at that texture on the hearts! I love it!! I wanted to include this picture in the post so the thickness of the hearts could really be seen, and to possibly inspire people to try out glitter gels/pastes if they haven’t before! Using the heart die from the Sweet Summer die set, you could even die cut these glitter hearts to use on projects if you wanted, too!
I hope you loved these sweet cards as much as I do. Thanks for stopping by, and I’ll catch you next time!