Concord & 9th— Fall Friendly Florals
Hi crafters, welcome back to the blog!
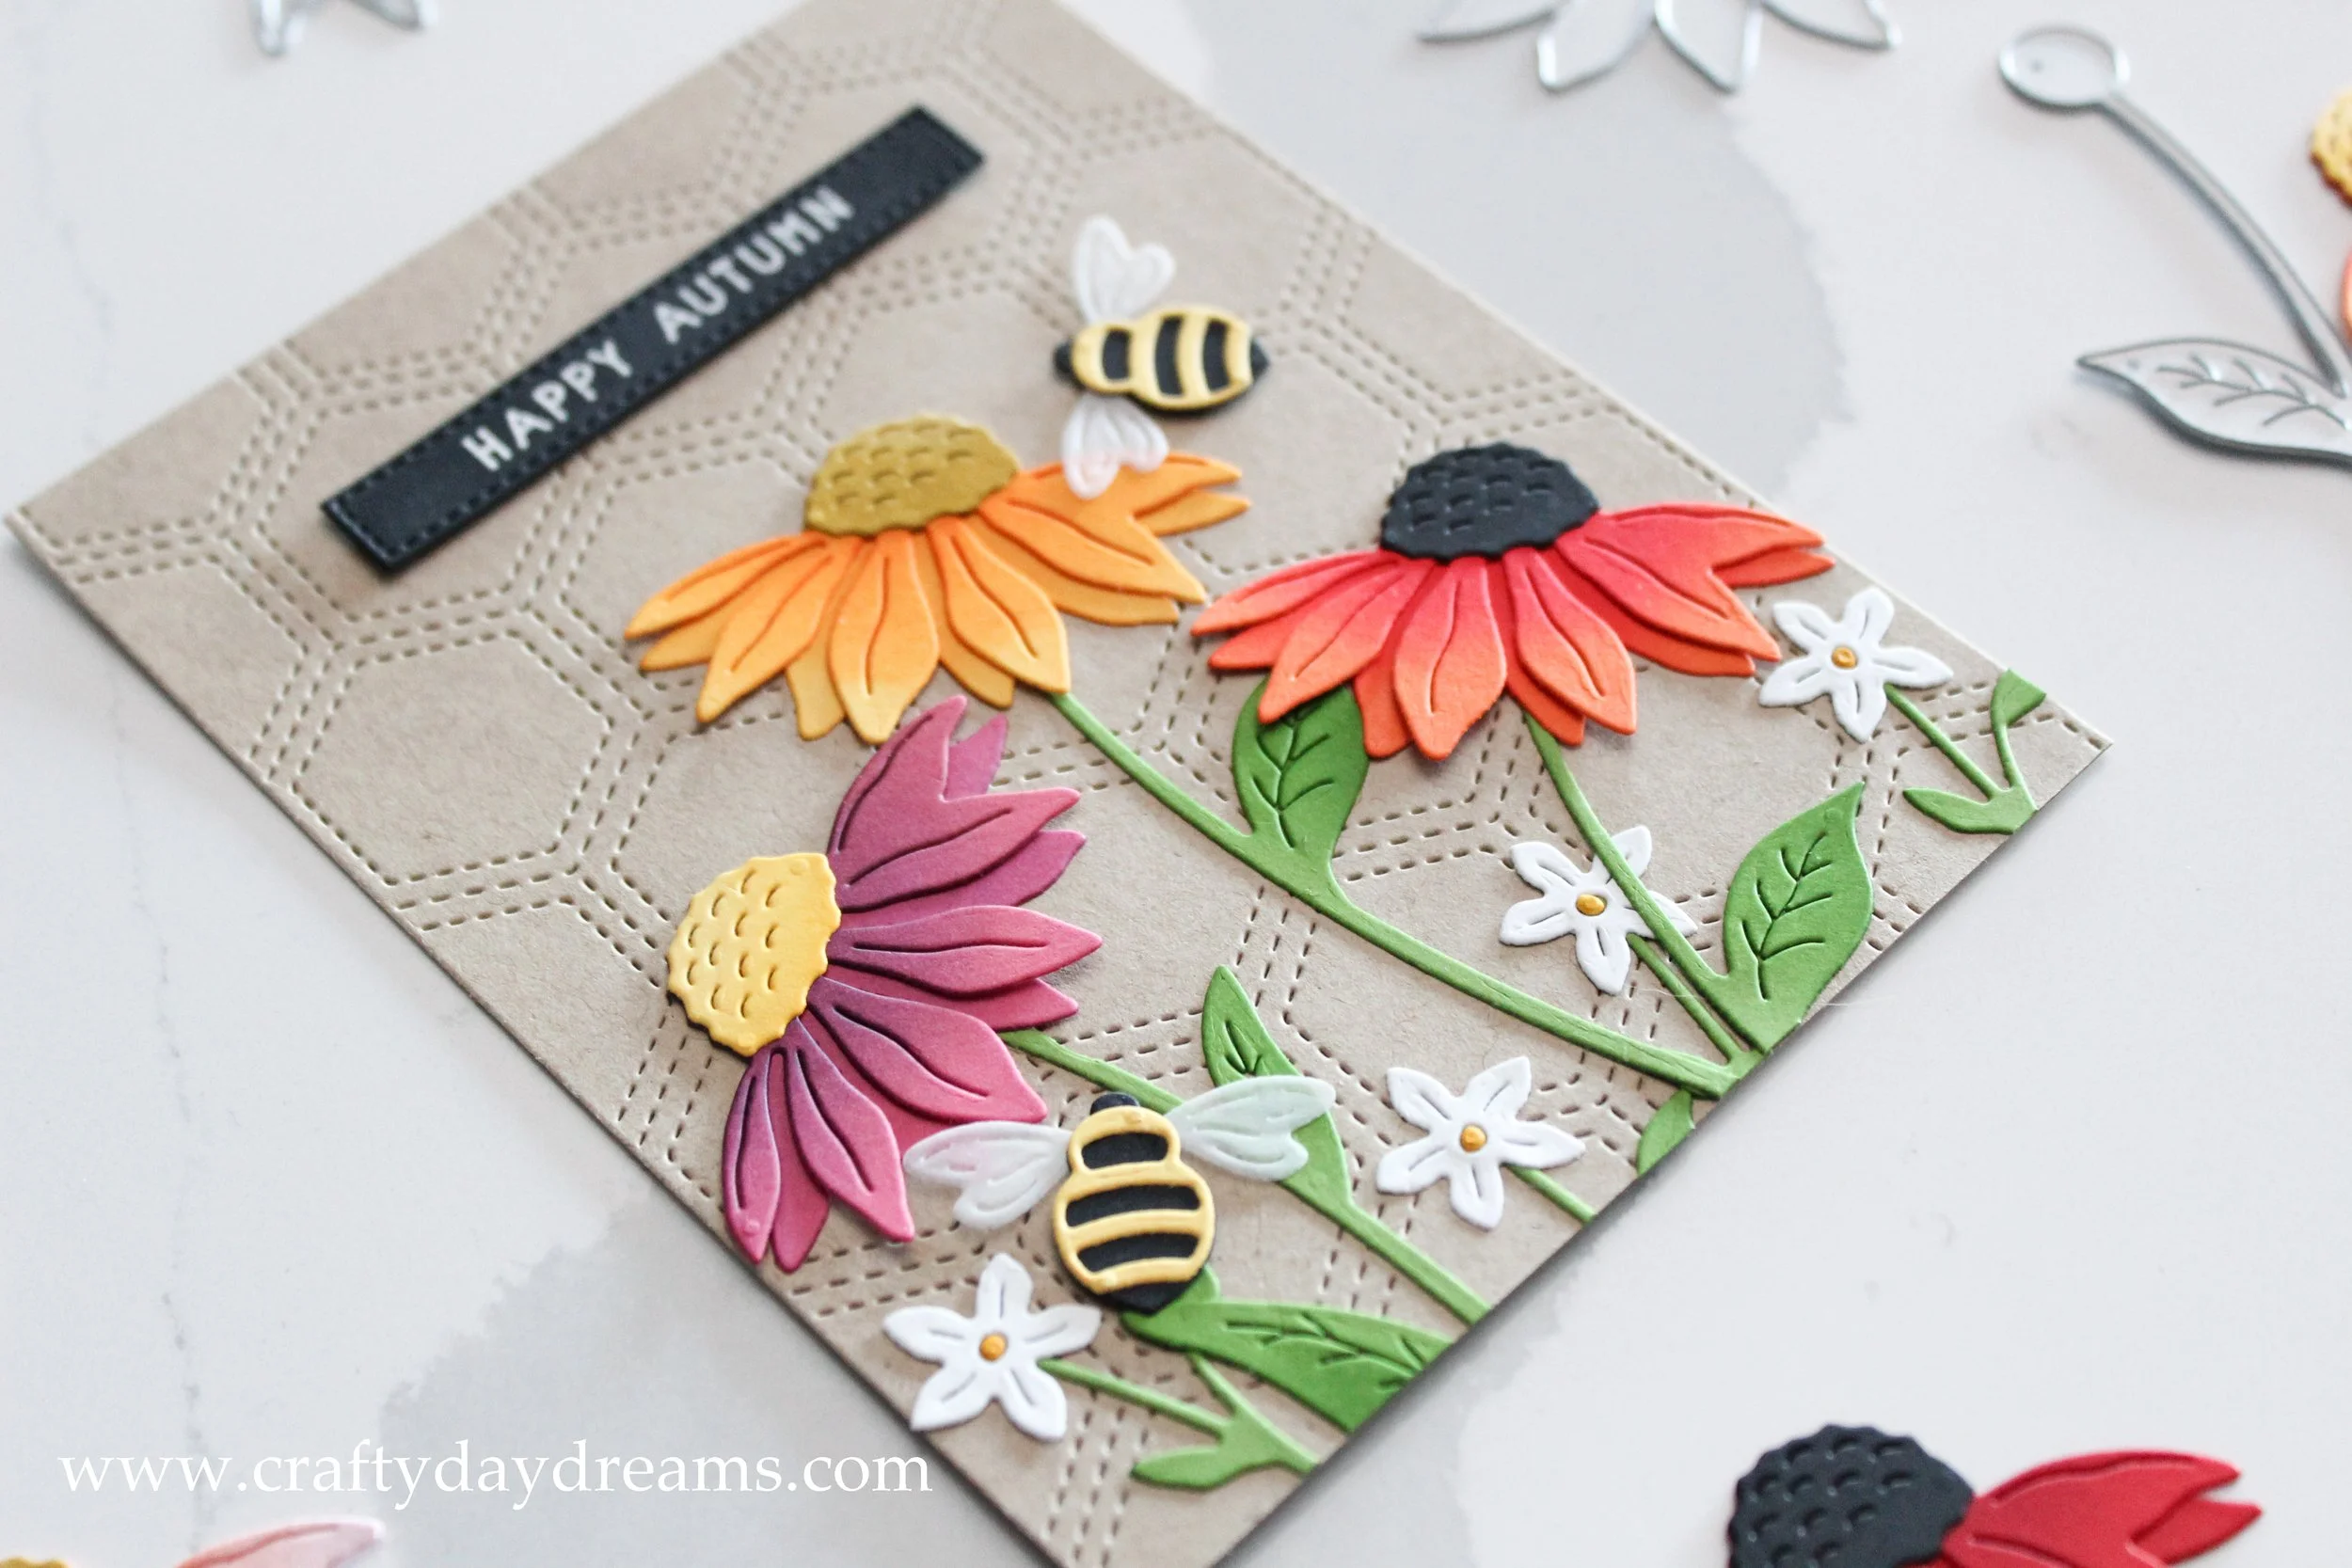
Today I’m sharing this beautiful fall themed card created with the Friendly Florals die set from Concord & 9th’s August release. This die set is so cute! I love the florals that come with it, and it can suit many occasions if you mix and match with sentiments from your stash. I do have the coordinating stamp set, and I’m hoping to share another card this week using it and my extra florals. A lot of my inspiration came from looking up Coneflowers on Pinterest, so if you want ideas on color schemes that is always a good reference.
To start the card off, I die cut both layers of the flowers out of Honeysuckle, Buttercup, and Marmalade cardstocks (all from C9, if you haven’t used their cardstocks, give them a try! They’re a great price point and have a great range of colors). For the Honeysuckle flower, I blended Eggplant ink on both layers, but focused it as if it was coming from the flower center. It leaves the tips of the petals with a hint of pink, and I LOVE how it turned out. I love how all the flowers I made turned out, so I kept making more, it was addicting haha!
The middle flower was die cut out of Buttercup cardstock, and I ink blended Marmalade ink on it in the same way as the Honeysuckle flower. The last flower was cut out of Marmalade, and I ink blended Honeysuckle ink on top of it and the lower layer. For the flower centers, I cut one out of Buttercup, one out of Stardust, and one out of black cardstock. For the yellow centers, I ink blended the corresponding ink color on the bottom edge on the flower center to add some dimension. I glued the buttercup center on the Honeysuckle flower, the Stardust center on the Buttercup flower, and the black center on the Marmalade flower.
All stems were die cut out of Parsley cardstock, and the leaves of each stem were darkened with Parsley ink to add some dimension. I glued each flower head on a stem, and I love how the stems allow you get different perspectives of the flowers. Once all the flowers were assembled, I started to play around with placement. I really wanted this card to feel like a fall garden with flowers everywhere! Since I was going to be making an A2 sized card, I found I could easily fit 3 large flowers on the card front, but couldn’t find a way to squeeze in more. I decided to use the smaller flowers in the die set as a filler, so I die cut them out of a plain white cardstock, and I saved the flower centers and colored them with a yellow alcohol marker to make them look like daisies.
I chose a piece of Wheat cardstock to use as my card front, and after a little bit of hemming and hawing, I decided to use the Honeycomb Quilt Top die to add some texture to the background. I used this die in my previous post, and I love the texture it brought to this background! I glued the flowers down and filled the space as much as possible with the daisies, also making sure to stagger their heights so the eye doesn’t go directly to them.
Once the floral portion was done, I die cut Buttercup and black cardstock, as well as vellum, in order to make some bees! These bees add such a cute touch and I feel really tie this card together. It really makes me think of sitting in a garden on a warm fall afternoon, and it makes my heart happy (this could just be because I’m a fall girlie). I popped the bees up on some black Simon Says Stamp foam squares (love these!!) and placed them so that their wings were on top of the flowers they were near.
To finish the card off, I went into my stash for a sentiment. I had originally planned to use a greeting from the new Autumn Hues stamp set, but I didn’t have enough space for one, and I really didn’t want to cover up my sweet floral border. I ended up using the sentiment ‘happy autumn’ from the Harvest Wreath Turnabout stamp set, and I think it fits the scene perfectly! I white heat embossed it on black cardstock and die cut it using the coordinating sentiment die. I love the subtle stitching this has and how it ties into the background.
I hope you enjoyed this floral card! I can’t wait to pick someone to send it to, that is if I don’t keep it for myself haha! Thanks for stopping by, and I’ll catch you next time!
Oh! —and if you want more inspiration, here is a link to Concord & 9th’s Feature Friday on this product.


