Concord & 9th—Mass Production with the Nordic Noel die set!
Hello, friends!
If you know me, you know I cannot stand to create more than two of the same card (or at least at one time—a few weeks/months apart might be fine!). I get really bored and restless, and all the dopamine created for my little, likely ADHD, brain runs out and I want to move onto something else. Does this happen to you?? I needed a small horde of Christmas cards and I needed them quickly, so I turned to the Nordic Noel die set from Concord & 9th and some patterned paper. The patterned paper pads I used today is from Scrapbook.com, and I love them!! I used two different pads: Noel and Christmas. Both are beautiful and I love that Scrapbook.com offers them in different sizes, I bought one as a 6 x 8-inch and one as a 4.25 x 5.5-inch pad—no cutting required for that one!
For these cards I repeated the same ‘formula’: a patterned paper background, the Nordic Noel greeting, and a sentiment strip. You could definitely leave out the sentiment strip and have a beautiful card, but I really love what it added to these cards! Some of the sentiments are stamped and heat embossed, and the other half are hot foiled. Again, you can make these however you want, I just wanted to play with my Glimmer! These cards come together really quick when you follow that ‘formula’, what took me the longest was choosing my sentiment and shadow colors!
Let’s start off with heat embossed sentiment cards…
For all of my sentiments on these cards, I chose to use some greetings I had sitting in my stash from last year’s holiday crafting. These are from the Holiday Vibes stamp set from Ellen Hutson, and luckily it and the coordinating die to cut out all the sentiment strips are available on their Amazon store—it’ll be linked below! Hero Arts does have a similar holiday sentiment set, so I’ll link that too!
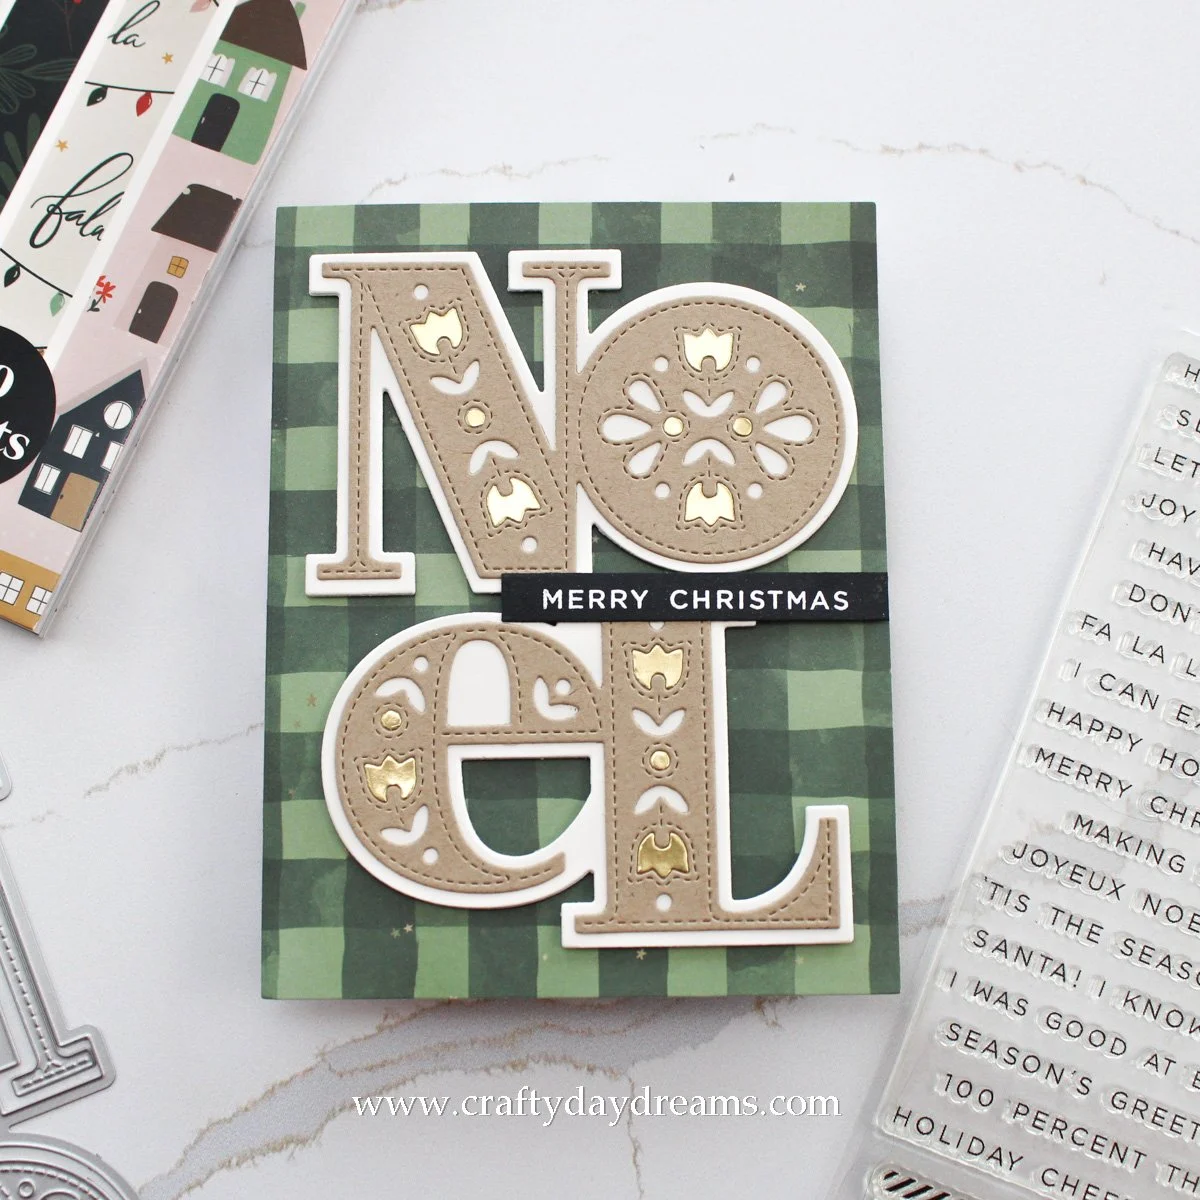
How cozy does this card feel?! I chose a decent amount of plaid when creating these cards, but it just adds such a cozy vibe! For this card, I used paper from the Christmas patterned paper pad, an Ivory shadow for the Noel, Wheat letters, and I used some matte gold fall out to fill in some of the shapes. I love the warmth this gold brings here! I popped up the greeting on some thin foam squares since this was the first one I made and I wasn’t sure if thicker foam would be too thick to mail (spoiler alert, it’s not). To finish the card off, I popped my ‘Merry Christmas’ subsentiment to the right of the Noel, and lined it up with the edge of my card front. I thought this placement was pretty fun, so I stuck it down with some help from a little bit of glue and foam squares in strategic spots.
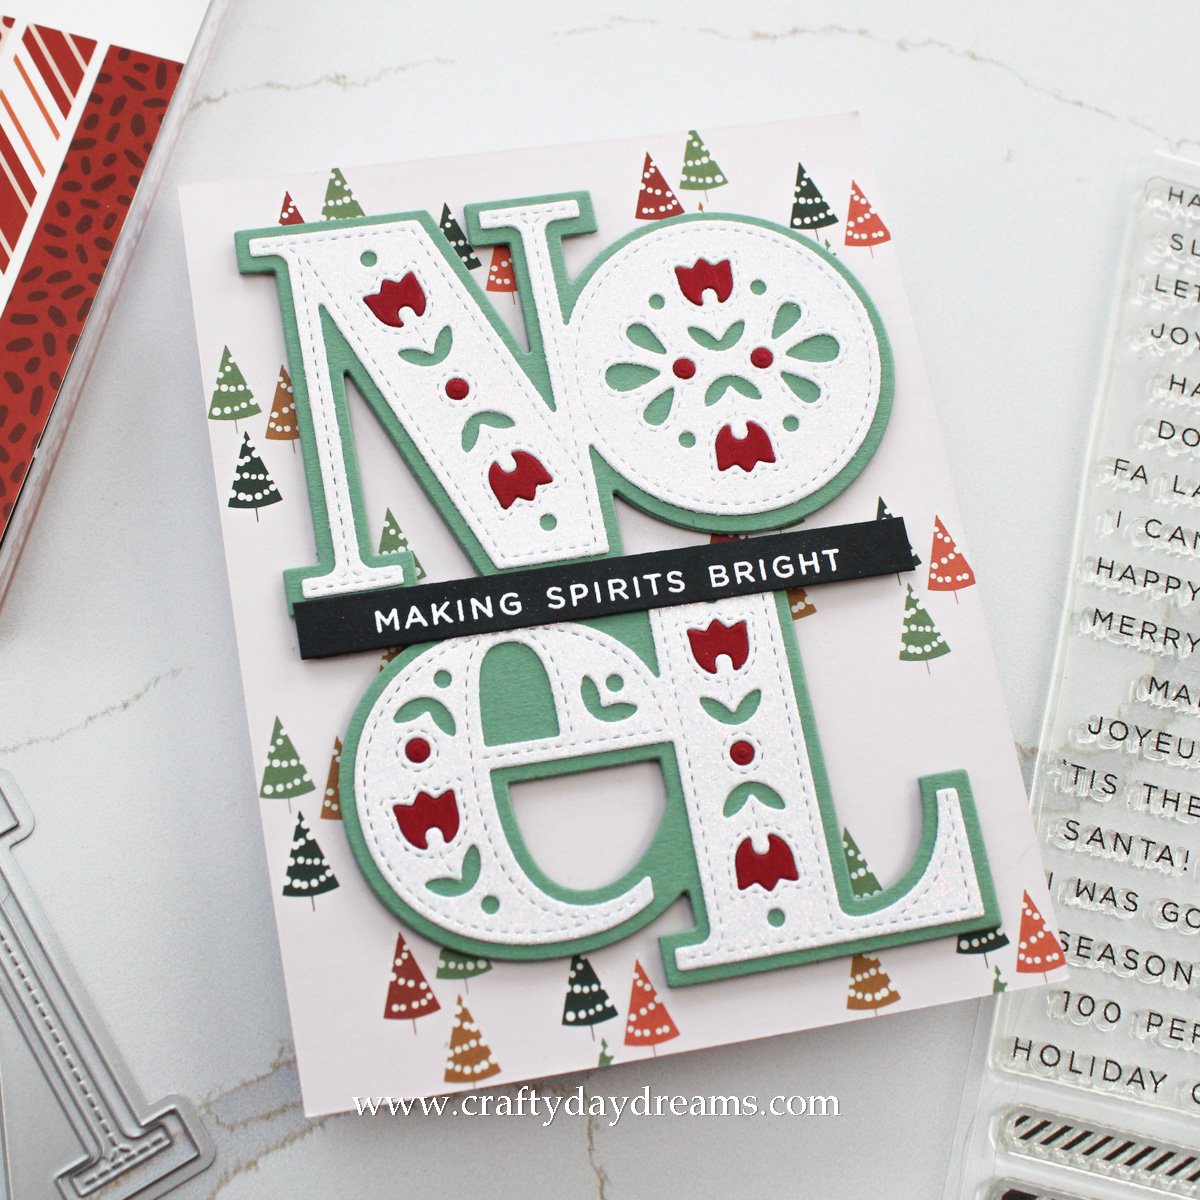
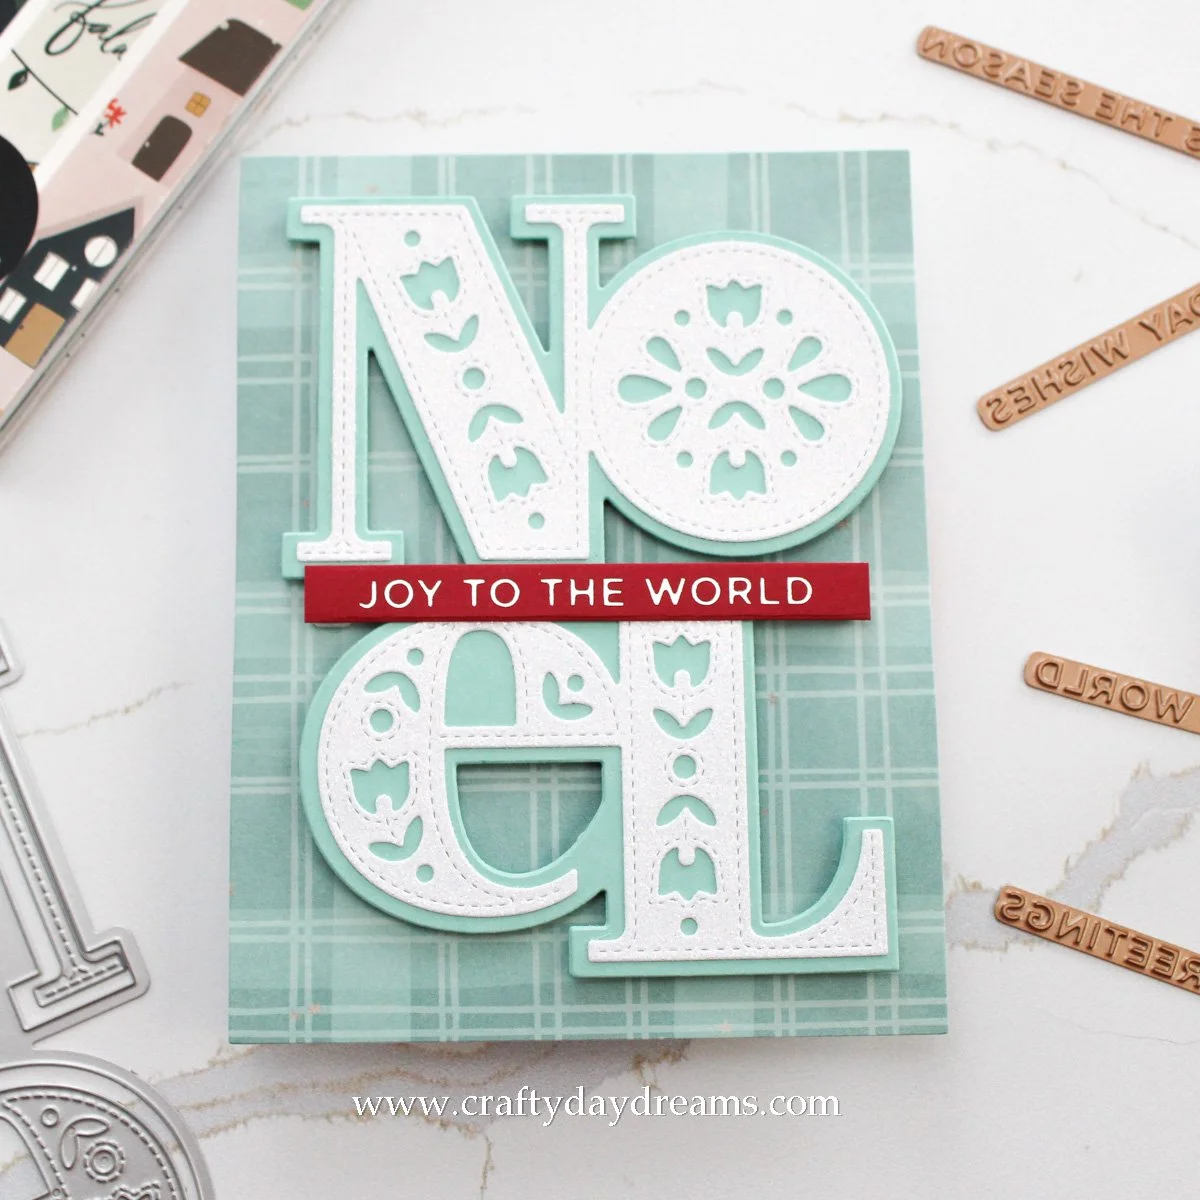
This card was the second and last card that I decided to pop the sentiment up on thin foam squares. The thicker foam really adds a beautiful punch to these cards! The patterned paper I chose for this card was from the Noel patterned paper pack, and it’s actually more of a Ballet Slipper type of color, a super nice, light pink, but it doesn’t show up on camera too well. For the sentiment, I die cut the shadow out of Tidepool and the letters out of C9 white glitter paper. The photos don’t do that much justice either, but trust me when I say it’s beautiful! I decided to pull some of the background color into the sentiment, so I glued some Cranberry flowers and dots into the letters. I finished the card off by popping my sentiment strip in the middle of the Noel.
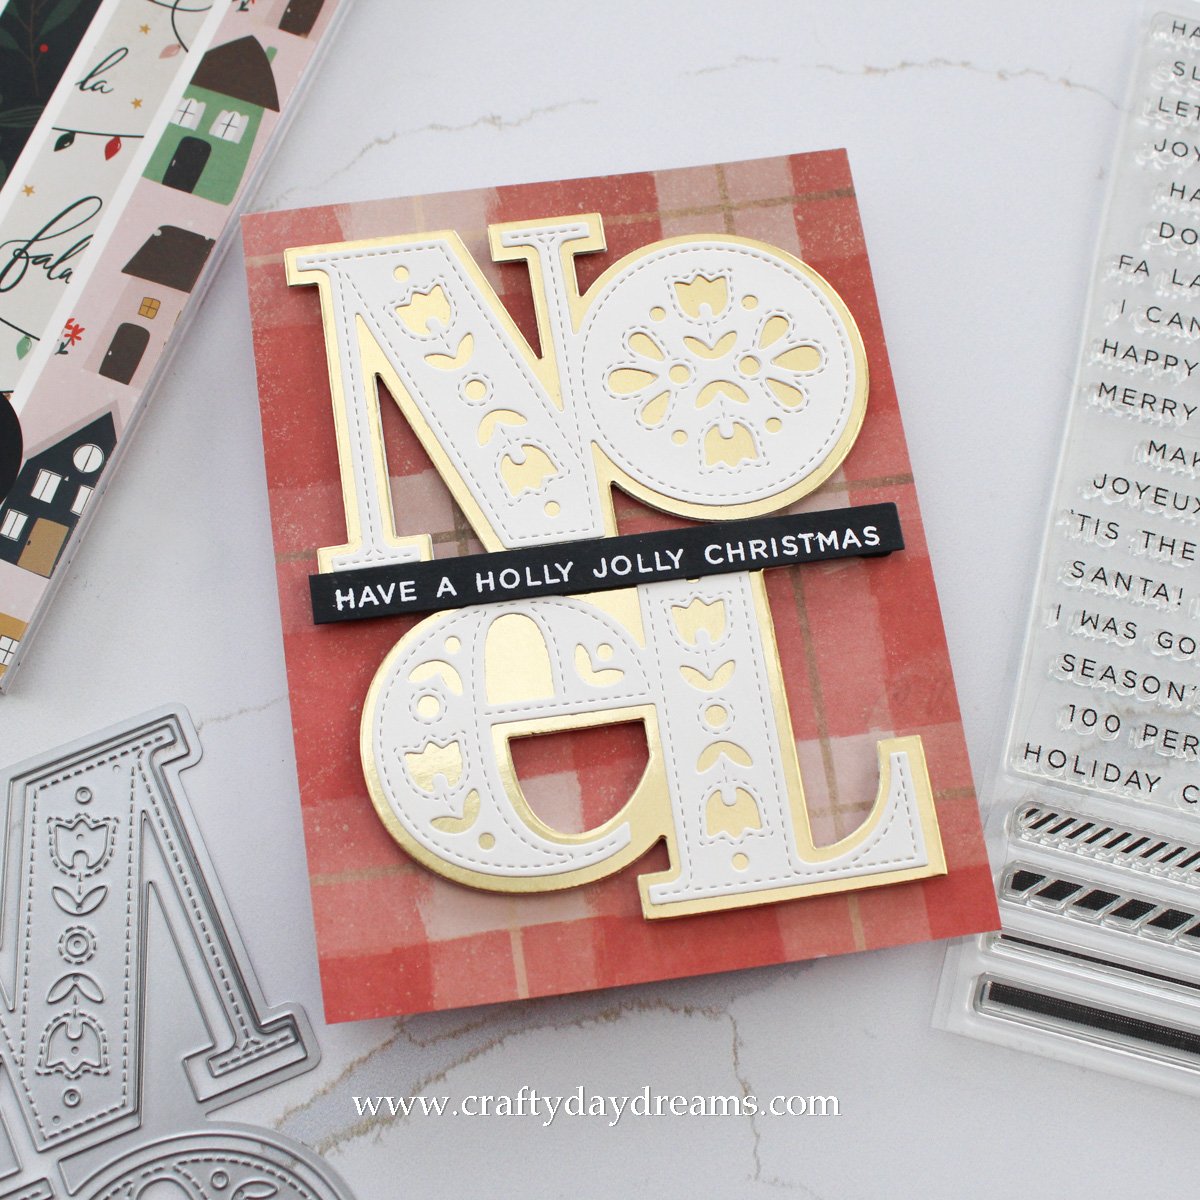
You know how I said the green plaid card was cozy? Well, this one gives me cozy vibes too, it’s like a warm blanket in front of a fire. I pulled the plaid from the Christmas patterned paper pad and used my A2 Layers dies to crop a panel exactly how I wanted it. These dies were super useful with all of the 6 x 8 papers. Since there was a hint of a gold-like color in the paper, I decided to make the shadow layer matte gold, and the letters Ivory. I love the warmth that Ivory brings to this card, I used it on almost every card. I popped the greeting up on thick foam squares, then added my sentiment strip and called this card done.
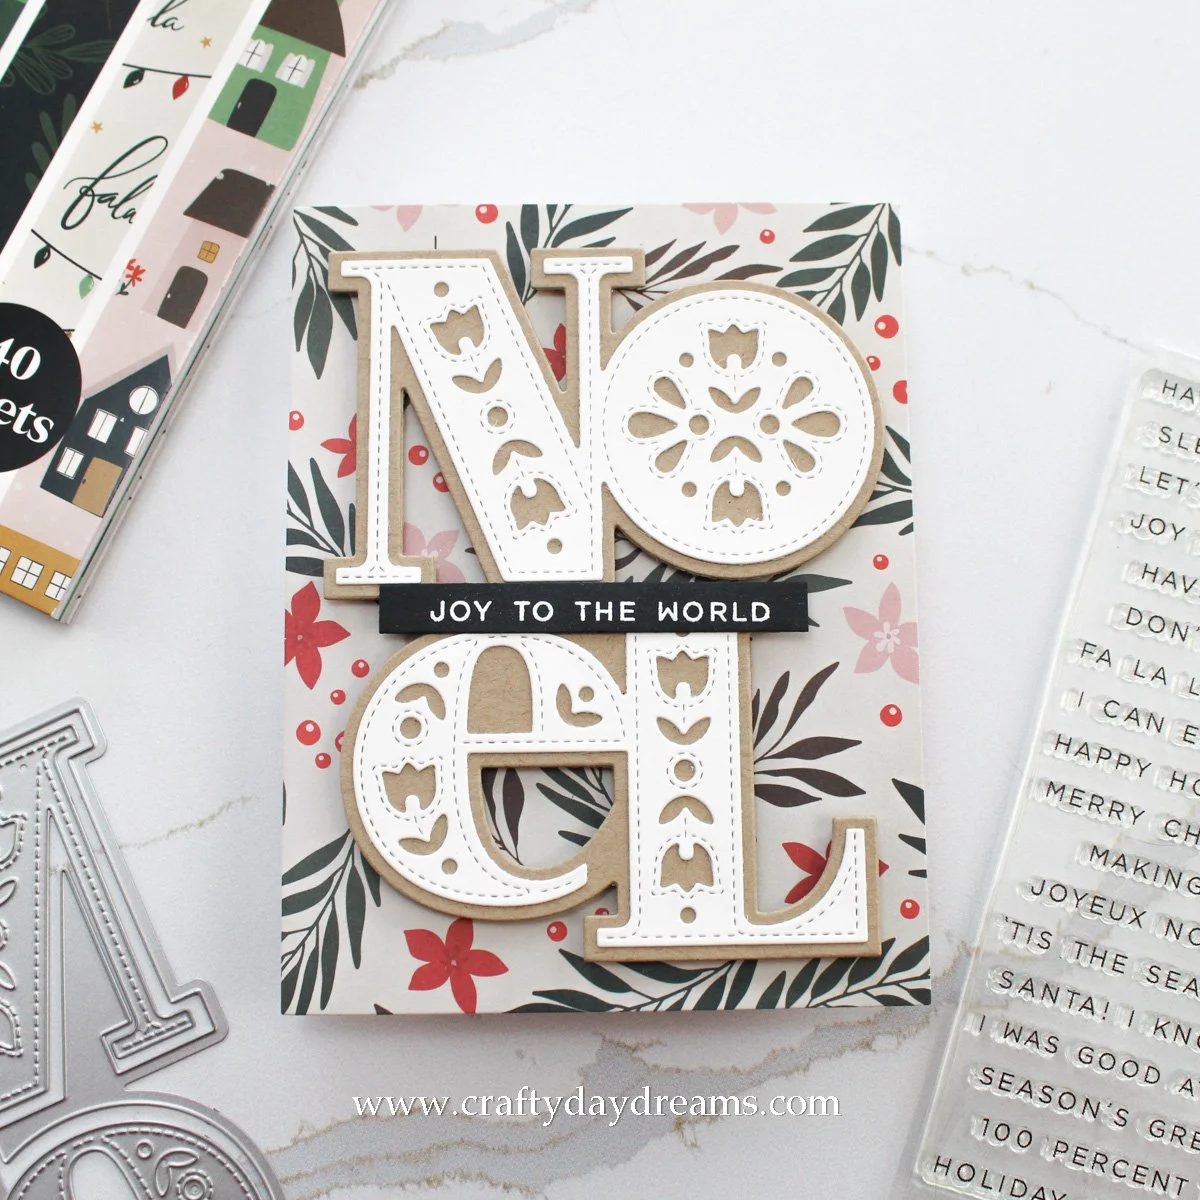
Ugh, I’m just loving neutrals this holiday season! I don’t know what it is, but they just make my heart happy! This card is neutral perfection. I pulled the patterned paper from the Christmas patterned paper pad, then die cut the shadow out of Wheat cardstock, and the letters out of Ivory cardstock. The greeting was popped up on thick foam squares, and I added a sweet little ‘joy to the world’ sentiment to the middle of the Noel. I really like how this one turned out, and I love the little pops of colors in the background.
Now onto foiled sentiments…
I decided I wanted to be a little extra and finally get to use my Holiday Sentiments Series 2 Glimmer plate set, but unfortunately at the time that I’m writing this, I’ve discovered that it appears to have been discontinued. I’ve linked a couple of other sets from Spellbinders down below, but any Glimmer plates you have should work just fine!
How fun is this card?! I really love the contrast between the sentiment strip and the rest of the card, it really pops! I pulled the patterned paper from the Christmas patterned paper pad, and die cut the shadow of the Noel out of Tidepool cardstock since it was pretty close in color. I die cut the letters out of C9 white glitter paper, and I foiled the ‘joy to the world’ sentiment on Cranberry cardstock in silver foil. Pretty, right?! I popped the Noel up on thick foam squares, then added my sentiment.
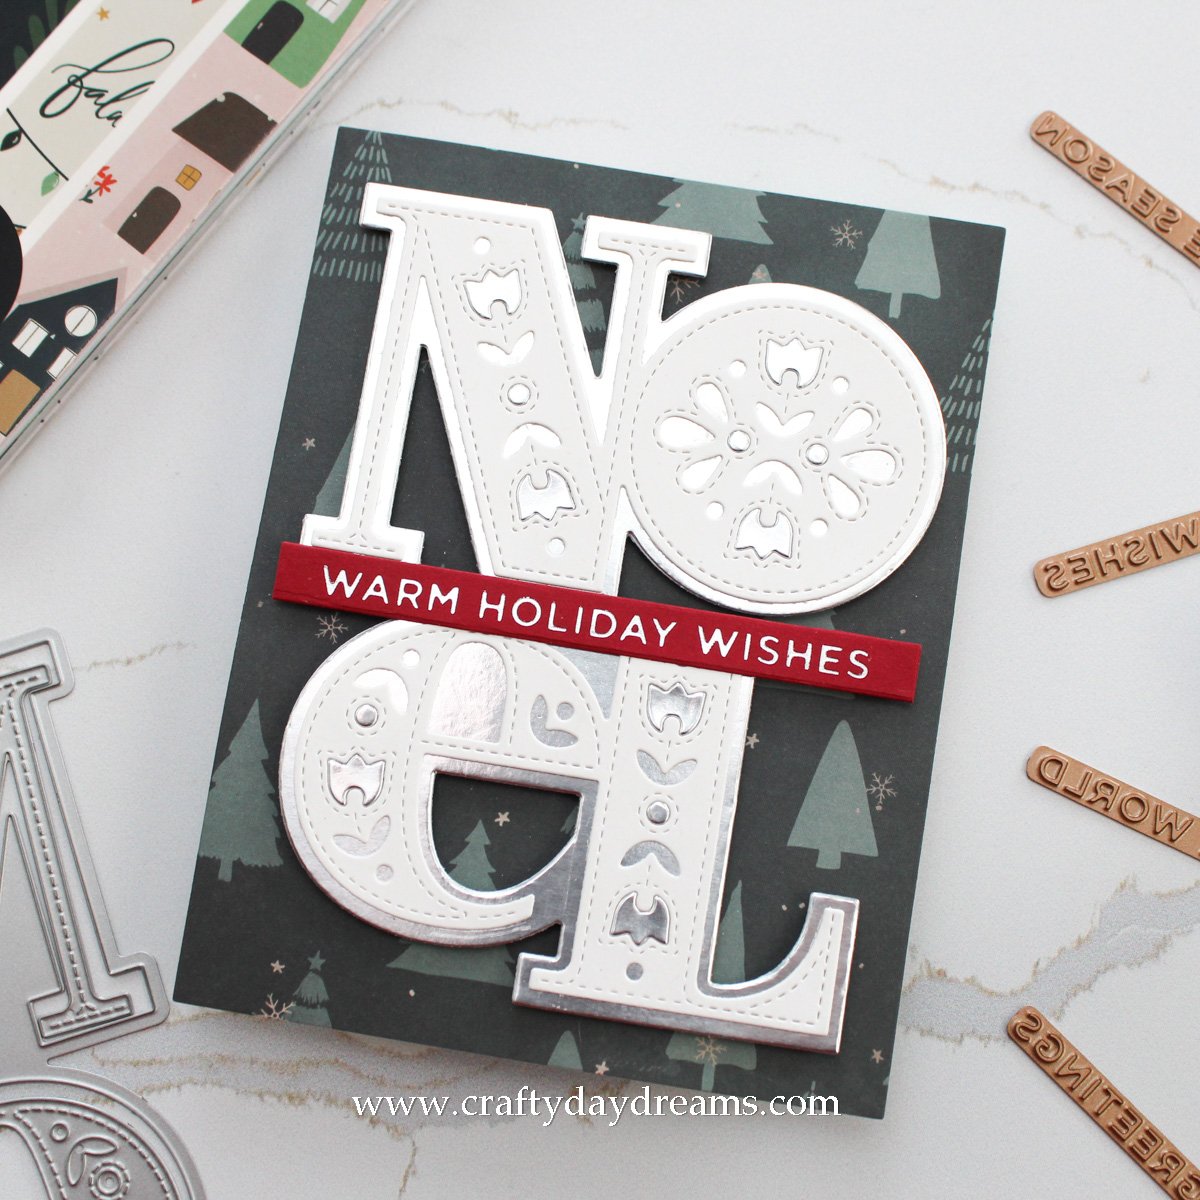
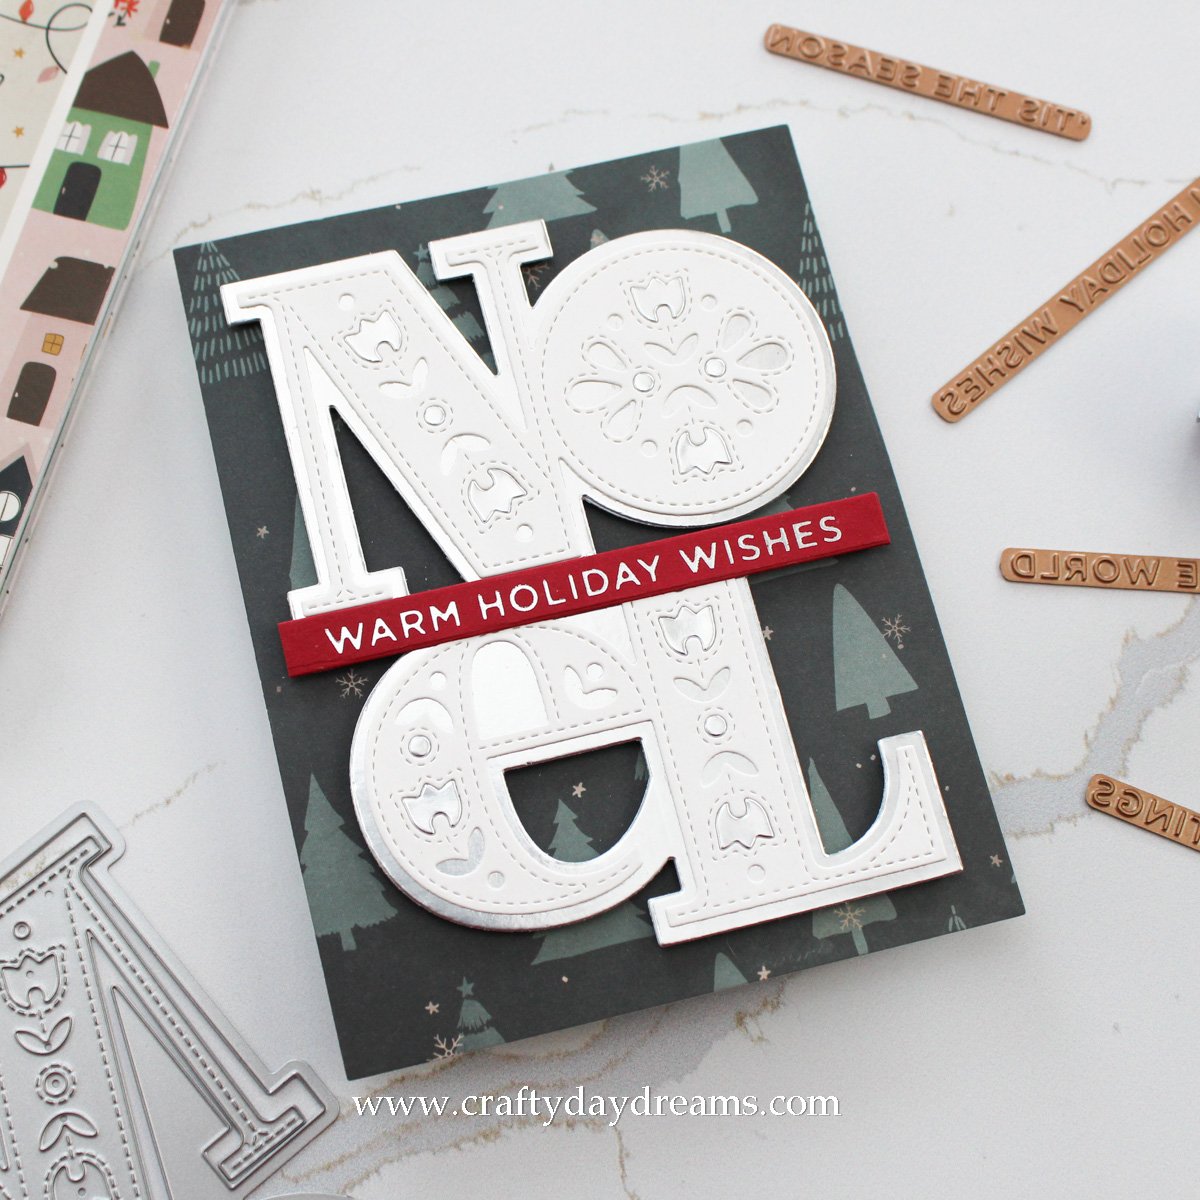
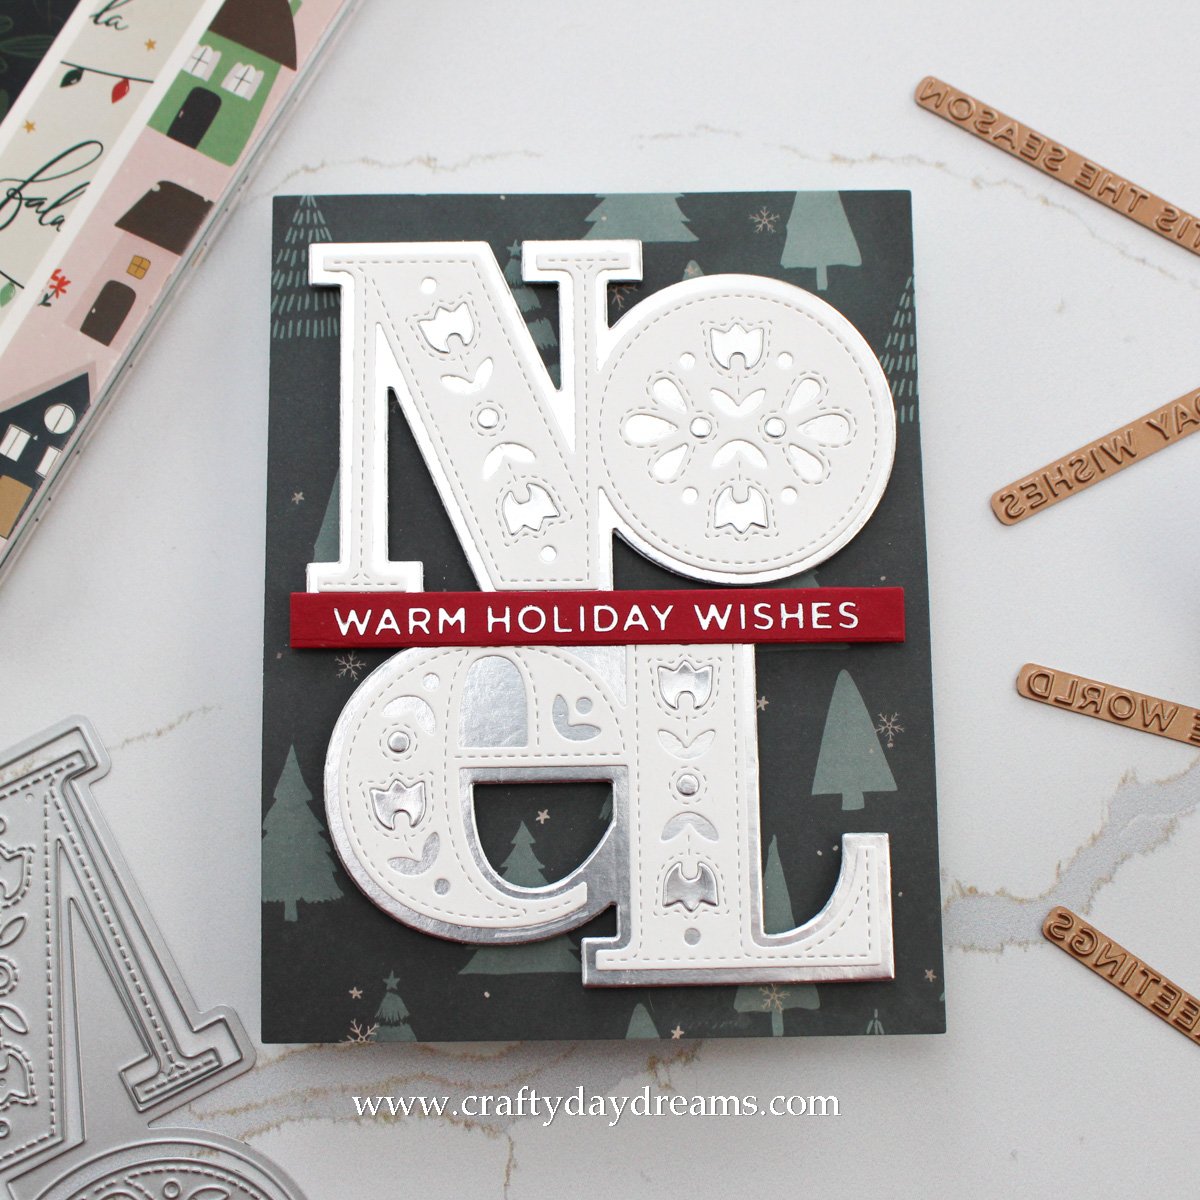
Okay, now this one and the next card I think are my favorites out of the bunch….and maybe the neutral ones too….but also the cozy plaids 😂. I’ve included a couple extra pictures of this one and the next because, oh my god, was it a challenge to photograph a large, shiny shadow layer! I know people say foil is hard to photograph, but foiled cardstock? That takes the cake for me. Anyways, I pulled this paper out of the Christmas patterned paper pad and die cut it to A2-size. I die cut the Noel shadow out of C9 matte silver cardstock and die cut the letters out of Ivory cardstock. It’s really hard to see on camera, but this combination is absolutely stunning. Not to mention, that Cranberry and silver foil sentiment strip—talk about a pop! To add a hint of embellishment, I decided to add some matte silver little flowers and dots to the letters. It’s super subtle, but I like it!
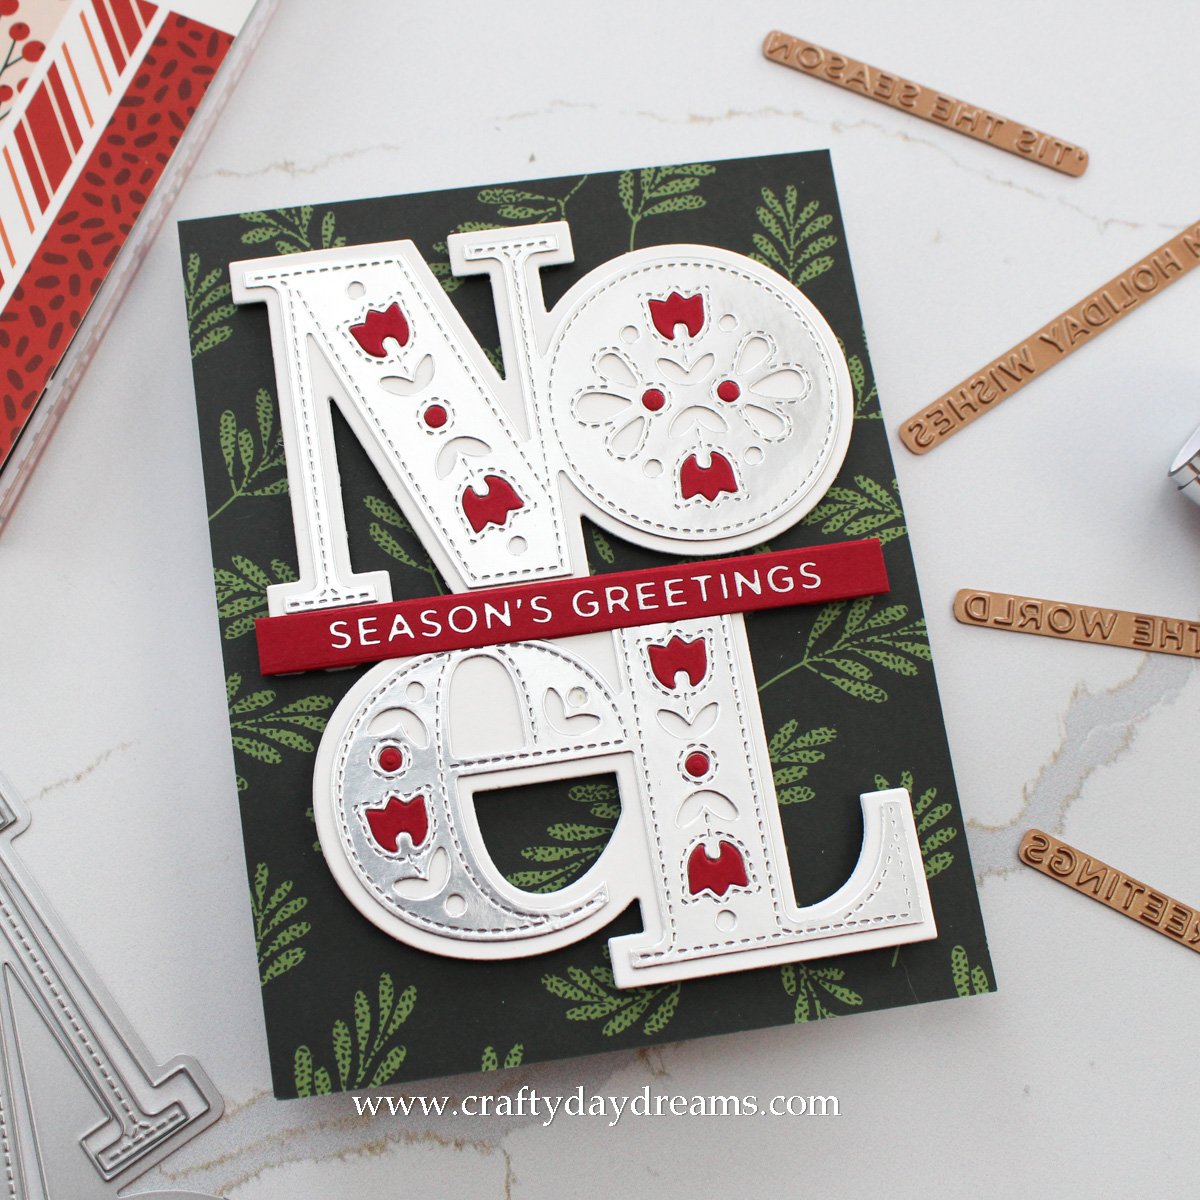
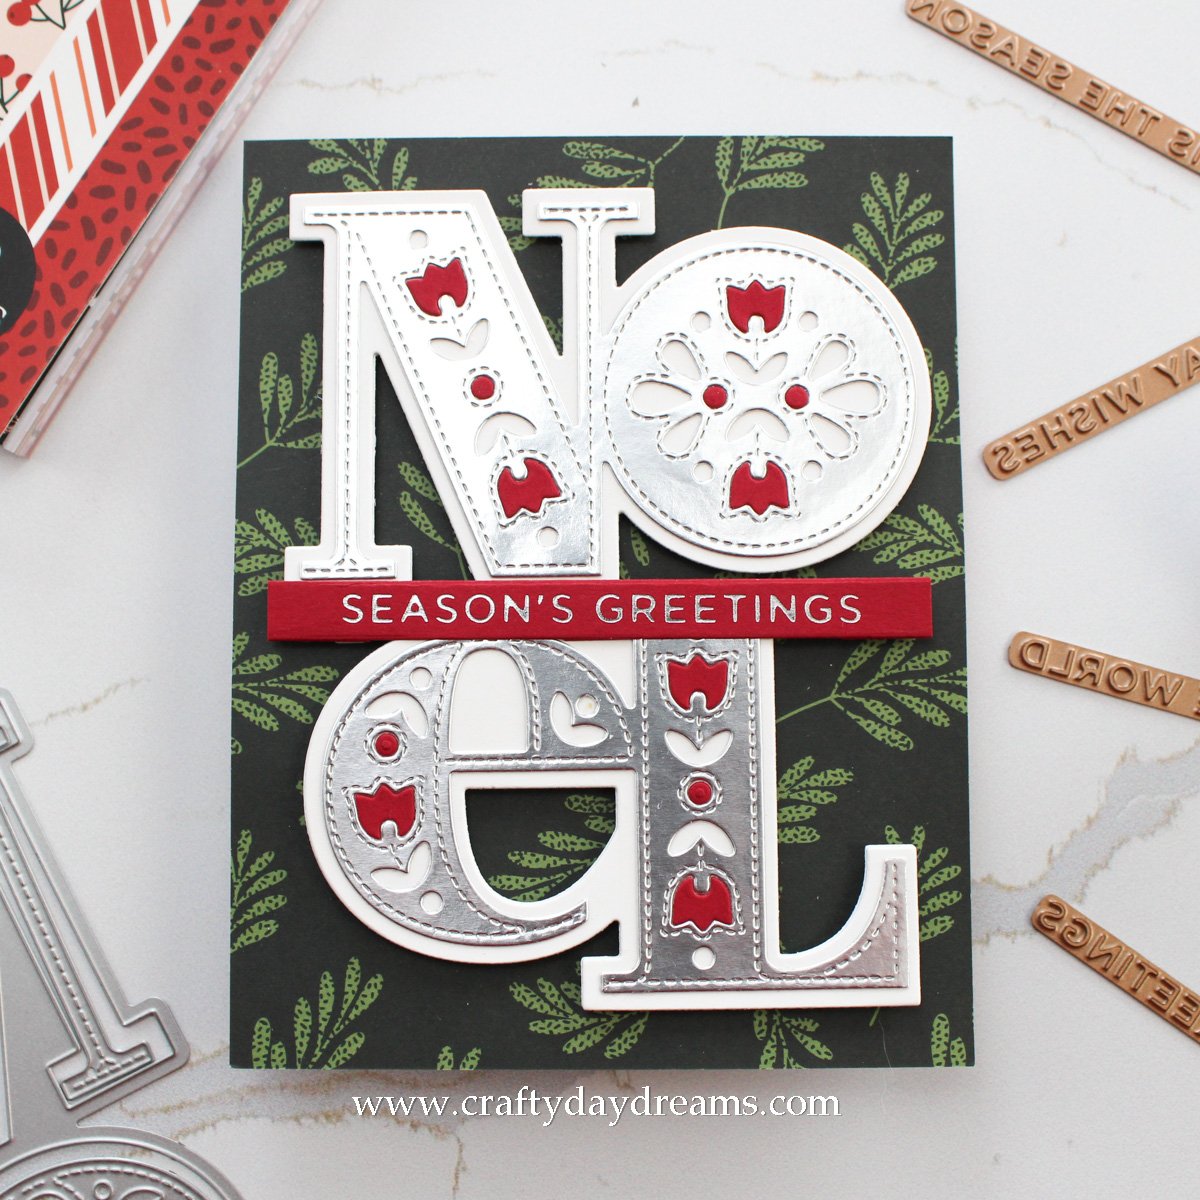
This is another dramatic one. I’m really loving the dark backgrounds here—I never would have thought to use black! This paper was pulled from the Noel patterned paper pad, and I think it’s gorgeous! I flip flopped what I did on my last card and die cut my shadow layer out of Ivory and the letters out of C9 matte silver cardstock. To pull a little bit more red into this card besides the sentiment strip, I added Cranberry flowers and dots to the letters.
And lastly, here is another neutral beauty. Isn’t this one stunning?! I love it. I pulled the patterned paper from the Noel patterned paper pad and I absolutely love it and the greenery elements in the background. I leaned into that and die cut the shadow layer out of Wheat cardstock and the letters out of Ivory cardstock. I deviated a little bit here and foiled the ‘joy to the world’ on Cranberry cardstock in my favorite Champagne foil. The light gold really plays well with the warmth in this card. Since the Cranberry sentiment strip was a different red from the berries in the background, I decided to add Poppy cardstock flowers and dots to the letters to tie things together a bit. Gorgeous!
So that wraps up my mass production party! The benefit to choosing all these different papers is that it felt like each card was unique so it got a little less boring, but the ‘formula’ to these cards was the same so I really didn’t have to think and just had to create. I will admit that these did take me awhile, but what took the longest was deciding what colors to use for the Noel on each card.
So thank you so much for stopping by the blog today! I really hope you enjoyed these and the cards I’ve shared over the past six days! I’ve got two more days to share with you to wrap up my cards for the season, from here they’re pretty simple!😊
Affiliate disclaimer: all links to Waffle Flower, Altenew, Scrapbook.com, and Spellbinders products are affiliate links. These links allow me to get a commission at no extra cost to you if you use them to shop! All other links provided are links to supplies and shops I am not affiliated with and I do not get a commission from.


